Quick Answer
Your chicken breast dry usually comes down to a controllable kitchen variable such as heat, timing, moisture, measuring, or storage history. Start with the most visible clue, change one variable, and compare the next batch before changing the whole method.
CookBuddy Kitchen Note
For your chicken breast dry, this guide centers on Protein Coagulation Above 165 Degrees F, Brining Science, Thickness Pounding. Those are the checkpoints we would use first in a normal home kitchen before making a bigger change.
Decision table
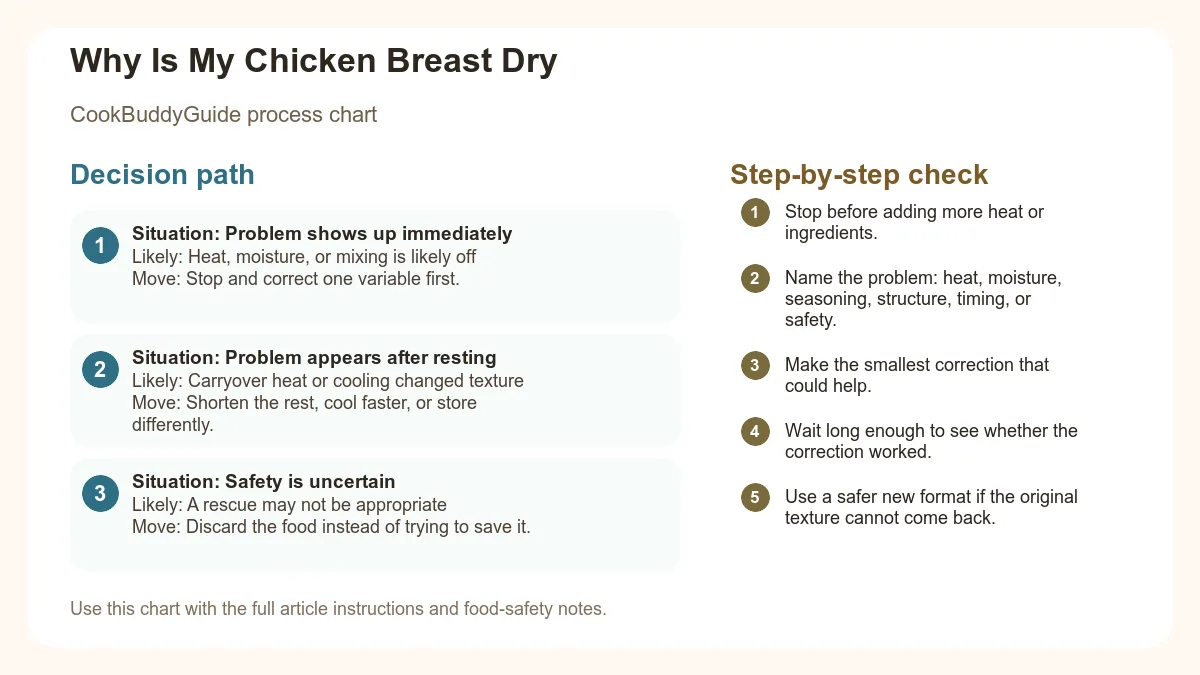
| Situation | Likely cause or meaning | Best move |
|---|---|---|
| Problem shows up immediately | Heat, moisture, or mixing is likely off | Stop and correct one variable first. |
| Problem appears after resting | Carryover heat or cooling changed texture | Shorten the rest, cool faster, or store differently. |
| Safety is uncertain | A rescue may not be appropriate | Discard the food instead of trying to save it. |
Step-by-step fix
- Stop before adding more heat or ingredients.
- Name the problem: heat, moisture, seasoning, structure, timing, or safety.
- Make the smallest correction that could help.
- Wait long enough to see whether the correction worked.
- Use a safer new format if the original texture cannot come back.
Common mistakes
- Adding several fixes at once and losing track of what helped.
- Using high heat to rush a texture problem.
- Trying to rescue food when safety is uncertain.
- Repeating the recipe without writing down the likely cause.
Useful next reads
Quick navigation
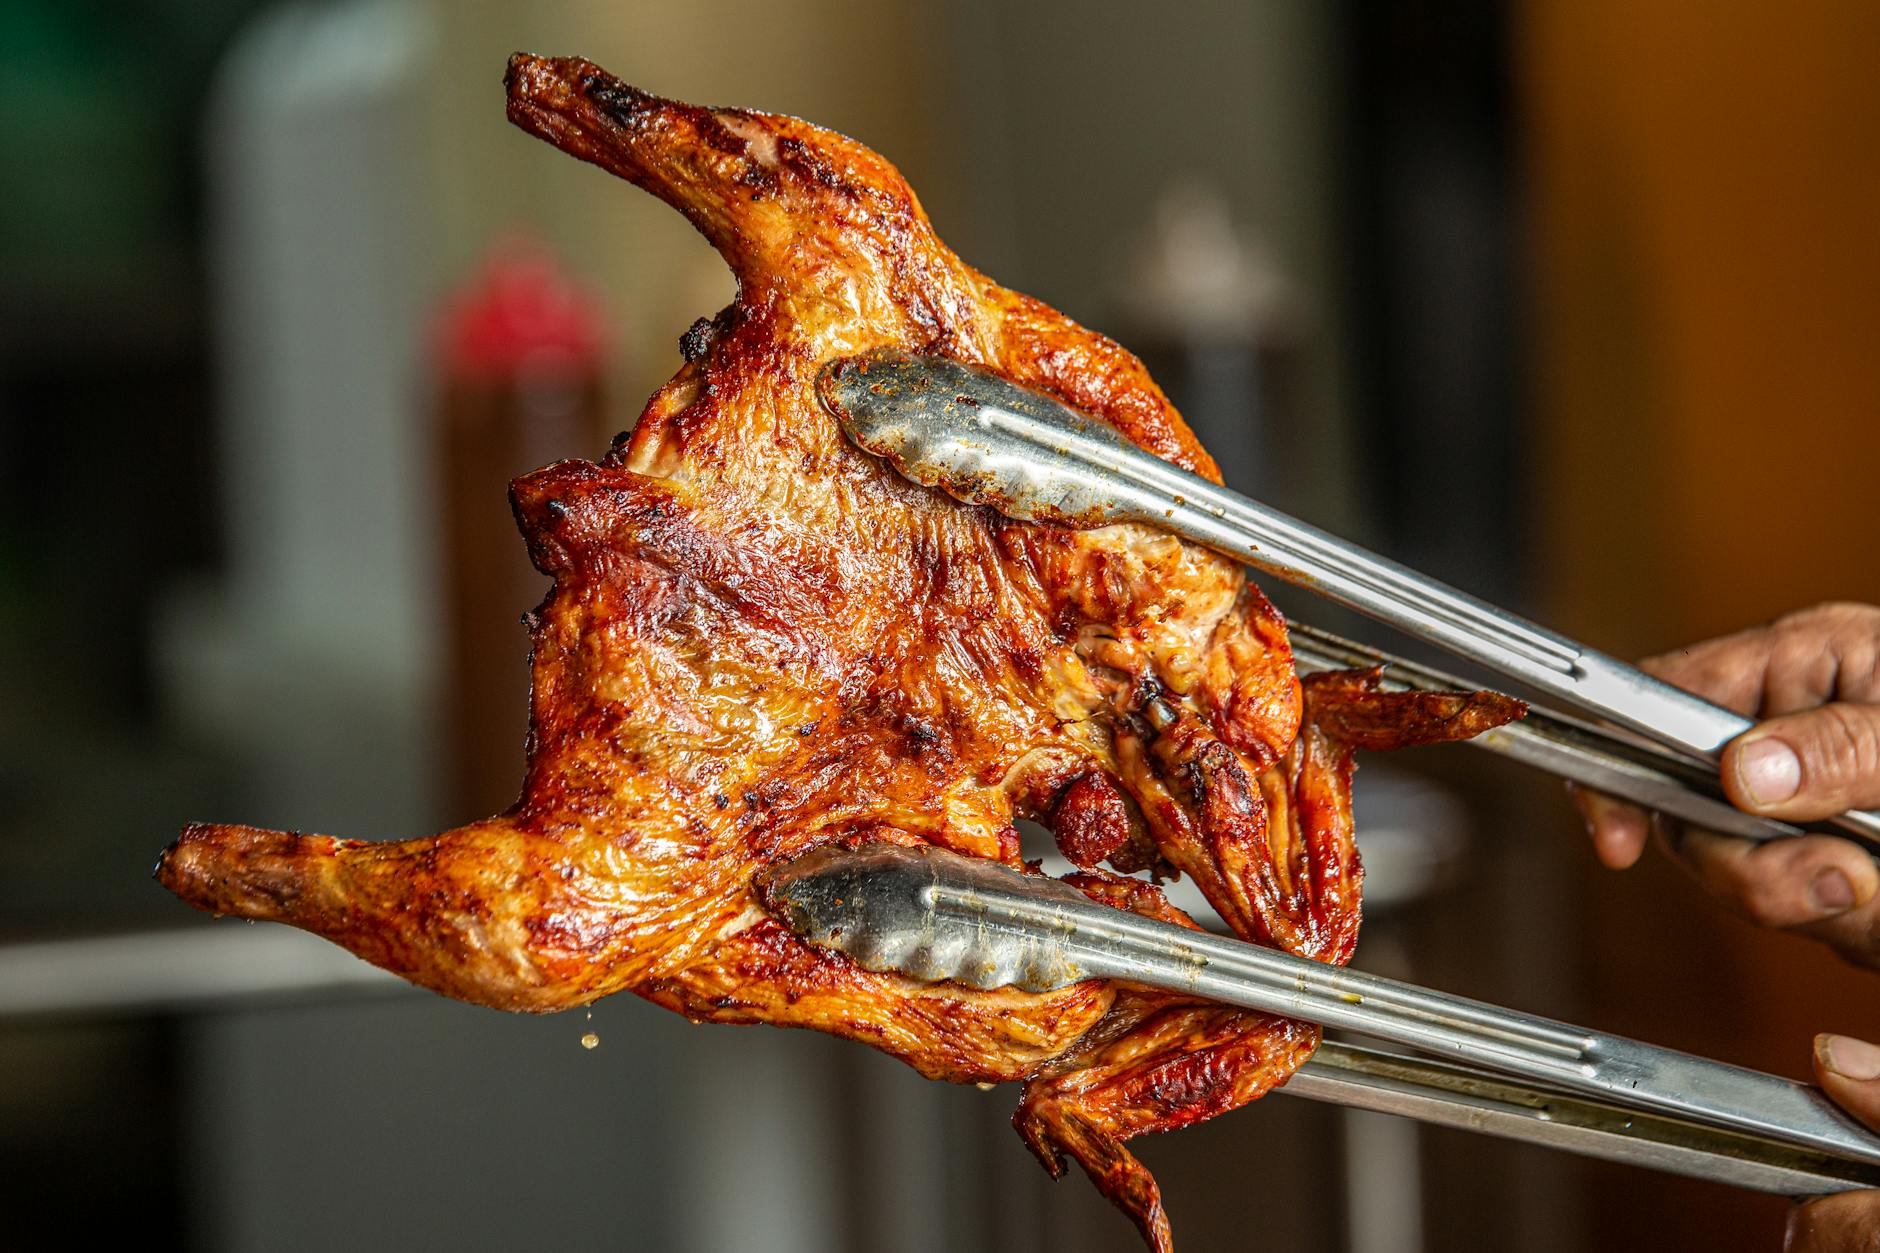
Why Is My Chicken Breast Dry?
The cause is usually a specific process issue, not bad luck. Look first at heat, moisture, timing, acidity, starch, protein, and leavening.
The useful part is that most kitchen problems follow patterns. That makes them easier to fix when you stop changing everything at the same time.
All the causes
Choose the row that describes the food in front of you, not the explanation that sounds most familiar.
| Cause | How to identify it | Exact fix |
|---|---|---|
| Protein Coagulation Above 165 Degrees F | Texture turns rubbery, tough, tight, or curdled instead of tender. | Give proteins a slower cook and a gentler finish so they stay tender. |
| Brining Science | The clue appears around brining science while cooking or shortly after cooling. | Check brining science and adjust only that variable on the next try. |
| Thickness Pounding | The clue appears around thickness pounding while cooking or shortly after cooling. | Treat thickness pounding as the first test and keep the rest of the recipe steady. |
| Resting Time | The clue appears around resting time while cooking or shortly after cooling. | Treat resting time as the first test and keep the rest of the recipe steady. |
How do you diagnose it quickly?
Before you add ingredients or start over, check heat, moisture, and timing. Those three clues explain a surprising number of kitchen problems.
- Heat: was the pan, oven, oil, or burner hotter than the food could handle?
- Moisture: did the food dry out, steam, leak water, or absorb too much liquid?
- Timing: did you stop too early, wait too long, or skip a rest period?
Capture the answer now so the next batch is not another guess. One useful note can change the next attempt.
How do you fix it now?
Do not chase the fix with five ingredients. Control heat, stop the process, and decide whether the food needs moisture, rest, or a new format.
If the food is safe but the texture is poor, choose a format that matches the food instead of forcing the original plan.
How do you prevent it next time?
Use the next batch as a test. Change the likely cause, keep everything else steady, and check the result sooner.
For related fixes, keep deglazing basics and spice toasting tips handy.
When it is fine vs when to worry
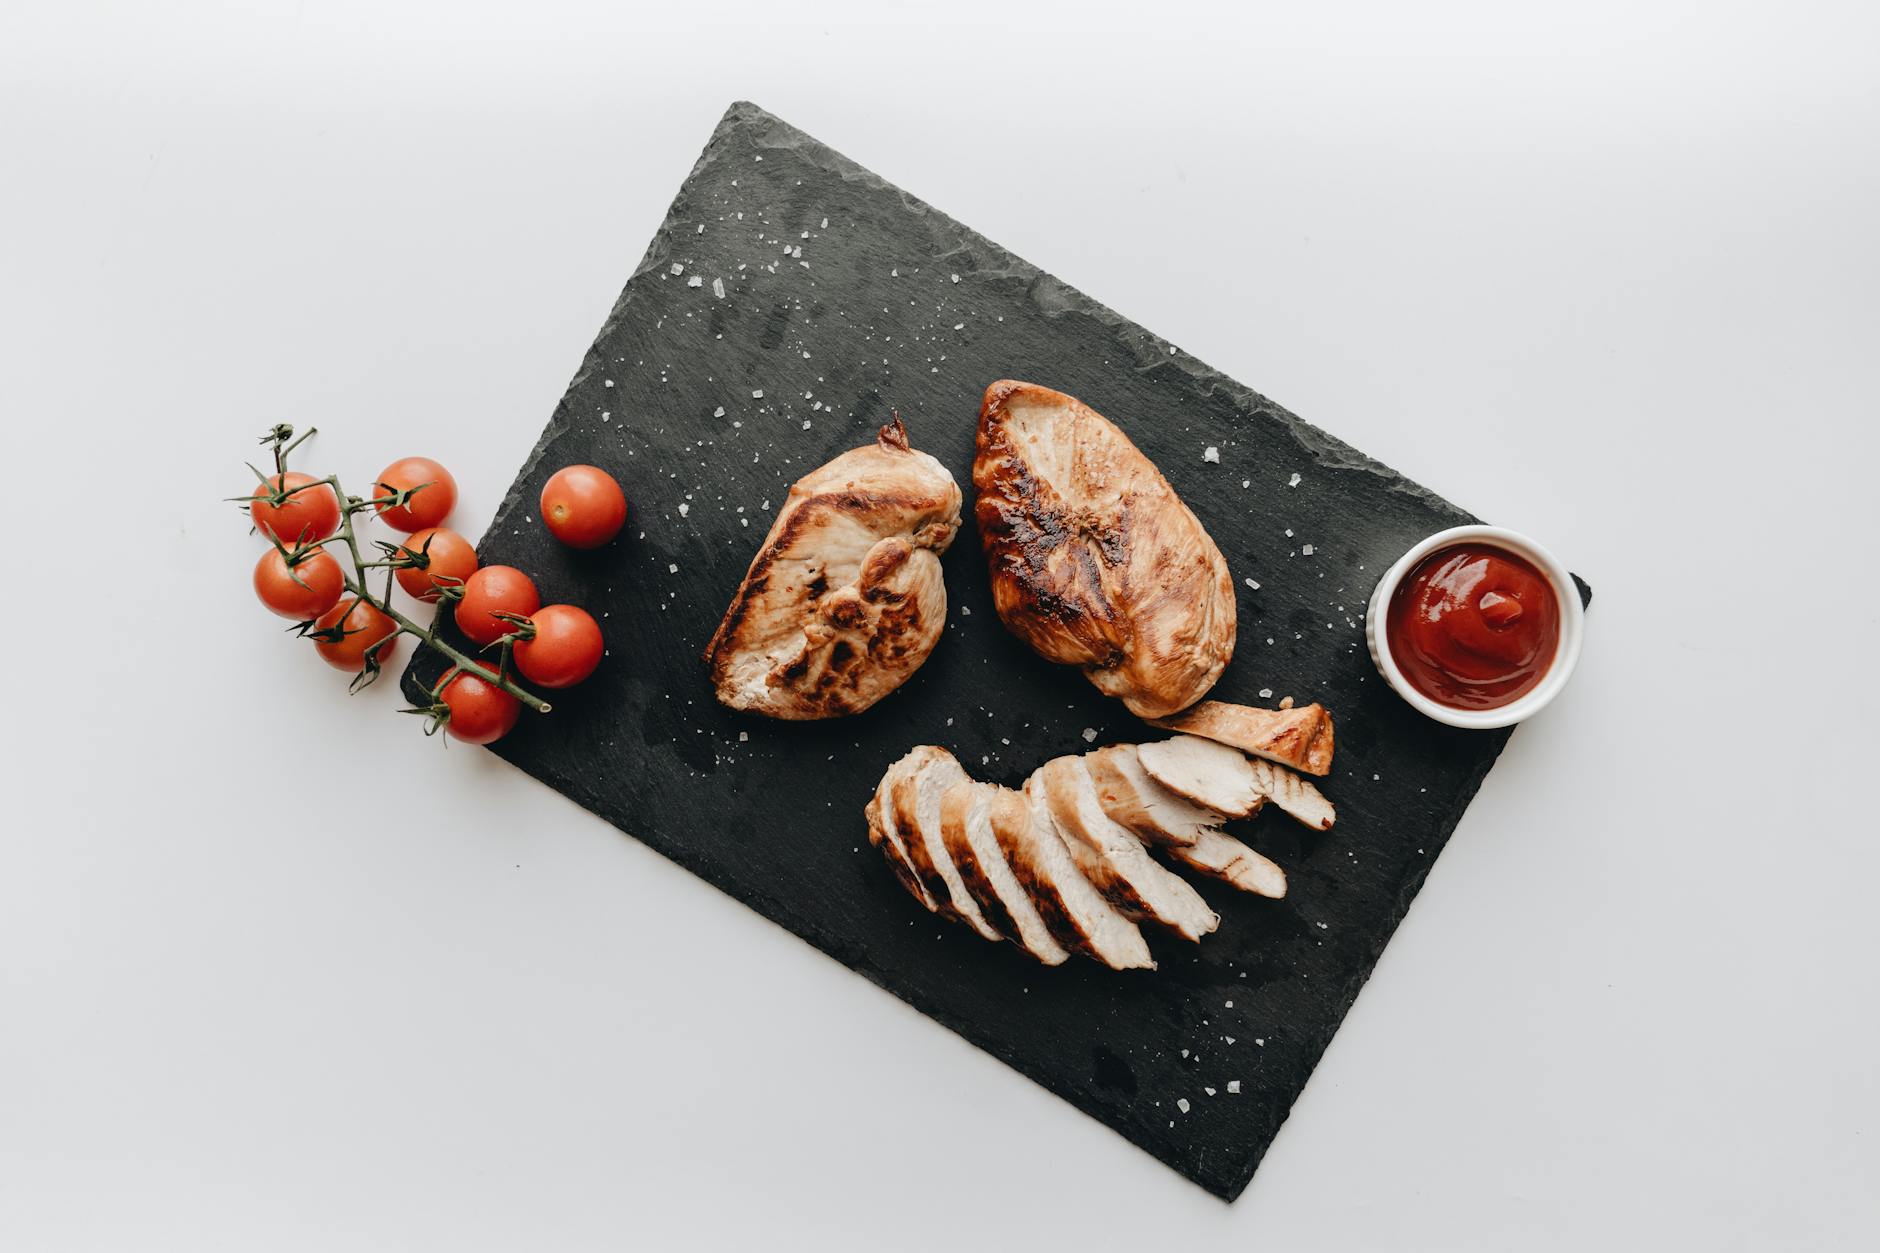
Most causes of chicken breast always dry are quality problems, not automatic safety problems. If the food is fully cooked, smells normal, and was handled safely, the issue is usually texture, flavor, appearance, or technique.
Worry when the food smells rotten, shows mold, came from damaged packaging, sat in the danger zone too long, or may be undercooked. In those cases, safety beats saving the dish.
Helpful related guides
- How to Brine Chicken: The Ultimate Guide to Wet and Dry Brining for Juicy, Flavorful Results
- Why Is My Chicken Rubbery? The Ultimate Troubleshooting Guide to Fixing Tough, Chewy Meat
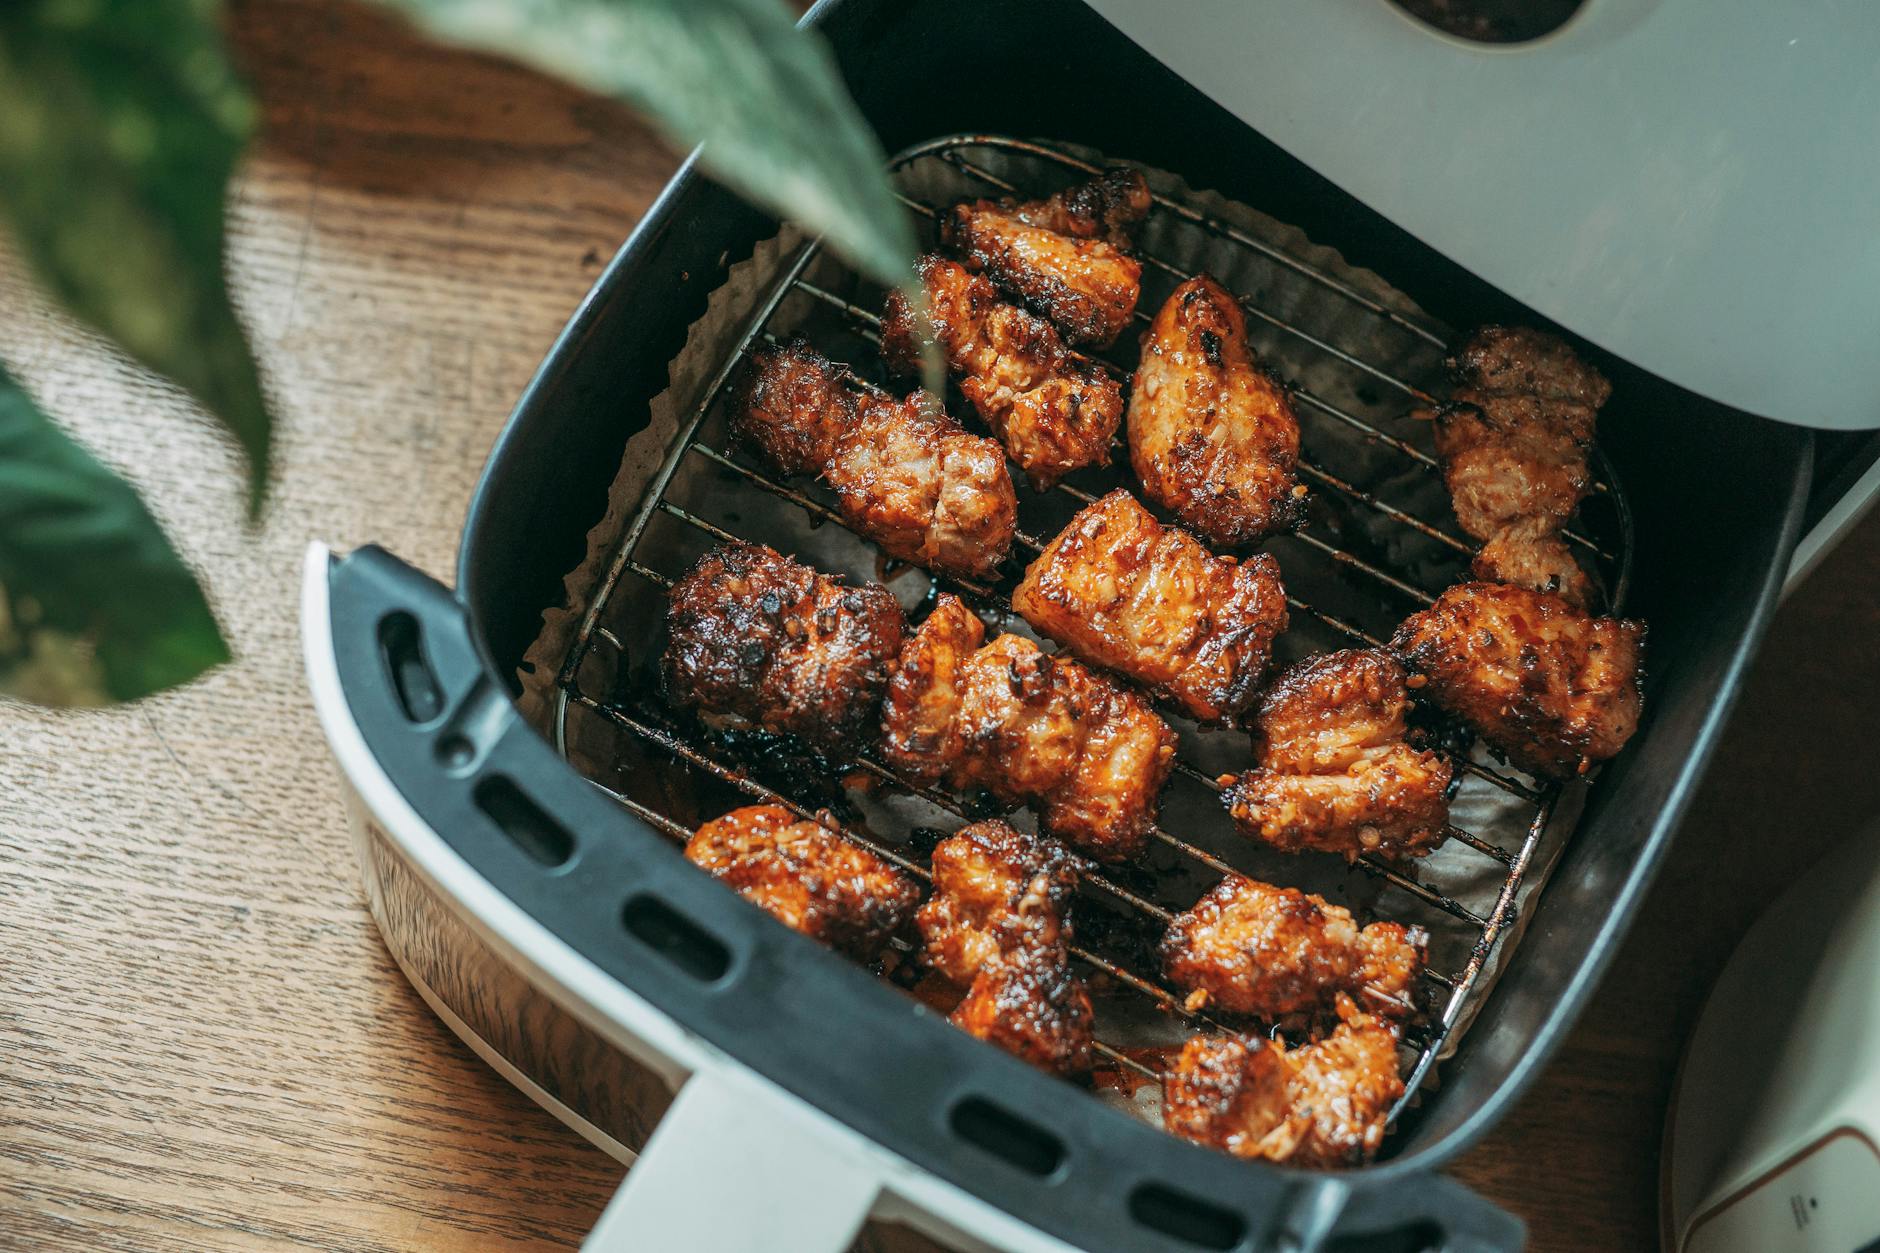
- The Ultimate Guide to Air Fryer Chicken Thighs: Perfectly Juicy and Crispy Every Time
- How to Reheat Leftovers Properly: The Ultimate Guide to Reviving Every Meal Without Losing Flavor
- How to Make Food Last Longer in Fridge: The Ultimate Guide to Refrigerator Organization and Food Safety
- How to Freeze Leftover Food: The Ultimate Guide to Safe Storage and Fresh Reheating
Kitchen testing note
We have found that chicken breast always dry is easier to solve when you change one thing at a time. The batch after a mistake should be a small test, not a complete rewrite.
Conclusion
The key point: chicken breast always dry becomes easier to solve when you identify the most likely cause and change one variable next time. Guessing less is what makes the fix repeatable. For the next step, read How to Brine Chicken: The Ultimate Guide to Wet and Dry Brining for Juicy, Flavorful Results.
Helpful tools for this guide
- instant-read thermometer
- digital kitchen scale
- cutting board
- airtight storage containers
Related topic hubs
FAQ
Is this safe to eat?
It depends on temperature and doneness. Chicken should reach 165°F for safety.
What is the fastest fix?
Start with the most likely cause, then adjust one variable at a time. Use the most visible clue first, then change one variable next time so the result teaches you something.
How do I prevent it next time?
Control heat, measure carefully, and write down the one variable you changed. That beats guessing.
Can I prevent why is my chicken breast dry every time?
Not every variable is perfectly controllable in a home kitchen. You can prevent most repeats by controlling heat, timing, moisture, and measurement.
What is the biggest mistake with why is my chicken breast dry?
The biggest mistake is changing the whole recipe before identifying the cause. One controlled adjustment is more useful than five guesses.
Sources used for safety and technique
For cooking-science guides, CookBuddyGuide checks safety and technique claims against public food-safety, baking, and extension resources when relevant.
How to apply this without overthinking it
Use this as a small troubleshooting system for chicken breast always dry. The goal is to identify one likely cause, change one variable, and make the next batch more predictable.
Start with the situation that matches your kitchen right now. That is more useful than applying every tip at once.
For chicken breast always dry, the useful question is not only what went wrong. It is which single variable you can change next time without creating a new problem.
- Protein Coagulation Above 165 Degrees F: Ratios matter because ingredients behave differently under heat. Measure the trouble ingredient next time so the fix is repeatable.
- Brining Science: Focus on brining science first so the next batch gives you a clear answer.
- Thickness Pounding: Use thickness pounding as the controlled test, then leave the rest of the process alone.
- Resting Time: Timing includes what happens after the timer ends. Resting, carryover heat, proofing, and cooling can all change the final result.
- Heat: Heat changes proteins, starches, sugars, and moisture. If chicken breast always dry keeps happening, change the heat level before changing five ingredients.
- Moisture: Moisture is often the hidden variable. Too much can make food gummy or bland; too little can make it dry, tough, or scorched.
Quick decision check
If you need the short path, use this table before you make a decision about chicken breast always dry.
| Kitchen situation | Best next move |
|---|---|
| The problem repeats | Write down heat level, timing, and any ingredient change. |
| Only one batch failed | Look for a handling issue such as pan temperature, measuring, or resting time. |
| Food safety is involved | Use a thermometer or discard food with unsafe time-temperature handling. |
Details that change the answer
You leave understanding why chicken breast always dry happens and what to change first. Use these details when your kitchen does not match the clean textbook version.
- Protein Coagulation Above 165 Degrees F: Protein texture changes quickly with heat. Gentle heat and an earlier stop point usually do more than adding extra ingredients.
- Brining Science: If the problem is texture, write down temperature and timing first. Texture problems are usually easier to fix than they feel in the moment.
- Thickness Pounding: If the problem is flavor, separate safety from taste. Safe but bland food can be adjusted; questionable food should be discarded.
- Resting Time: If you are testing a fix, change one variable per batch so you know what actually helped.
- Heat: If chicken breast always dry happens once, look for a process mistake. If it happens repeatedly, the recipe, heat level, or ingredient ratio probably needs a change.
What to avoid next time
The avoidable mistake is changing the whole recipe at once. One controlled change teaches you more than five hopeful changes.
The short answer gets you moving, but timing, texture, storage, and decision checks help you repeat the choice later.
The best use of this page is to make one clear decision about chicken breast always dry, then keep the note that will help next time. That keeps the guide practical instead of turning it into a list you never use.
That small habit matters because home cooking is repetitive. The next time chicken breast always dry comes up, you will already know where to start.