Quick Answer
How to Tell If Yeast Is Active is easiest to handle when you make one clear kitchen decision at a time. Use the table and steps below to identify the likely cause, choose the safest next move, and avoid changing several variables at once.
CookBuddy Kitchen Note
For How to Tell If Yeast Is Active, the most useful home checks are temperature, measuring, resting time, and visible texture. Those details tell you more than guessing, especially before adding extra flour, liquid, heat, or leavening.
Decision table
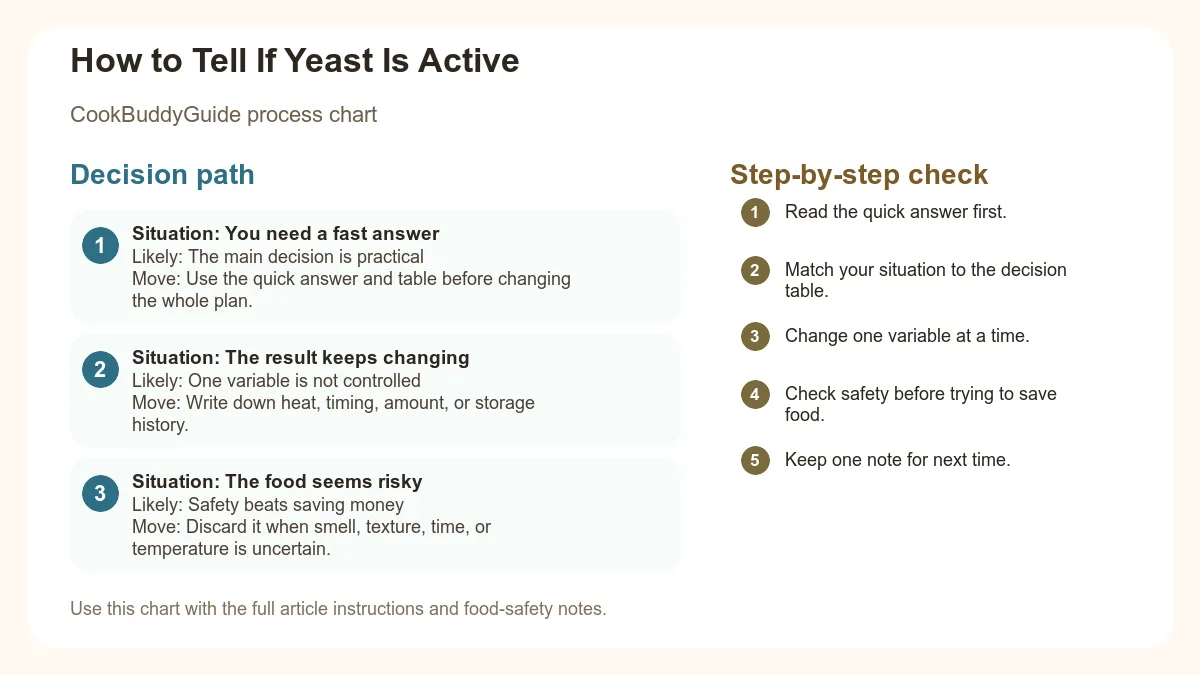
| Situation | Likely cause or meaning | Best move |
|---|---|---|
| You need a fast answer | The main decision is practical | Use the quick answer and table before changing the whole plan. |
| The result keeps changing | One variable is not controlled | Write down heat, timing, amount, or storage history. |
| The food seems risky | Safety beats saving money | Discard it when smell, texture, time, or temperature is uncertain. |
Step-by-step fix
- Read the quick answer first.
- Match your situation to the decision table.
- Change one variable at a time.
- Check safety before trying to save food.
- Keep one note for next time.
Common mistakes
- Skipping the quick answer and changing too much at once.
- Treating quality problems and safety problems the same way.
- Not writing down the detail that caused the repeat problem.
Useful next reads
Quick navigation
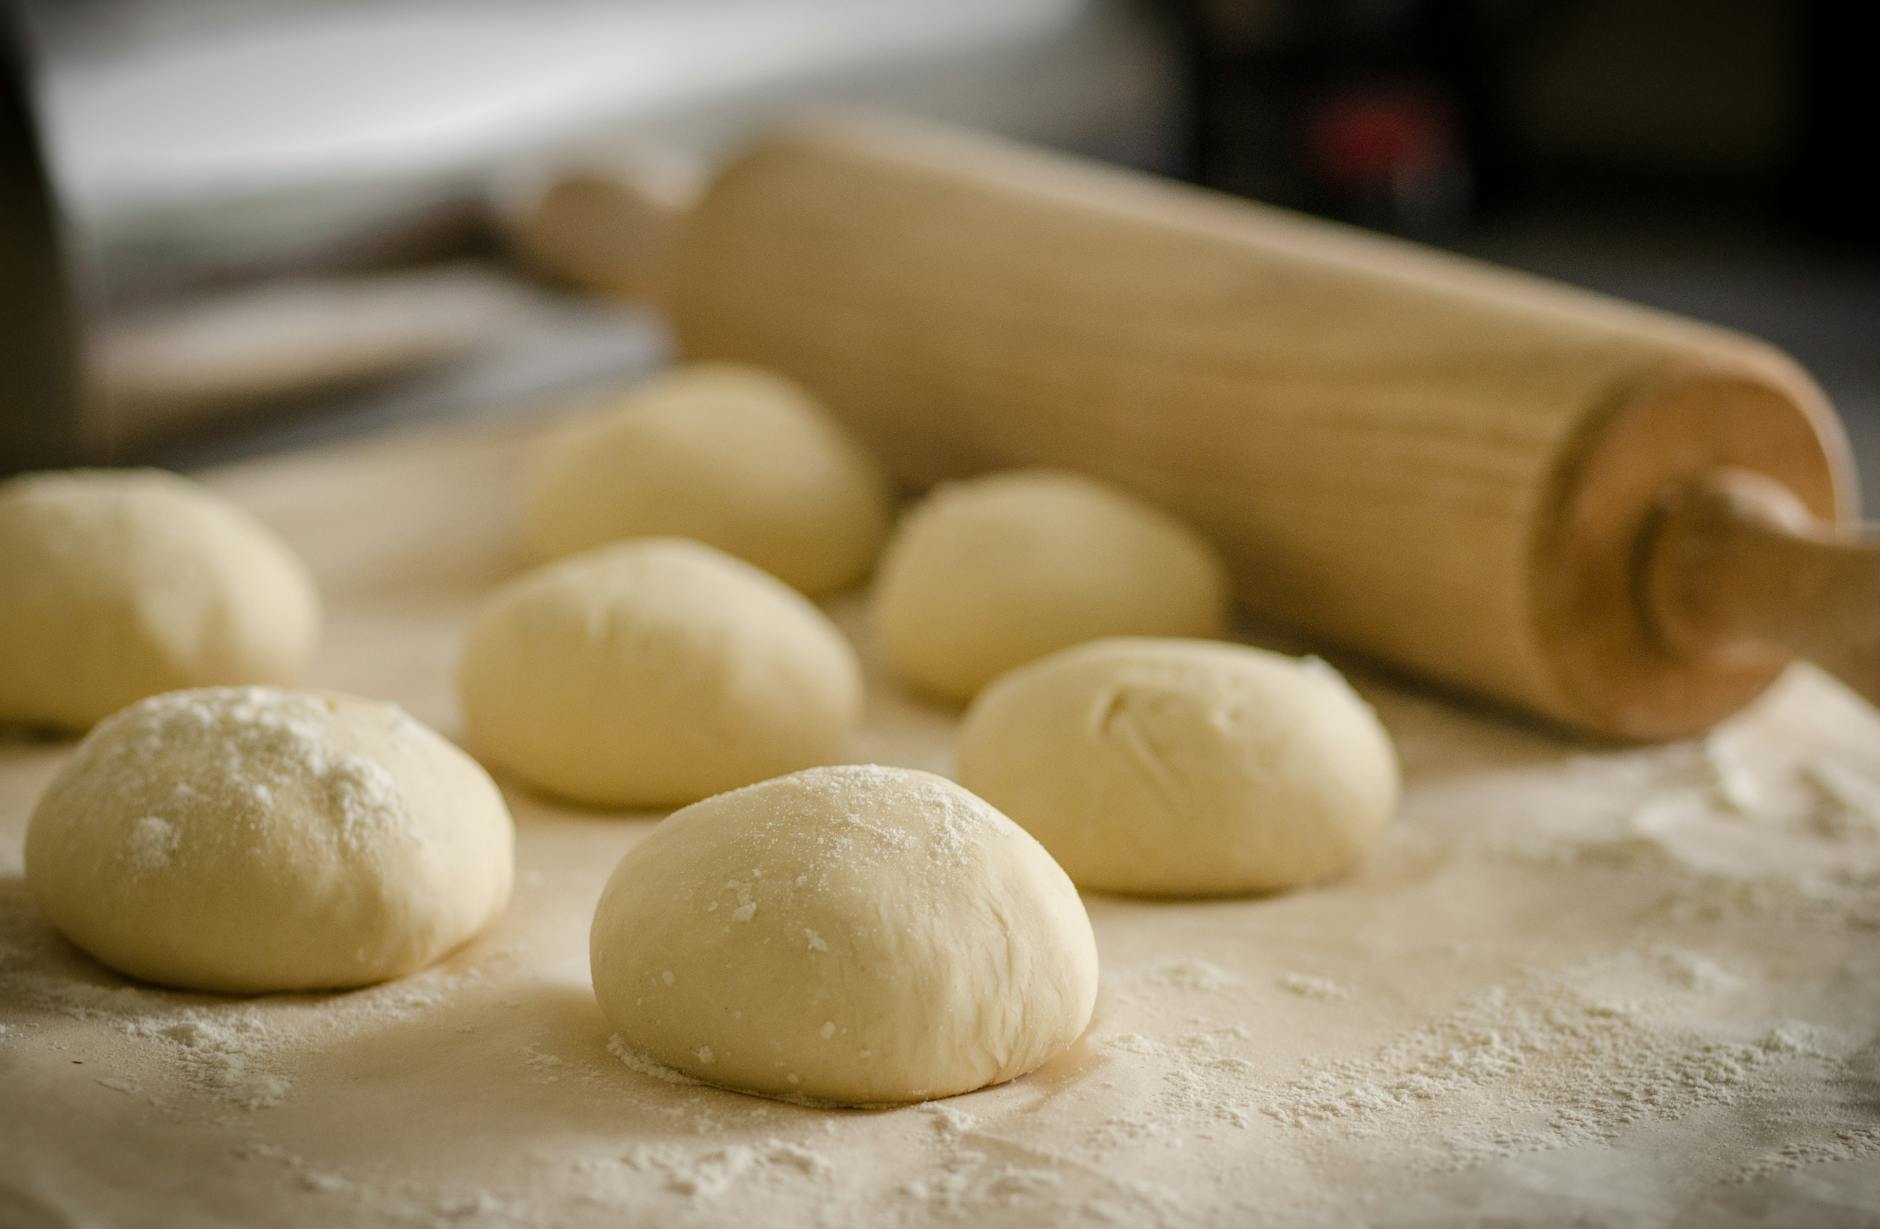
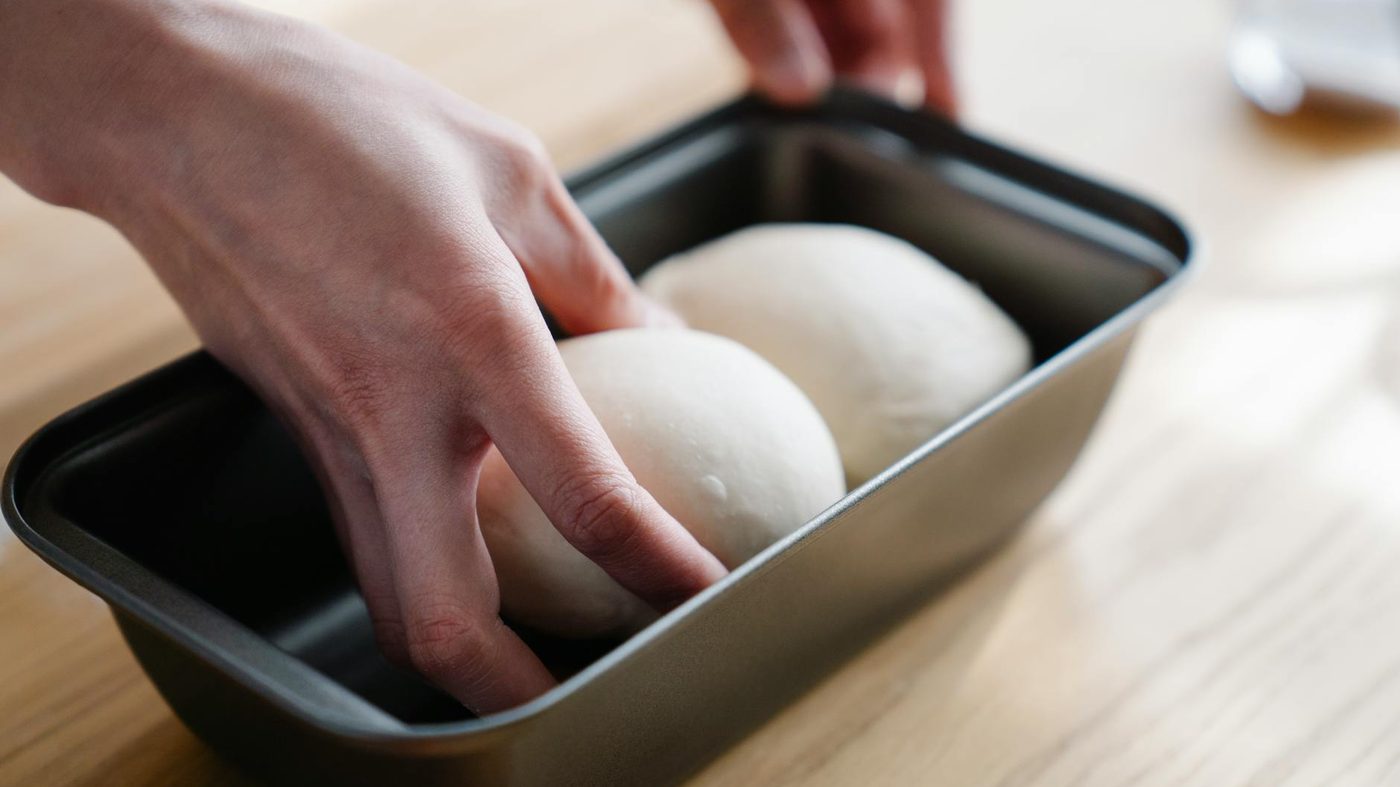
How to Tell If Yeast Is Active
Begin with the gentlest correction. Sauces, rice, bread, and baked goods punish big corrections faster than most cooks expect.
- Add a small amount of water, cover, and use gentle heat until the texture catches up.
- Use timing as the first fix, then taste before making another change.
- Use signs of active as the first fix, then taste before making another change.
- Use dead yeast as the first fix, then taste before making another change.
- Use storage as the first fix, then taste before making another change.
Why did it happen?
The usual causes are simple: too much heat, too much time, too much or too little moisture, or a measurement that drifted. Heat changes texture. The clock can keep cooking, drying, softening, or setting the food after you stop watching. Moisture moves. In baking, a small measuring drift can show up fast.
It sounds simple, but it gives you a real next step. Once you know the cause, the next batch has a clear adjustment.
Which situations are fixable vs not?
Quality problems are often fixable. Safety problems are not. If the food was left out too long, smells rotten, shows mold, or involves undercooked high-risk ingredients, the right fix is discarding it.
End the rescue if the dish starts getting heavier, saltier, oilier, or less safe. A good correction makes the next bite easier to enjoy.
How do you prevent it next time?
Use a thermometer when doneness matters, measure leaveners carefully, and save a quick note for recipes you repeat. One line is enough: "less heat," "more water," "chill dough," or "pull sooner."
For flavor problems, season in layers and finish with acid. Change the cooking conditions first when the problem is texture.
Repurpose ideas if the original dish cannot be fixed
If the texture cannot come back, repurpose before you overwork the food. Dry chicken can become filling, soft vegetables can become soup, broken sauce can become a casserole base, and burnt edges can sometimes be trimmed before the rest is used.
Repurposing works because it stops asking the food to do the job it already failed at. A filling, soup, hash, sauce, crumb topping, or bowl can be a better ending than another aggressive fix.
Kitchen testing note
We have found that repurposing is often the honest save. If the yeast cannot recover to the original texture, using it in a safe new format that fits the texture is usually better than forcing it.
Conclusion
The key point: check whether yeast is still active with one calm correction at a time. If the original texture is gone, repurpose it instead of making the dish busier. For the next step, read How to Make Bread at Home: The Ultimate No-Knead Guide for Busy Beginners.
Helpful tools for this guide
- digital kitchen scale
- instant-read thermometer
- rimmed sheet pan
- silicone spatula
Related topic hubs
FAQ
Can you really check whether yeast is still active?
Usually, yes. The original dish may be gone, but dinner can often still be saved.
What should I avoid first?
Do not turn one mistake into five new variables. Taste after each small move before you continue.
How do I prevent it next time?
Capture the lesson while the pan, bowl, or tray is still in front of you. Many kitchen mistakes come back because the useful detail never gets written down.
Can I still bake with yeast that barely bubbles?
Serve it only if the issue is quality, not safety. If the food was mishandled, spoiled, or undercooked in a risky way, discard it.
What is the biggest mistake when checking yeast activity?
The biggest mistake is adding several fixes at once. Make one controlled change, then check the texture before adding anything else.
Sources used for safety and technique
CookBuddyGuide uses food-safety and baking references when a rescue guide touches safe doneness, time-temperature handling, or dough behavior.
How this works in a home kitchen
Kitchen rescue works best when you slow down for one minute. When yeast looks questionable, the fix depends on whether the problem is heat, moisture, seasoning, or structure.
Start with the situation that matches your kitchen right now. That is more useful than applying every tip at once.
If the food is safe but the original texture is gone, choose a new use that fits the texture instead of forcing the first plan.
- Warm Water Proofing Test With Exact Temp: Add moisture in small amounts and wait before adding more. A rescue can swing from dry to watery very quickly.
- Timing: For timing, pause before fixing. The safest rescue is one controlled change, then check the result.
- Signs Of Active: For signs of active, pause before fixing. The safest rescue is one controlled change, then check the result.
- Dead Yeast: For dead yeast, pause before fixing. The safest rescue is one controlled change, then check the result.
- Storage: For storage, pause before fixing. The safest rescue is one controlled change, then check the result.
- First Rescue Move: For first rescue move, pause before fixing. The safest rescue is one controlled change, then check the result.
Quick decision check
Use this as the fast version when you do not have time to reread the whole guide.
| Your situation | What to do |
|---|---|
| The texture is partly recoverable | Use gentle heat, moisture, or resting before adding more ingredients. |
| The flavor is unbalanced | Correct salt, acid, sweetness, or fat one small step at a time. |
| The original dish is gone | Choose a safe new use that fits the texture.. |
Details that change the answer
You leave with a calm rescue order for checking yeast activity: stop, diagnose, make one correction, and know when to repurpose. The notes below cover the edge cases where the short answer needs a little judgment.
- Warm Water Proofing Test With Exact Temp: If the food is safe but the texture is poor, choose a new use before adding more ingredients.
- Timing: If the problem came from heat, take the pan off the burner before adding liquid, flour, salt, sugar, or acid.
- Signs Of Active: If the fix needs moisture, add a small amount, wait, and taste. Most rescue mistakes happen because the second fix comes too fast.
- Dead Yeast: If safety is uncertain, stop trying to save it. A rescue guide should never override unsafe handling, spoiled food, or undercooked high-risk ingredients.
- Storage: If the food is safe but the texture is poor, choose a new use before adding more ingredients.
Where this advice saves trouble
The avoidable mistake is adding more and more ingredients before identifying whether the problem is heat, moisture, seasoning, or structure.
If you remember only one thing, remember the decision pattern: check the risk, protect texture, and choose the next step that fits yeast activity in your real kitchen.