Quick Answer
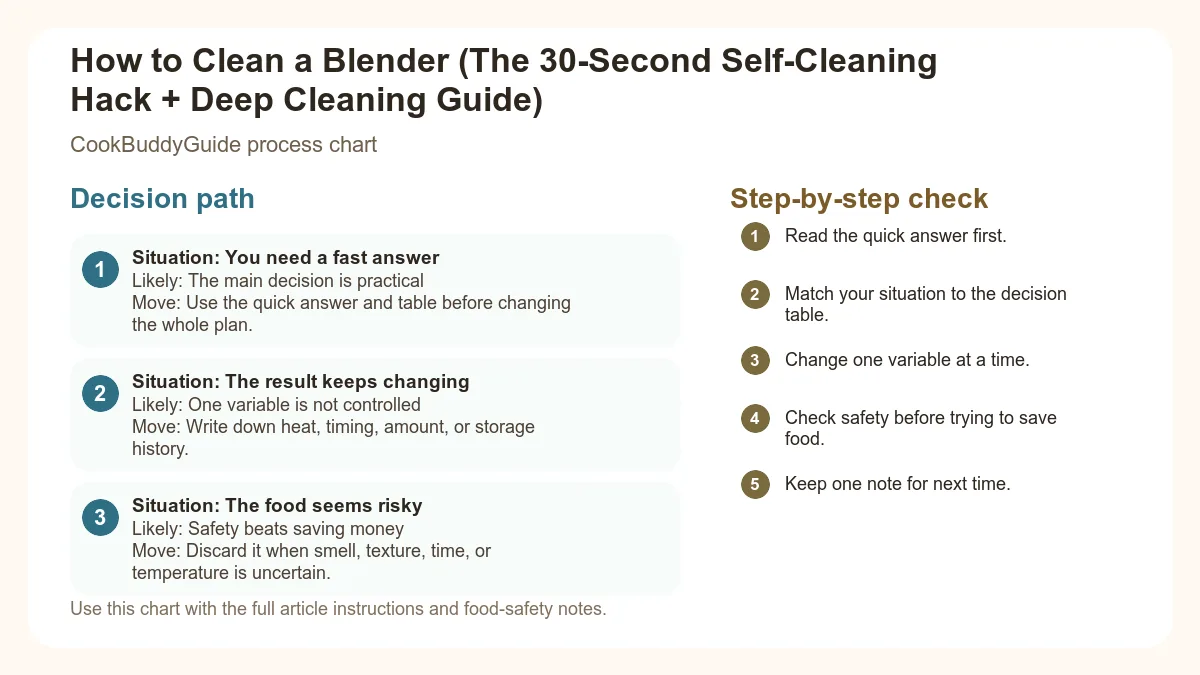
How to Clean a Blender (The 30-Second Self-Cleaning Hack + Deep Cleaning Guide) is easiest to handle when you make one clear kitchen decision at a time. Use the table and steps below to identify the likely cause, choose the safest next move, and avoid changing several variables at once.
CookBuddy Kitchen Note
For How to Clean a Blender (The 30-Second Self-Cleaning Hack + Deep Cleaning Guide), this guide centers on Rinse, Fill, The "One Drop" Rule. Those are the checkpoints we would use first in a normal home kitchen before making a bigger change.
Decision table
| Situation | Likely cause or meaning | Best move |
|---|---|---|
| You need a fast answer | The main decision is practical | Use the quick answer and table before changing the whole plan. |
| The result keeps changing | One variable is not controlled | Write down heat, timing, amount, or storage history. |
| The food seems risky | Safety beats saving money | Discard it when smell, texture, time, or temperature is uncertain. |
Step-by-step fix
- Read the quick answer first.
- Match your situation to the decision table.
- Change one variable at a time.
- Check safety before trying to save food.
- Keep one note for next time.
Common mistakes
- Skipping the quick answer and changing too much at once.
- Treating quality problems and safety problems the same way.
- Not writing down the detail that caused the repeat problem.
Useful next reads
Helpful tools for this guide
- instant-read thermometer
- digital kitchen scale
- cutting board
- airtight storage containers
Related topic hubs
How to Clean a Blender (The 30-Second Self-Cleaning Hack + Deep Cleaning Guide)
We’ve all been there: it’s 7:30 AM, you’ve just whipped up a nutrient-dense green smoothie, and you’re already running five minutes late for work. You look at the blender jar, coated in fibrous kale bits and sticky almond butter, and the "blender dread" sets in. If you leave it to soak, it becomes a science project by 5:00 PM. If you try to scrub it now, you’ll be late. In my 15 years of testing kitchen gear for CookBuddyGuide, I’ve learned that the secret to using your blender every single day isn't about having the most expensive model—it’s about knowing how to clean a blender in seconds so it never feels like a chore.
In this guide, I’m going to share the exact routine I use in my home kitchen to keep my high-speed blenders looking brand new, even after years of daily use. We will cover the famous 30-second self-cleaning hack, how to rescue cloudy plastic, and the safety steps you must take to protect your blade assembly. Let’s turn that "blender dread" into a seamless part of your morning routine.
Table of Contents
The Secret to Using Your Blender Every Day: Effortless Cleaning
The biggest barrier to healthy eating often isn't the cooking itself; it's the cleanup. When I talk to home cooks about why their expensive Vitamix or Ninja is gathering dust in the pantry, the answer is almost always: "I hate cleaning the blades." I get it. Those blades are sharp, and the jar is deep. However, understanding easy blender cleaning changes the game.
Why Blender Maintenance Matters for Food Safety
Beyond the annoyance of a dirty jar, there is a serious food safety component to consider. Blenders are notorious for harboring biofilm—a thin, slimy layer of bacteria that adheres to surfaces. This often happens in the tiny crevices where the blade assembly meets the jar or under the O-ring (the rubber gasket). If you only do a quick rinse with cold water, you're leaving behind proteins and sugars that feed bacteria. Over time, this can lead to off-flavors or even foodborne illness. Proper sanitation ensures your breakfast meal prep ideas stay fresh and safe to consume.
The "Blender Dread" and How to Overcome It
The "dread" stems from the idea that you have to reach your hand down into a jar of knives. I discovered years ago that the best way to clean a blender is to let the blender do the work for you. By utilizing centrifugal force, we can reach every nook and cranny without ever touching a sponge to a blade. This is the foundation of the CookBuddyGuide maintenance routine: work smarter, not harder.
The 30-Second Self-Cleaning Method: Step-by-Step
This is the "Golden Rule" of blender ownership: Clean it immediately. Once smoothie residue dries, it becomes like concrete. If you act while the stubborn residue is still wet, cleaning your blender in seconds is not just a dream—it’s reality.
The 30-Second Daily Rinse Routine
What You Need: Warm water, 1 drop of liquid dish soap.
- Rinse: Immediately after pouring your drink, rinse the jar under the tap to remove the bulk of the debris.
- Fill: Fill the blender jar halfway with warm water. Do not use boiling water, as it can damage the seals or cause pressure buildup.
- The "One Drop" Rule: Add exactly one drop of dish soap. More is not better here; too much soap will create a "suds-pocalypse" that overflows the lid.
- The Vortex: Secure the lid firmly. Start the blender on the lowest speed and quickly increase to the highest setting.
- Pulse: Use the pulse button 3-5 times to ensure the soapy water hits the top of the lid and the underside of the rim.
- Run: Let it run on high for 30 seconds. The centrifugal force will blast away any residue from the blades.
- Rinse & Dry: Pour out the soapy water, rinse thoroughly with hot water, and air dry.
The Water and Soap Ratio
In my testing, I found that using too much water actually makes the cleaning less effective. If the jar is too full, there isn't enough room for the water to "crash" against the sides. Filling it halfway provides the perfect balance of weight and air to create a powerful cleaning vortex. This is the ultimate easy kitchen cleanup recipe for your morning routine.
When the 30-Second Method Isn't Enough: Deep Cleaning 101
Even with daily rinsing, you might notice your blender jar starting to look "foggy." This cloudy plastic is usually caused by two things: mineral buildup from hard water or tiny micro-scratches from blending hard ingredients like ice and frozen berries. When this happens, a simple soap rinse won't cut it, and you'll need to learn deep cleaning your blender jar techniques.
The Vinegar Soak for Cloudy Plastic
Minerals like calcium and magnesium in your tap water can create a film on the plastic. To dissolve these, we use acetic acid (white vinegar). I recommend a 1:1 ratio of white vinegar to warm water. Fill the jar and let it sit for at least several hours, or ideally overnight. The acid breaks down the mineral bonds without harming the BPA-free plastic. After the soak, give it a quick run with the 30-second method, and you'll see a significant improvement in clarity.
Baking Soda for Tough Protein Powder Residue
If you’re a fan of whey or plant-based protein powders, you know they can leave a chalky, stubborn residue that seems to fuse to the jar. For this, I create a baking soda paste.
- Mix 2 tablespoons of baking soda with 1 tablespoon of water.
- Apply the paste to the cloudy or sticky areas using a microfiber cloth.
- Baking soda is a mild abrasive, so it will lift the residue without creating deep scratches that harbor bacteria.
- Rinse thoroughly.
How to Clean the Gasket and Blade Base Safely
The most dangerous part of the blender—and the place where most mold grows—is the blade assembly and the gasket. Most modern blenders have a removable base, but many people are afraid to take them apart. According to experts at cleaning the blender blade base, this disassembly should happen at least once a week if you use your blender daily.
Weekly Deep-Clean Disassembly
- Unplug: Safety first! Never touch the blades while the unit is plugged in.
- Disassemble: Unscrew the bottom of the jar. Be careful as the blades are now exposed.
- Remove the Gasket: Use a dull butter knife or a toothpick to gently lift the O-ring (the rubber ring) out of its groove. Warning: Do not pull too hard or you may stretch the rubber, causing leaks later.
- Scrub: Use a bottle brush or a dedicated toothbrush to clean the threads of the base and the groove where the gasket sits. This is where "blender gunk" hides.
- Sanitize: Soak the gasket and the blade base (if the manufacturer says it's not integrated into the motor) in warm soapy water.
- Dry Completely: This is the most important step. If you reassemble while wet, you trap moisture, which leads to mold.
The Toothbrush Technique for Hard-to-Reach Grooves
In my experience, a standard sponge is useless for the tiny grooves in a blender base. I keep a dedicated "kitchen toothbrush" specifically for this. The bristles can get under the blades and into the gasket track where food particles get trapped. If you see black spots in those areas, that’s mold, and it requires a quick soak in a diluted vinegar solution to kill the spores.
Removing Stubborn Stains and Lingering Odors
Have you ever made a spicy salsa and then found that your "vanilla" smoothie the next morning tastes slightly of garlic? Or perhaps you made a turmeric latte and now your jar is a permanent shade of neon orange? Removing these stubborn blender odors and stains requires a bit of kitchen chemistry.
The Lemon Trick for Garlic and Onion Smells
Lemon juice contains citric acid and limonene, which are powerful natural deodorizers. The Method: Chop a whole lemon into quarters. Throw it into the blender with two cups of warm water. Blend on high for one minute. The lemon juice and the oils from the rind will neutralize pungent odors like garlic, onion, or fermented protein powder.
Removing Turmeric and Berry Stains
Turmeric is fat-soluble. If you have a yellow stain, water won't touch it. I’ve discovered that rubbing a small amount of vegetable oil onto the stain before washing can help "lift" the pigment. For berry stains (blueberries are the worst!), the baking soda paste mentioned earlier works wonders.
Sun-Drying: The Natural Bleaching Method
If your jar is still stained after scrubbing, place it on a sunny windowsill for a few hours. UV light is a natural bleaching agent and is surprisingly effective at removing pigment stains from plastic jars. Just ensure the jar is empty and clean before doing this.
Brand-Specific Cleaning Tips: Vitamix, Ninja, and Nutribullet
Not all blenders are created equal. After testing dozens of models, I've found that each brand has its own quirks when it comes to how to clean a blender.
Vitamix: The Self-Cleaning Cycle
Most high-end Vitamix models have a dedicated "Clean" setting. This is essentially a programmed version of the 30-second hack. However, Vitamix jars are often not dishwasher safe. The high heat of a dishwasher can degrade the bearings in the blade assembly over time. Stick to the manual self-clean method for longevity.
Ninja: Handling the Multi-Blade Tower
Ninja blenders often feature a vertical "tower" of blades. These are incredibly sharp and cannot be cleaned using the vortex method as effectively because the blades are spread out. Safety Tip: Always remove the blade tower first. Use a long-handled bottle brush to clean the tower, keeping your fingers far away from the edges. These are usually dishwasher safe (top rack), which is often the safest way to clean them.
Nutribullet: Preventing Leakage into the Motor Base
Personal blenders like the Nutribullet are prone to leaking into the motor base if the gasket isn't seated perfectly. If you see liquid inside the base, unplug it immediately. Clean the actuator pins (the little buttons that the jar presses down) with a Q-tip dipped in rubbing alcohol to prevent them from getting sticky and stuck.
Blender Maintenance: Protecting the Motor and Base
We spend so much time worrying about the jar that we often neglect the most expensive part: the motor base. A clean motor base isn't just about aesthetics; it’s about preventing mechanical failure.
How to Clean the Motor Base Without Water Damage
Never, ever submerge your blender base in water. This seems obvious, but I've seen it happen! Instead, use a damp microfiber cloth. If there is dried-on gunk, a small amount of dish soap on the cloth will do. For the "well" where the jar sits, use a Q-tip to get into the corners. This prevents stubborn residue from interfering with the drive socket (the part that spins the blades).
Maintaining the Drive Socket and Cord Care
Check the drive socket for any signs of wear or melted plastic. If you smell smoke while blending, stop immediately; this usually means the motor is straining or the socket is stripped. For storage, avoid wrapping the cord tightly around the base, as this can fray the internal wires over time. Use the built-in cord wrap if your model has one.
Common Blender Cleaning Mistakes to Avoid
In my 15 years of cooking, I’ve made every mistake in the book. Here are the three things you should never do when figuring out how to clean a blender.
- The Danger of Boiling Water: You might think boiling water sanitizes better, but it can cause "thermal shock." This can crack glass jars or warp plastic ones. Furthermore, if you turn on a blender with boiling water inside, the steam creates massive pressure that can blow the lid off, causing severe burns. Stick to warm water.
- Using Abrasive Scouring Pads: Using steel wool or the green side of a heavy-duty sponge will create micro-scratches in your jar. These scratches make the plastic look "cloudy" and provide a perfect hiding place for bacteria to grow. Stick to soft cloths and baking soda paste.
- Ignoring the Bottom of the Jar: Many people clean the inside but forget the underside where the jar connects to the base. This area can collect "splatter" which eventually molds. Always give the bottom of the jar a quick wipe.
According to the Michigan State University Extension on properly sanitizing kitchen equipment, moisture is the enemy of a clean kitchen. Always ensure your blender is 100% dry before putting it away in a cupboard. I prefer to leave my blender jar upside down on a drying rack for at least an hour before reassembling.
Frequently Asked Questions
A: It depends on the brand. While many are labeled "dishwasher safe," the high heat and harsh detergents can cloud the plastic and wear out the blade bearings. I always recommend hand-washing or using the 30-second method to extend the life of your appliance.
A: Use the vinegar soak or the lemon juice method described above. If the smell persists, leave a mixture of baking soda and water in the jar overnight to absorb the odors.
A: This is usually from ingredients like turmeric, carrots, or pumpkins. Try the vegetable oil trick or place the clean jar in direct sunlight for a few hours to bleach the stain naturally.
Conclusion: A Clean Blender is a Used Blender
The secret to easy blender cleaning is consistency. By adopting the 30-second self-cleaning hack as part of your daily routine, you remove the friction that keeps your blender tucked away in a cabinet. Remember: rinse immediately, use the power of the vortex, and don't forget the weekly deep clean of the gasket and blade assembly. With these professional tips, your blender will stay sparkling, sanitary, and ready for your next culinary creation.
Now that your blender is sparkling clean, why not put it to use? Check out our favorite breakfast meal prep ideas to kickstart your healthy habits today!