Quick Answer
How to Meal Prep for Beginners is easiest to handle when you make one clear kitchen decision at a time. Use the table and steps below to identify the likely cause, choose the safest next move, and avoid changing several variables at once.
CookBuddy Kitchen Note
For How to Meal Prep for Beginners, this guide centers on Proteins, Grains, Veggies. Those are the checkpoints we would use first in a normal home kitchen before making a bigger change.
Decision table
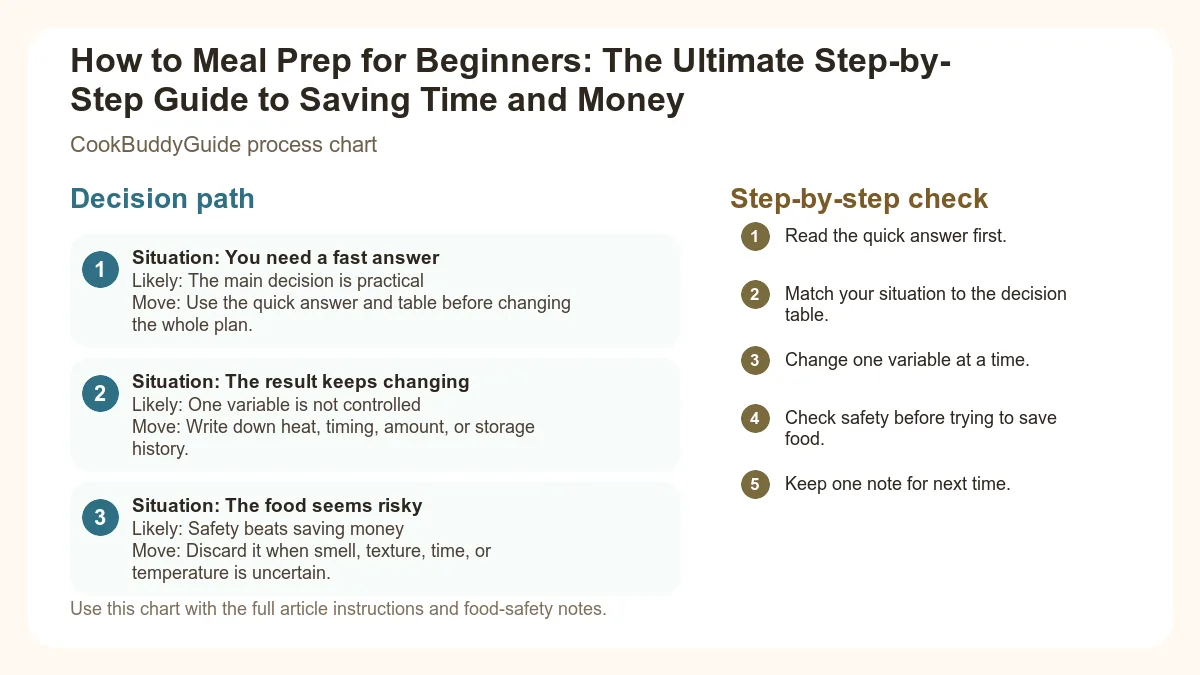
| Situation | Likely cause or meaning | Best move |
|---|---|---|
| You need a fast answer | The main decision is practical | Use the quick answer and table before changing the whole plan. |
| The result keeps changing | One variable is not controlled | Write down heat, timing, amount, or storage history. |
| The food seems risky | Safety beats saving money | Discard it when smell, texture, time, or temperature is uncertain. |
Step-by-step fix
- Read the quick answer first.
- Match your situation to the decision table.
- Change one variable at a time.
- Check safety before trying to save food.
- Keep one note for next time.
Common mistakes
- Skipping the quick answer and changing too much at once.
- Treating quality problems and safety problems the same way.
- Not writing down the detail that caused the repeat problem.
Useful next reads
Helpful tools for this guide
- instant-read thermometer
- digital kitchen scale
- cutting board
- airtight storage containers
Related topic hubs
How to Meal Prep for Beginners: The Ultimate Step-by-Step Guide to Saving Time and Money
It’s 5:45 PM on a Tuesday. You’ve just finished a long day of work, your energy is flagging, and the inevitable question hits like a ton of bricks: "What’s for dinner?" You open the fridge only to find a wilted head of lettuce, half a jar of pickles, and no plan. Ten minutes later, you’re scrolling through a delivery app, resigned to spending $40 on a lukewarm pad thai that will arrive in 50 minutes. I’ve been there more times than I care to admit. In my 15 years of testing recipes and managing a busy household, I discovered that the "5 PM panic" isn't a character flaw—it’s a systems failure.
Learning how to meal prep for beginners is the single most effective way to reclaim your evenings, improve your health, and stop the "money leak" that is constant takeout. This meal prep guide isn't about spending your entire Sunday in the kitchen or eating identical, bland chicken and broccoli for five days straight. At CookBuddyGuide, our philosophy is "Practicality Over Perfection." I’m going to show you my exact kitchen prep workflow that takes just two hours and sets you up for a week of delicious, varied, and stress-free meals.
Table of Contents
Why Meal Prepping is a Game Changer for Busy Home Cooks
The Mental Load of 'What’s for Dinner?'
In my experience, the hardest part of cooking isn't the actual chopping or sautéing—it’s the decision-making. Decision fatigue is real. By the time evening rolls around, your brain has made thousands of choices, and deciding between tacos or pasta feels monumental. When you follow a weekly meal plan, you remove that mental load entirely. The decision was made on Sunday when you were fresh and focused. You don't have to think; you just have to heat and eat.
How Prepping Saves $100+ on Monthly Groceries
Statistical data consistently shows that cooking at home costs about half as much per serving as eating out. But more specifically, meal prepping drives food waste reduction. According to the USDA, the average American family wastes nearly 30% of the food they buy. When you prep, you buy with a purpose. That bunch of cilantro isn't going to turn into a slimy mess in the crisper drawer because you’ve already designated it for your Monday lime crema and your Wednesday grain bowl. Over the last decade, I’ve found that a disciplined prep routine easily saves my family $120 to $150 every single month.
Phase 1: The Strategic Menu Plan (The 'Brain' Work)
The biggest mistake I see beginners make is trying to cook five different complex recipes in one day. That is a recipe for burnout. Instead, we use what I call the "Anchor Method."
The 'Anchor' Method: Choosing Your Proteins and Grains
Instead of thinking in "recipes," think in "components." Pick two "anchor" proteins, two "anchor" grains, and three to four versatile vegetables. For example:
- Proteins: Shredded chicken and black beans.
- Grains: Quinoa and brown rice.
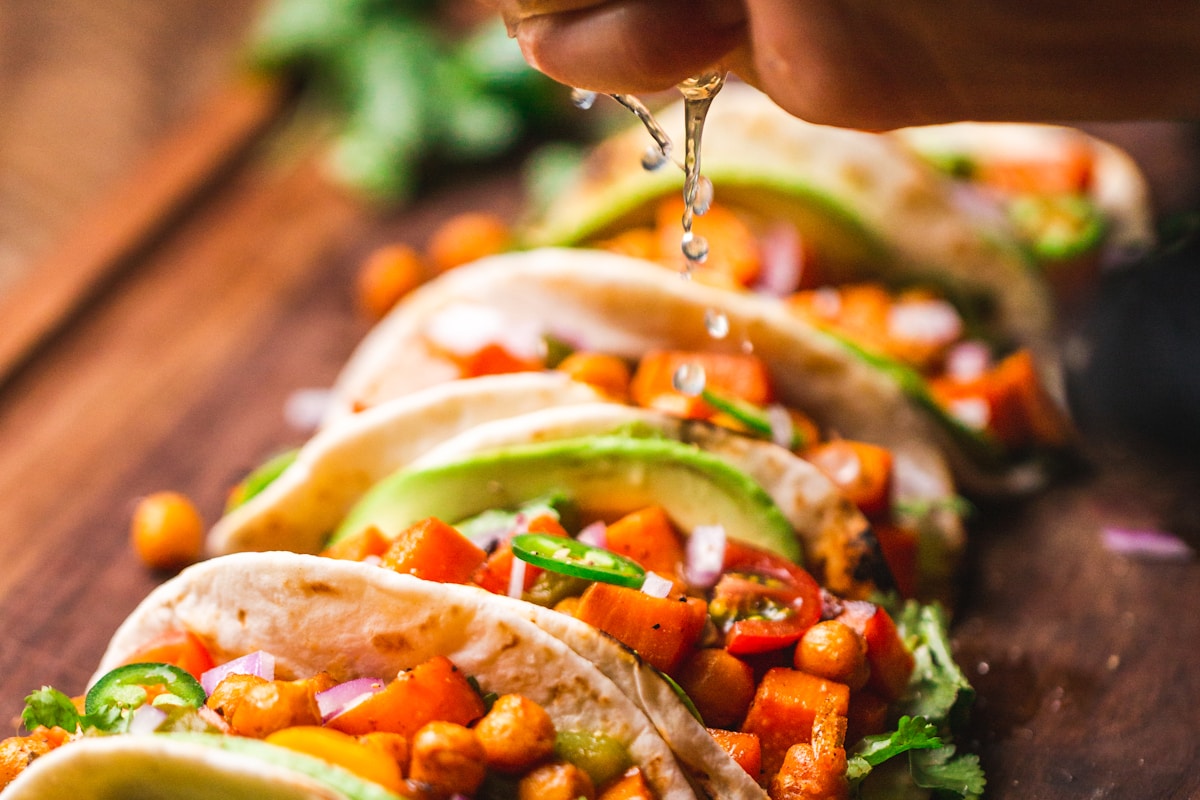
- Veggies: Roasted sweet potatoes, sautéed kale, and raw bell peppers.
The Rule of Three: Why Beginners Should Never Prep 21 Meals
When you're starting out, aim to prep for three days, not seven. Food tastes best within the first 72 hours, and psychologically, it’s easier to commit to a 3-day plan. I discovered that when I tried to prep 21 meals (breakfast, lunch, and dinner for 7 days), I ended up throwing away half of it because I got bored or my plans changed. Start small. Prep your lunches or just your dinners to build the habit.
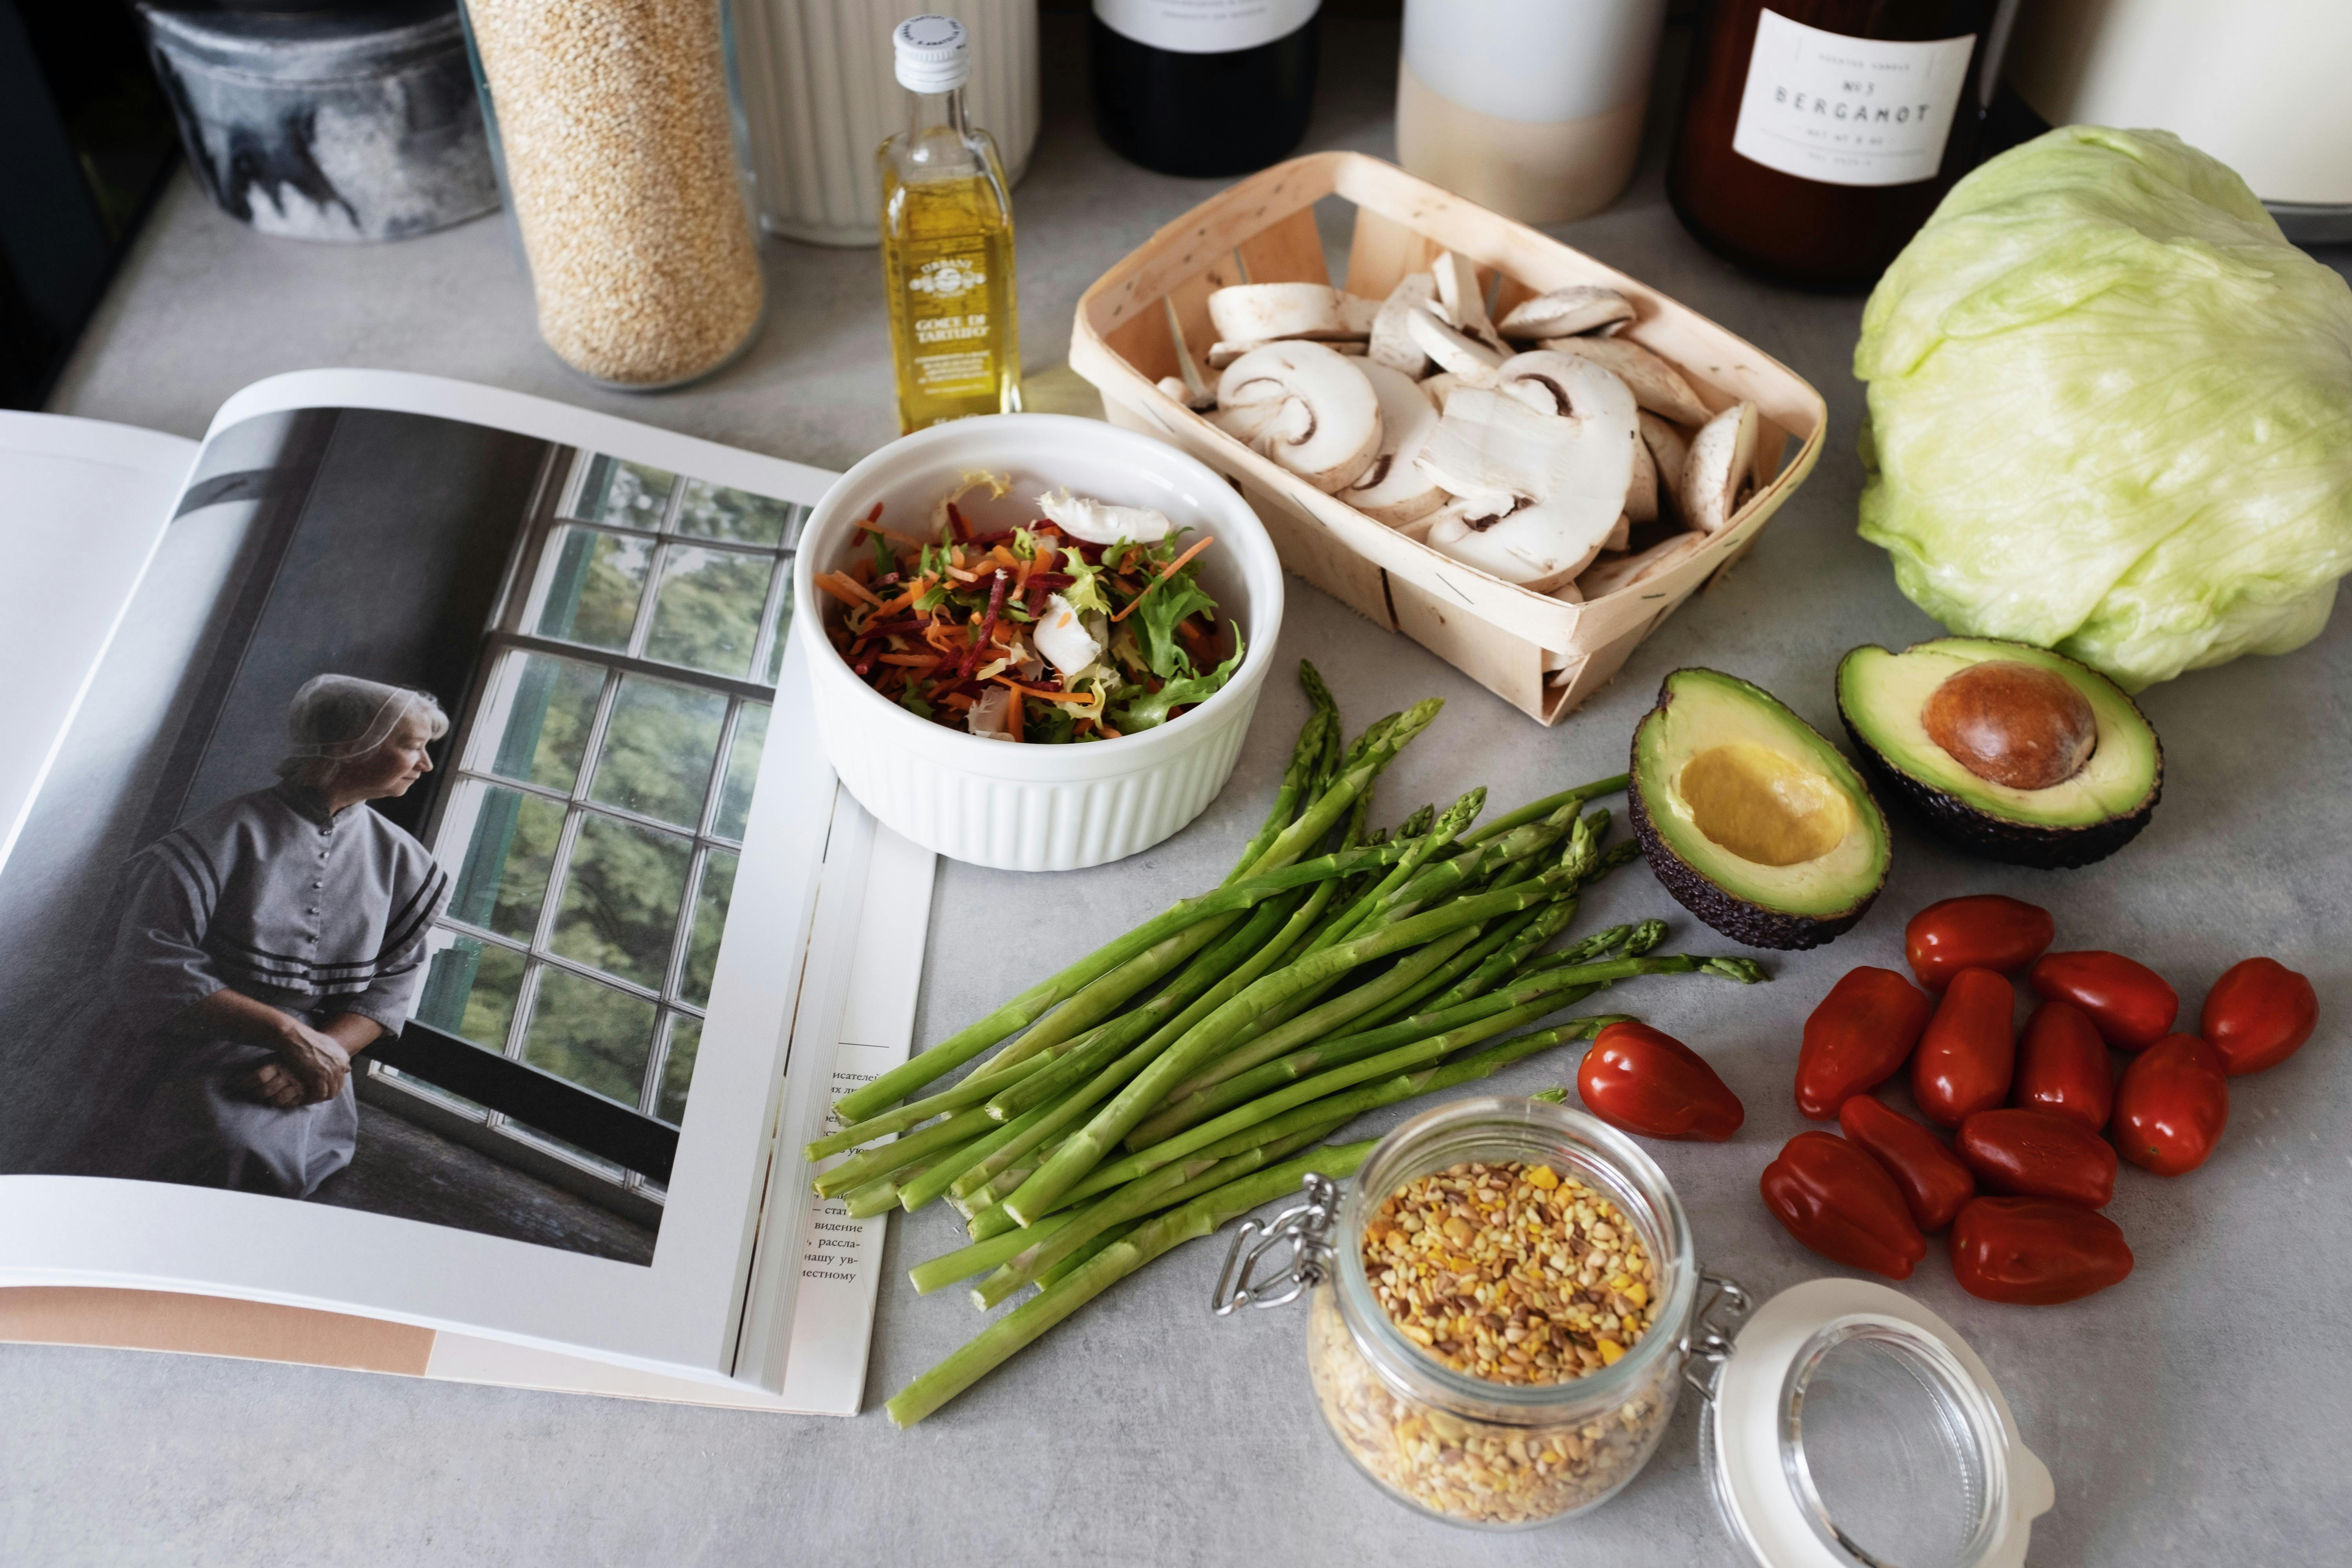
Inventory Check: Shop Your Pantry First
Before you write a single item on your list, do an inventory check. I can’t tell you how many times I’ve bought a new jar of cumin only to find three open ones hiding in the back of my spice cabinet. Check expiration dates and see what "anchors" you already have. Maybe you have a bag of lentils that’s been sitting there for months—make that your protein anchor for the week!
Phase 2: Building a High-Efficiency Shopping List
Organizing Your List by Grocery Store Aisle
A disorganized shopping list is a time-waster. Group your items by section: Produce, Meat/Dairy, Grains/Canned Goods, and Frozen. This prevents you from running back and forth across the store. Grocery budgeting becomes much easier when you stay in the perimeter of the store where the whole foods live.
Pro Tip: Buy pre-washed greens and pre-cut butternut squash if you are short on time. While it costs a bit more, saving that 20 minutes of prep can be the difference between successfully prepping and giving up halfway through. Also, utilize the "Bulk Bin" advantage for grains and spices—you can buy exactly 1 cup of quinoa or 2 tablespoons of a specific spice for pennies.
Downloadable Meal Prep Shopping Template
I’ve developed a streamlined template that I use every week. It includes a section for "Inventory Finds" and "Aisle-by-Aisle" categories. You can download my Meal Prep Shopping Template PDF here [Link Placeholder] to make your next trip to the store a breeze.
Phase 3: The 2-Hour Meal Prep Timeline (Step-by-Step)
Efficiency is all about kitchen prep workflow. You want to maximize "passive time"—the time food spends in the oven or slow cooker while you are doing active work like chopping.
0-30 Minutes: The High-Heat Phase (Oven and Stovetop)
- Preheat your oven to 400°F (200°C).
- Start your grains. Whether you are using a rice cooker or the stovetop, get your quinoa or rice going first. I recommend reading this guide on batch cooking grains for efficiency to ensure they don't turn out mushy.
- Season your proteins (chicken breasts, tofu, or salmon) and place them on sheet pans.
- Toss your "hardy" veggies (broccoli, cauliflower, carrots) in olive oil and salt and get them in the oven.
30-90 Minutes: The Chop and Wash (Vegetable Prep)
While the oven does the heavy lifting, it's time for active prep. This is where essential knife skills for prep come into play. If you can't dice an onion in under 60 seconds, check out Serious Eats' knife skills guide.
- Wash and dry all leafy greens. Testing note: Use a salad spinner; moisture is the enemy of shelf-life.
- Dice onions, peppers, and celery. These can be stored together if they are going into the same dish later.
- Prepare your "flavor boosters"—whisk together a lemon tahini dressing or a balsamic vinaigrette.
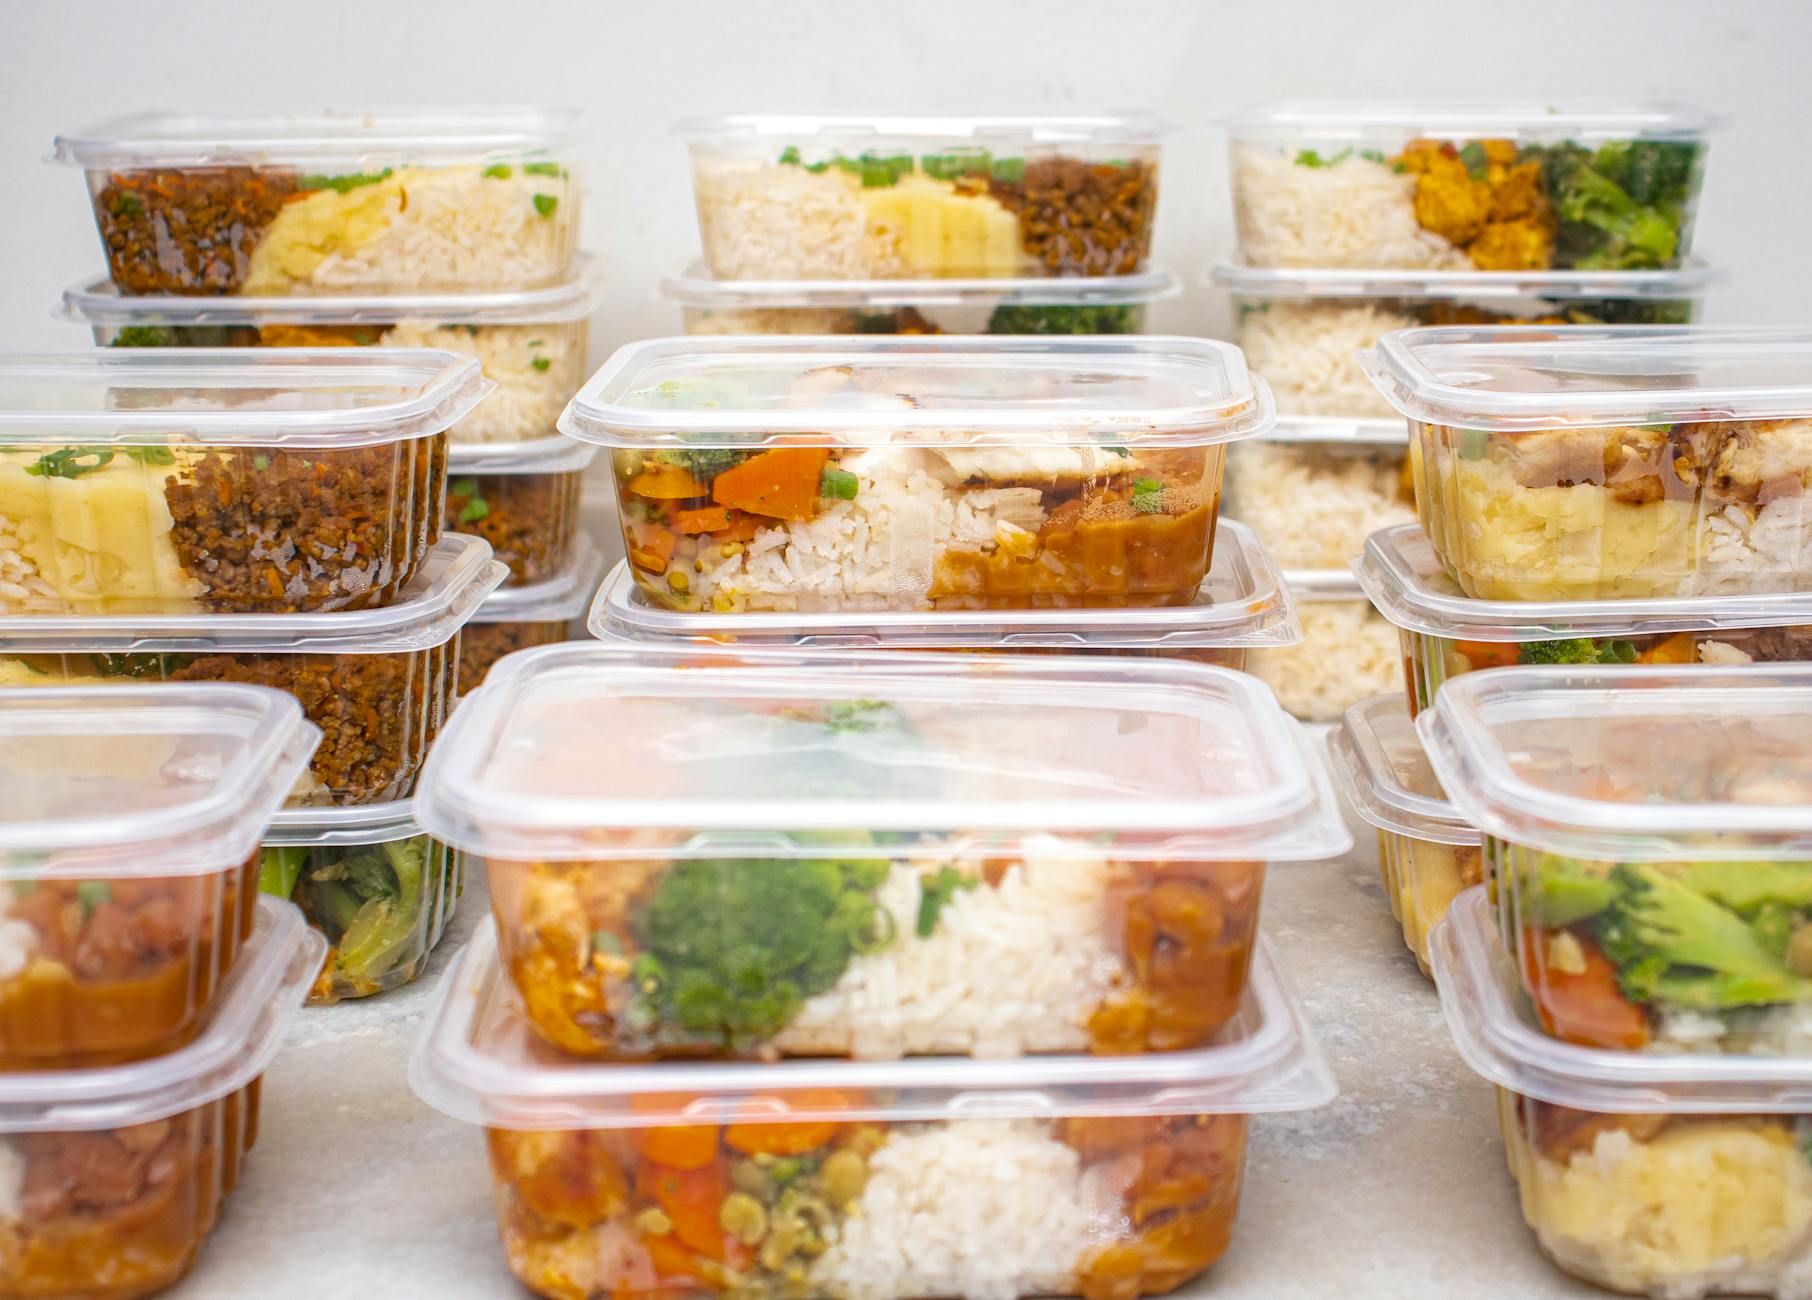
90-120 Minutes: Portioning and The 'Clean As You Go' Rule
By now, your grains are done and your roasted items are cooling. Never seal warm food in containers. This creates steam, which leads to soggy textures and potential food safety issues. While things cool, wash your bowls and cutting boards. Once everything is at room temperature, use glass meal prep containers for portion control. Divide your anchors into individual grab-and-go containers or large "family style" bins.
Essential Gear: What You Actually Need (and What You Don't)
You don't need a kitchen full of gadgets to succeed at how to meal prep for beginners. In fact, clutter often slows you down. After 15 years, these are my non-negotiables:
Glass vs. Plastic: The Longevity Debate
I strongly advocate for glass meal prep containers (like Pyrex or Snapware). Unlike plastic, glass doesn't stain, doesn't retain odors from that garlicky stir-fry, and is much safer for reheating in the microwave. Plus, you can see exactly what’s inside, which helps prevent food from being forgotten and becoming food waste.
The Three Tools That Speed Up Prep by 50%
- A Sharp 8-inch Chef’s Knife: A dull knife is dangerous and slow. I sharpen mine every few months and hone it before every prep session.
- Extra Large Sheet Pans: I use "half-sheet" pans (18x13 inches). They allow you to roast a massive amount of food without crowding, which ensures browning rather than steaming.
- Digital Kitchen Scale: Great for consistent portion control and ensuring you have enough protein for every meal.
5 Beginner-Friendly Recipes to Start This Week
Focus on "component cooking." These aren't just meals; they are building blocks for your week.
1. The 'Everything' Roasted Chicken and Veggie Sheet Pan
Ingredients: 2 lbs chicken breast, 1 head broccoli, 3 large carrots, 2 tbsp olive oil, 1 tbsp "Everything Bagel" seasoning.
Instructions: Cube chicken and chop veggies into uniform sizes. Toss with oil and seasoning. Roast at 400°F for 20-22 minutes. Storage: 4 days in fridge.
2. 15-Minute Quinoa and Black Bean Power Bowls
Ingredients: 2 cups cooked quinoa, 1 can black beans (rinsed), 1 cup frozen corn, lime juice, cilantro.
Instructions: Mix all ingredients in a large bowl. This is a "cold" prep item that actually tastes better the next day as the flavors meld. Storage: 5 days in fridge.
3. Slow Cooker Shredded Beef
Ingredients: 3 lb chuck roast, 1 cup beef broth, 2 cloves garlic, salt/pepper.
Instructions: Sear the beef (optional but recommended for flavor), then place in slow cooker for 8 hours on low. Shred with two forks. Storage: 4 days in fridge or 3 months in freezer.
If you love the "set it and forget it" style of cooking, check out our guide on easy crockpot freezer meals for even faster weekday wins. And don't forget the most important meal of the day—here are my favorite breakfast meal prep ideas to stop the cereal rut.
Food Safety and Storage 101
Nothing ruins a healthy eating habit like food poisoning. Understanding food safety and cross-contamination is vital when you are handling large volumes of food.
The '4-Day Rule' for Refrigerated Meals
According to the official safe refrigeration and storage guidelines, most cooked meats and vegetables are safe to eat for 3 to 4 days when kept at 40°F (4°C) or below. If I prep on Sunday, I make sure everything is eaten or frozen by Thursday night. Labeling hack: Use a piece of masking tape and a Sharpie to write the date on every container. It sounds extra, but you will forget when you made that rice!
How to Freeze and Thaw Without Losing Texture
Not everything freezes well. High-water content veggies like cucumbers or raw tomatoes will turn to mush. However, grains, cooked meats, and soups freeze beautifully. When reheating, I recommend adding a teaspoon of water to your grains before microwaving—it creates steam that revives the texture. Always follow reheating instructions carefully to ensure food reaches an internal temperature of 165°F.
Common Beginner Mistakes (and How to Avoid Them)
Mistake #1: Prepping Too Much Food
In the beginning, the enthusiasm is high. You prep 15 meals, but then a friend invites you to dinner on Wednesday, and you have a late meeting on Thursday. Suddenly, you have four containers of food going bad. Solution: Always leave 2 nights "open" for social spontaneity or leftovers.
Mistake #2: Forgetting the 'Crunch' Factor
One of the biggest complaints about meal prep is that everything feels "soft" by day three. I discovered that adding fresh garnishes at the moment of eating changes everything. Keep a small bag of toasted pumpkin seeds, fresh cilantro, or even some crushed tortilla chips to add that vital texture right before you eat. This simple step makes a prepped meal feel like a restaurant dish.
Frequently Asked Questions
A: Not at all! You can start with the containers you already have. The biggest investment is your time. In fact, most people see an immediate reduction in their grocery bill because they stop "impulse buying" at the store.
A: Under-cook your chicken by just a tiny bit (to 160°F instead of 165°F) if you know you'll be microwaving it later, or better yet, prep chicken thighs instead of breasts—they are much more forgiving and stay juicy.
A: Yes! This is where the kitchen prep workflow is even more important. Clean as you go and use your vertical space. A single sheet pan dinner is a small-kitchen hero.
Ready to Start Your Meal Prep Journey?
Learning how to meal prep for beginners is a skill that pays dividends for a lifetime. It’s about more than just food; it’s about taking control of your time and your health. If you're feeling overwhelmed, remember the Mayo Clinic's advice in their step-by-step meal planning guide: the goal is progress, not perfection. Start with one batch-cooked grain and one roasted protein this Sunday. You’ll be amazed at how much lighter your Monday feels.
What are you planning to prep first? Drop a comment below or tag @CookBuddyGuide in your prep photos—I’d love to see your kitchen wins!