Quick Answer
Thanksgiving Side Dishes is easiest to handle when you make one clear kitchen decision at a time. Use the table and steps below to identify the likely cause, choose the safest next move, and avoid changing several variables at once.
CookBuddy Kitchen Note
For Thanksgiving Side Dishes, this guide centers on Chop Everything, Dry Your Bread, Clear the Fridge. Those are the checkpoints we would use first in a normal home kitchen before making a bigger change.
Decision table
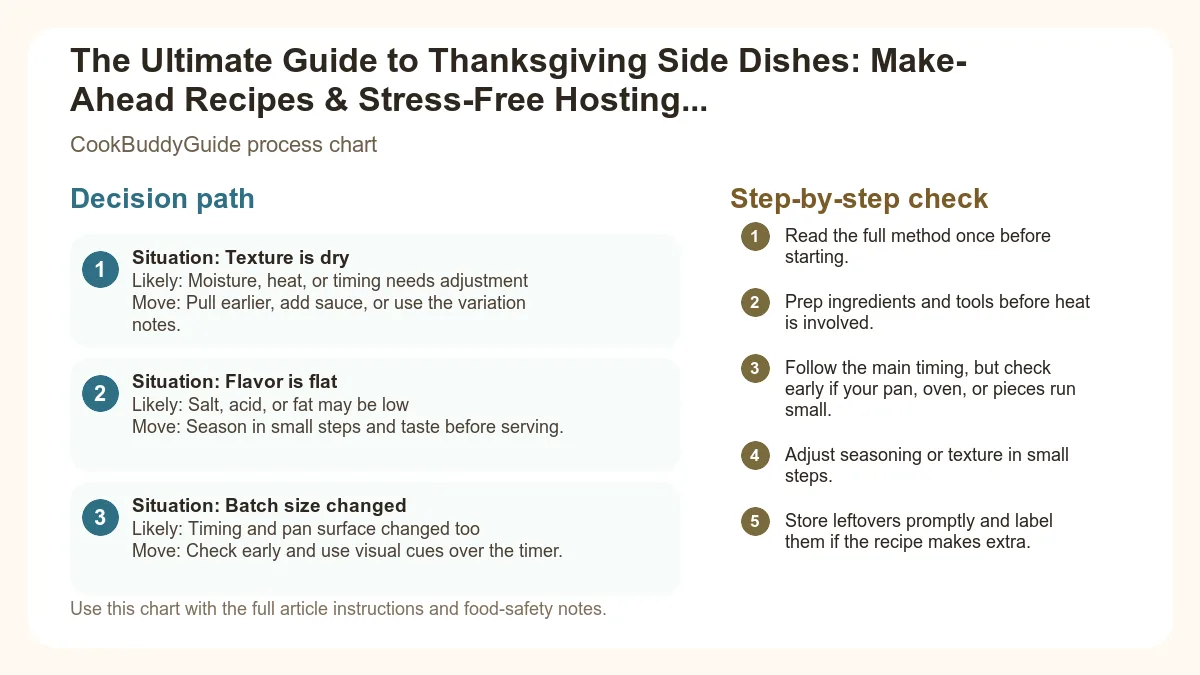
| Situation | Likely cause or meaning | Best move |
|---|---|---|
| Texture is dry | Moisture, heat, or timing needs adjustment | Pull earlier, add sauce, or use the variation notes. |
| Flavor is flat | Salt, acid, or fat may be low | Season in small steps and taste before serving. |
| Batch size changed | Timing and pan surface changed too | Check early and use visual cues over the timer. |
Step-by-step fix
- Read the full method once before starting.
- Prep ingredients and tools before heat is involved.
- Follow the main timing, but check early if your pan, oven, or pieces run small.
- Adjust seasoning or texture in small steps.
- Store leftovers promptly and label them if the recipe makes extra.
Common mistakes
- Changing the recipe before trying the base method once.
- Measuring casually when texture depends on ratios.
- Waiting until the end to fix seasoning.
- Ignoring carryover heat or resting time.
Useful next reads
Helpful tools for this guide
- instant-read thermometer
- digital kitchen scale
- cutting board
- airtight storage containers
Related topic hubs
The Ultimate Guide to Thanksgiving Side Dishes: Make-Ahead Recipes & Stress-Free Hosting Schedule
I remember the Thanksgiving of 2012 vividly—not because of the perfectly roasted turkey, but because of the tears I shed over a cold casserole dish of green beans while my mashed potatoes turned into a gummy paste on the stove. I had tried to cook everything from scratch on Thursday morning, and by 2:00 PM, I was a frazzled mess, my kitchen timer was screaming, and my oven was so packed that nothing was actually cooking. Since then, I’ve spent over 15 years testing recipes and refining my thanksgiving side dishes strategy at CookBuddyGuide.com to ensure that no home cook ever has to experience that level of holiday burnout again.
The secret to a successful holiday isn't being a faster chopper; it's being a better strategist. By shifting 80% of your workload to the days leading up to the big event, you can actually enjoy a glass of wine with your guests instead of hovering over a steaming pot. In this guide, I’m sharing my master plan for the best make ahead thanksgiving sides, including the exact schedules, reheating tips, and oven management tricks I use in my own kitchen every year.
In This Guide:
- The Strategy: Why Make-Ahead is a Game Changer
- The Master 3-Day Countdown Schedule
- Classic Green Bean Casserole: The Blanching Secret
- Creamy Mashed Potatoes: The Slow Cooker Trick
- The Ultimate Thanksgiving Stuffing (Dressing)
- Sweet Potato Casserole with Pecan Streusel
- Cranberry Sauce: The 5-Day Lead Time
- Roasted Brussels Sprouts with Balsamic Glaze
- Fluffy Dinner Rolls: Par-Baking and Freezing
- Mastering Oven Space & Logistics
- Common Mistakes & Quick Fixes
The Secret to a Stress-Free Thanksgiving: Why Strategy Beats Speed
The "Oven Tetris" Challenge
Most home kitchens are equipped with a single oven and four stovetop burners. When you consider a 14-pound turkey, three casseroles, a tray of roasted vegetables, and a batch of rolls, the math simply doesn't add up. This is what I call "Oven Tetris." If you try to cook everything simultaneously, your oven temperature will fluctuate wildly every time you open the door, leading to unevenly cooked food and a holiday menu that's half-burnt and half-cold.
Why Make-Ahead is a Game Changer for Home Cooks
Through years of professional recipe testing, I’ve discovered that many thanksgiving side dishes actually taste better when they've had time for their flavors to meld. For instance, the aromatics in stuffing deepen after a night in the fridge, and cranberry sauce develops a richer pectin set. Embracing the best make ahead thanksgiving sides allows you to focus on the turkey and the people on Thursday. The psychological relief of knowing your casserole preparation is done by Wednesday evening is the best gift you can give yourself.
Your Master Make-Ahead Schedule: A 3-Day Countdown
To avoid burnout, we break the labor into manageable chunks. Proper kitchen management is about doing 30-60 minutes of work each day rather than 8 hours on Thursday.
3 Days Out: The Prep Phase (Monday/Tuesday)
- Chop Everything: Onions, celery, and carrots can be chopped and stored in airtight containers.
- Dry Your Bread: If making stuffing from scratch, cube your bread and leave it out on baking sheets to stale, or toast it in a low oven.
- Clear the Fridge: Eat your leftovers now. You will need every square inch of food storage space for your prepped dishes.
2 Days Out: The Cold Sides & Sauces (Tuesday/Wednesday)
- Cranberry Sauce: This is the ultimate "set it and forget it" dish. It keeps perfectly for up to a week.
- Blanch the Veggies: Blanch your green beans and shock them in ice water. This preserves their vibrant green color.
- Make the Toppings: Prepare the pecan streusel for the sweet potatoes and the toasted breadcrumbs for the green beans. Store them at room temperature.
1 Day Out: The Heavy Lifting (Wednesday)
- Assemble Casseroles: Prepare the sweet potato base and the green bean mushroom sauce. Do not bake them yet.
- Mashed Potatoes: Yes, you can make them now! I’ll show you the "Butter Buffer" technique below to keep them creamy.
- Par-Bake the Rolls: Bake your rolls until they are set but not browned.
Thanksgiving Morning: The Final Assembly
- Room Temp Transition: Take your casseroles out of the fridge 1 hour before baking so they aren't going into the oven ice-cold.
- The Resting Window: Use the 45-60 minutes while the turkey rests to do all your final reheating and browning.
Classic Green Bean Casserole: From Scratch and Make-Ahead
Forget the canned "mush" of the 1950s. My version uses fresh beans and a homemade mushroom velouté. In my testing, I found that using fresh beans provides a necessary structural integrity that holds up during reheating.
The Fresh Green Bean Method
The Blanching Secret: Boil your fresh trimmed beans in heavily salted water for exactly 4 minutes. Immediately plunge them into a bowl of ice water. This stops the cooking and locks in the chlorophyll. Drain them well; excess water is the enemy of a good casserole dish.
Make-Ahead Instructions: Prepare your mushroom cream sauce (onions, garlic, mushrooms, flour, heavy cream, and broth) on Wednesday. Store the blanched beans and the sauce in separate containers. On Thursday morning, toss them together in your baking dish.
Reheating Tips: Bake at 350°F for 20 minutes until bubbly. Oven space tip: If your main oven is full, this dish is the perfect candidate for a toaster oven or even an air fryer for the final 10-minute crisping of the fried onions.
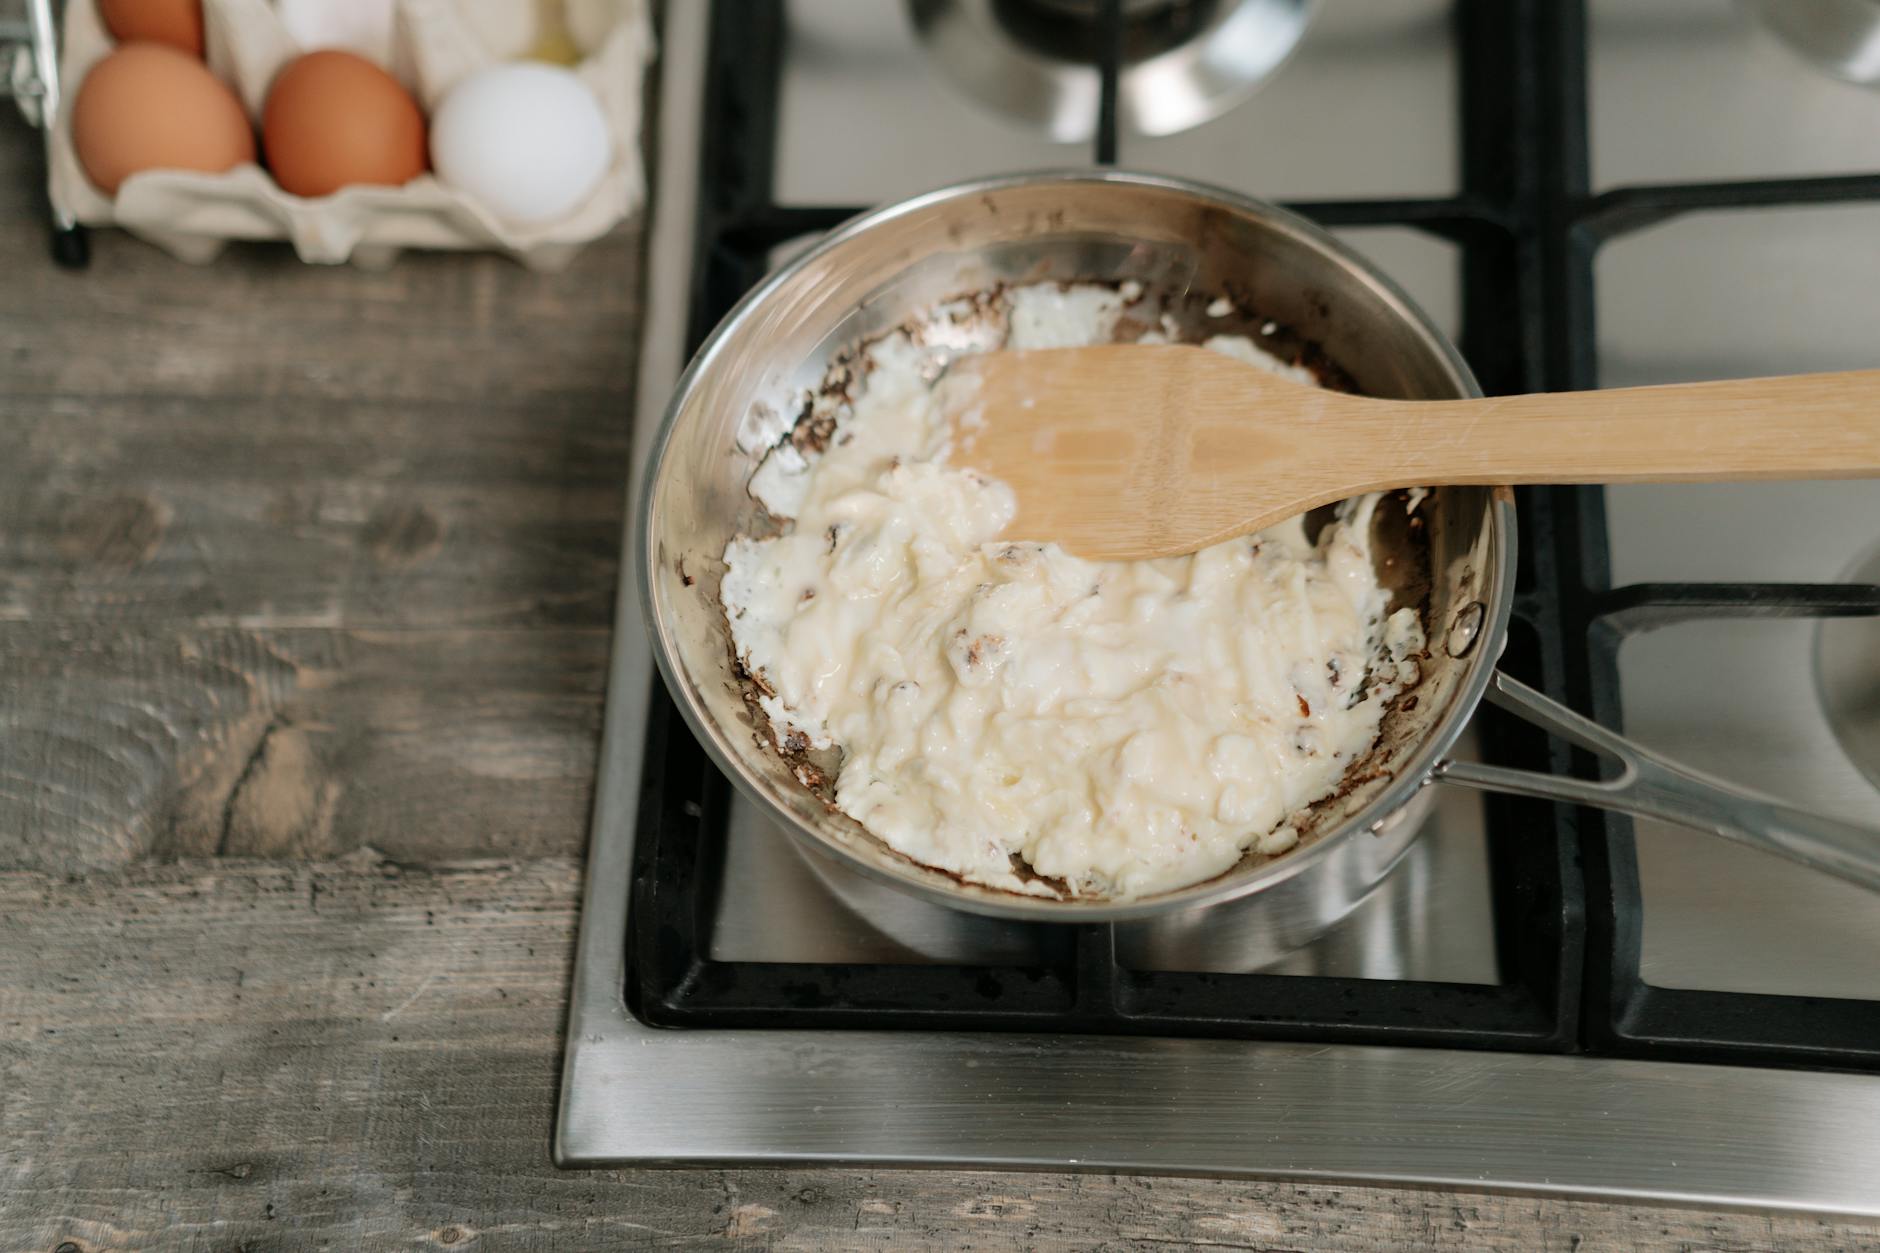
Creamy Mashed Potatoes: The Slow Cooker Holding Trick
The biggest fear with make-ahead potatoes is that they will turn into "library paste." After making this 20+ times, I’ve discovered that the variety of potato matters more than the technique. I always recommend Yukon Golds over Russets for reheating; they have a naturally buttery texture and a lower starch content that resists becoming gummy.
The "Butter Buffer" Technique
When making potatoes a day early, use 25% more butter and cream than you think you need. This extra fat coats the starch molecules, preventing them from bonding and becoming sticky during reheating tips. Once mashed, spread the potatoes in a thin layer in a baking dish, cover with plastic wrap pressed directly against the surface (to prevent a skin from forming), and refrigerate.
The Slow Cooker Trick: On Thanksgiving, transfer the cold potatoes to a slow cooker on the "Warm" setting 2 hours before dinner. Add a splash of warm milk and stir every 30 minutes. This frees up a burner and keeps them at a perfect serving temperature. For more efficiency, you can also look into Instant Pot Recipes for Beginners to speed up the initial boiling process.
The Ultimate Thanksgiving Stuffing (Dressing)
Stuffing is essentially a savory bread pudding. The most common mistake is using bread that is too fresh, which leads to the dreaded "Soggy Bottom." For the best thanksgiving side dishes, you want bread that is bone-dry.
Drying Your Own Bread vs. Store-Bought
While store-bought cubes are convenient, I prefer buying high-quality sourdough or brioche. Cube them into 1-inch pieces and toast them at 275°F for 45 minutes until they feel like croutons. This allows the bread to soak up the turkey stock without losing its shape.
Make-Ahead Instructions: To Bake or Not to Bake?
I recommend preparing the vegetable and broth mixture on Wednesday. Combine it with the dried bread, but do not bake it. The bread will absorb the liquid overnight, creating a much deeper flavor profile. If the mixture looks a little dry on Thursday morning, simply add an extra 1/2 cup of warm broth before sliding it into the oven. To ensure food safety, ensure the center of the stuffing reaches 165°F, especially if you've added sausage or eggs.
Sweet Potato Casserole with Pecan Streusel
This dish often teeters on the edge of being a dessert. To keep it firmly in the "side dish" category, I use a high ratio of pecans in the topping to provide a salty, crunchy contrast to the creamy potatoes. If you're looking for a lighter option, you might consider some healthy Thanksgiving recipe substitutions like reducing the sugar in the base and relying on the natural sweetness of the roasted tubers.
The Make-Ahead Breakdown
The Base: Roast your sweet potatoes (don't boil them—roasting intensifies the flavor) up to 3 days in advance. Mash them with your butter, spices, and a touch of maple syrup. Store in your casserole dish, covered, in the fridge.
The Topping: Mix your pecans, brown sugar, flour, and cold butter. Store this in a separate Ziploc bag in the fridge. Crucial Tip: Do not put the topping on the potatoes until the moment they go into the oven. If the topping sits on the moist potatoes in the fridge, it will turn into a soggy paste.
Reheating: Bake at 375°F for 25-30 minutes. If using marshmallows, add them only in the last 5 minutes of baking to prevent them from burning or dissolving.
Cranberry Sauce: The 5-Day Lead Time Essential
If you are still using the canned stuff with the ridges, let this be the year you switch. Fresh cranberry sauce is one of the easiest side dish recipes in existence. It is naturally high in pectin, meaning it thickens as it cools, making it the perfect candidate for early preparation.
Why it Tastes Better After 48 Hours
In my testing, fresh cranberry sauce needs at least 24 to 48 hours for the tartness of the berries to balance with the sugar and any aromatics you add. I love a "Triple Citrus" version using orange juice, zest, and a splash of Grand Marnier.
Storage Tips: Store in a glass jar to prevent any metallic taste transfer. It can be served chilled or at room temperature. If you notice any "weeping" (liquid separation), simply give it a vigorous stir before placing it in your serving bowl. According to America's Test Kitchen, cranberry sauce is one of the few dishes that can be fully cooked and stored for up to a week without any loss in quality.
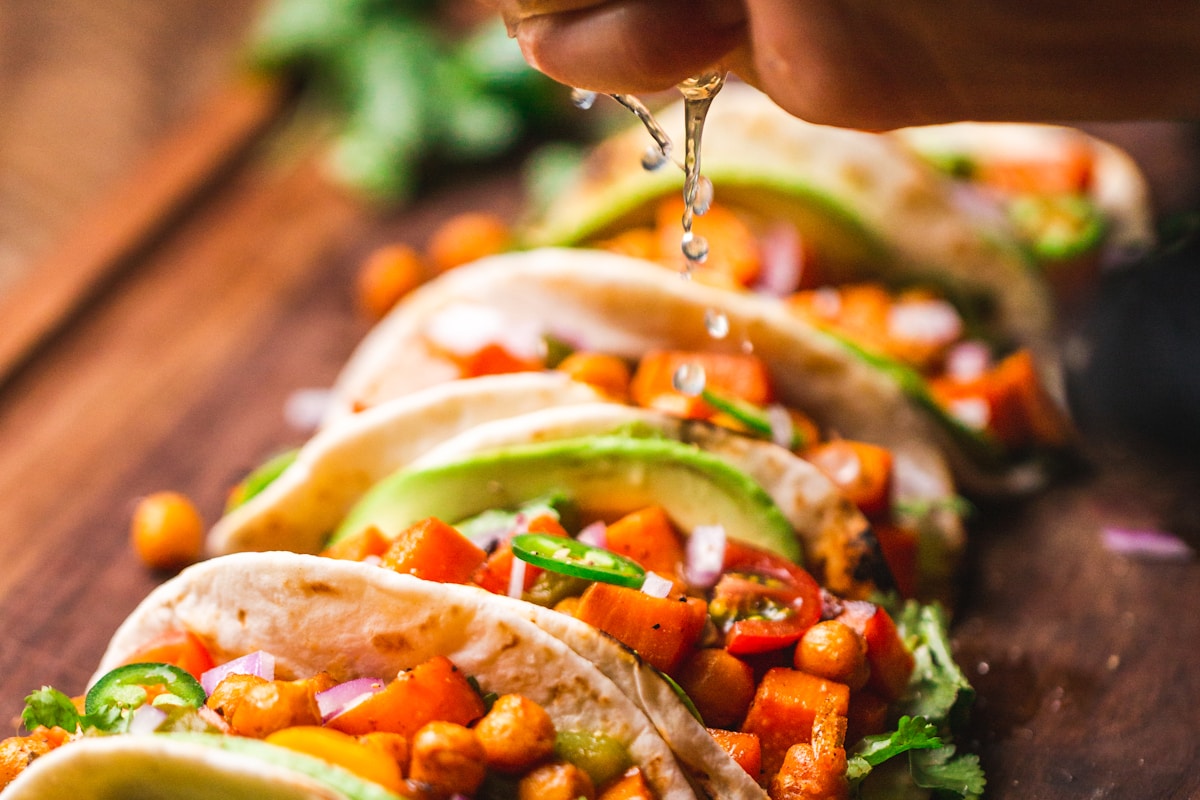
Roasted Brussels Sprouts with Balsamic Glaze
Roasted vegetables are notoriously difficult to make ahead because they lose their "crisp" almost immediately. However, I’ve perfected a "Flash Roast" technique that works wonders for holiday hosting.
The 'Flash Roast' Technique
On Wednesday, roast your halved Brussels sprouts at 400°F for about 15-18 minutes. They should be cooked through but only lightly browned, not charred. Remove them from the oven, let them cool completely on the baking sheet, and then refrigerate. On Thursday, spread them back out on a sheet pan and blast them at 425°F for 5-7 minutes. This high-heat "flash" will crisp the outer leaves and give you that sought-after char without overcooking the centers. Add your balsamic glaze and toasted walnuts only at the very last second before serving.
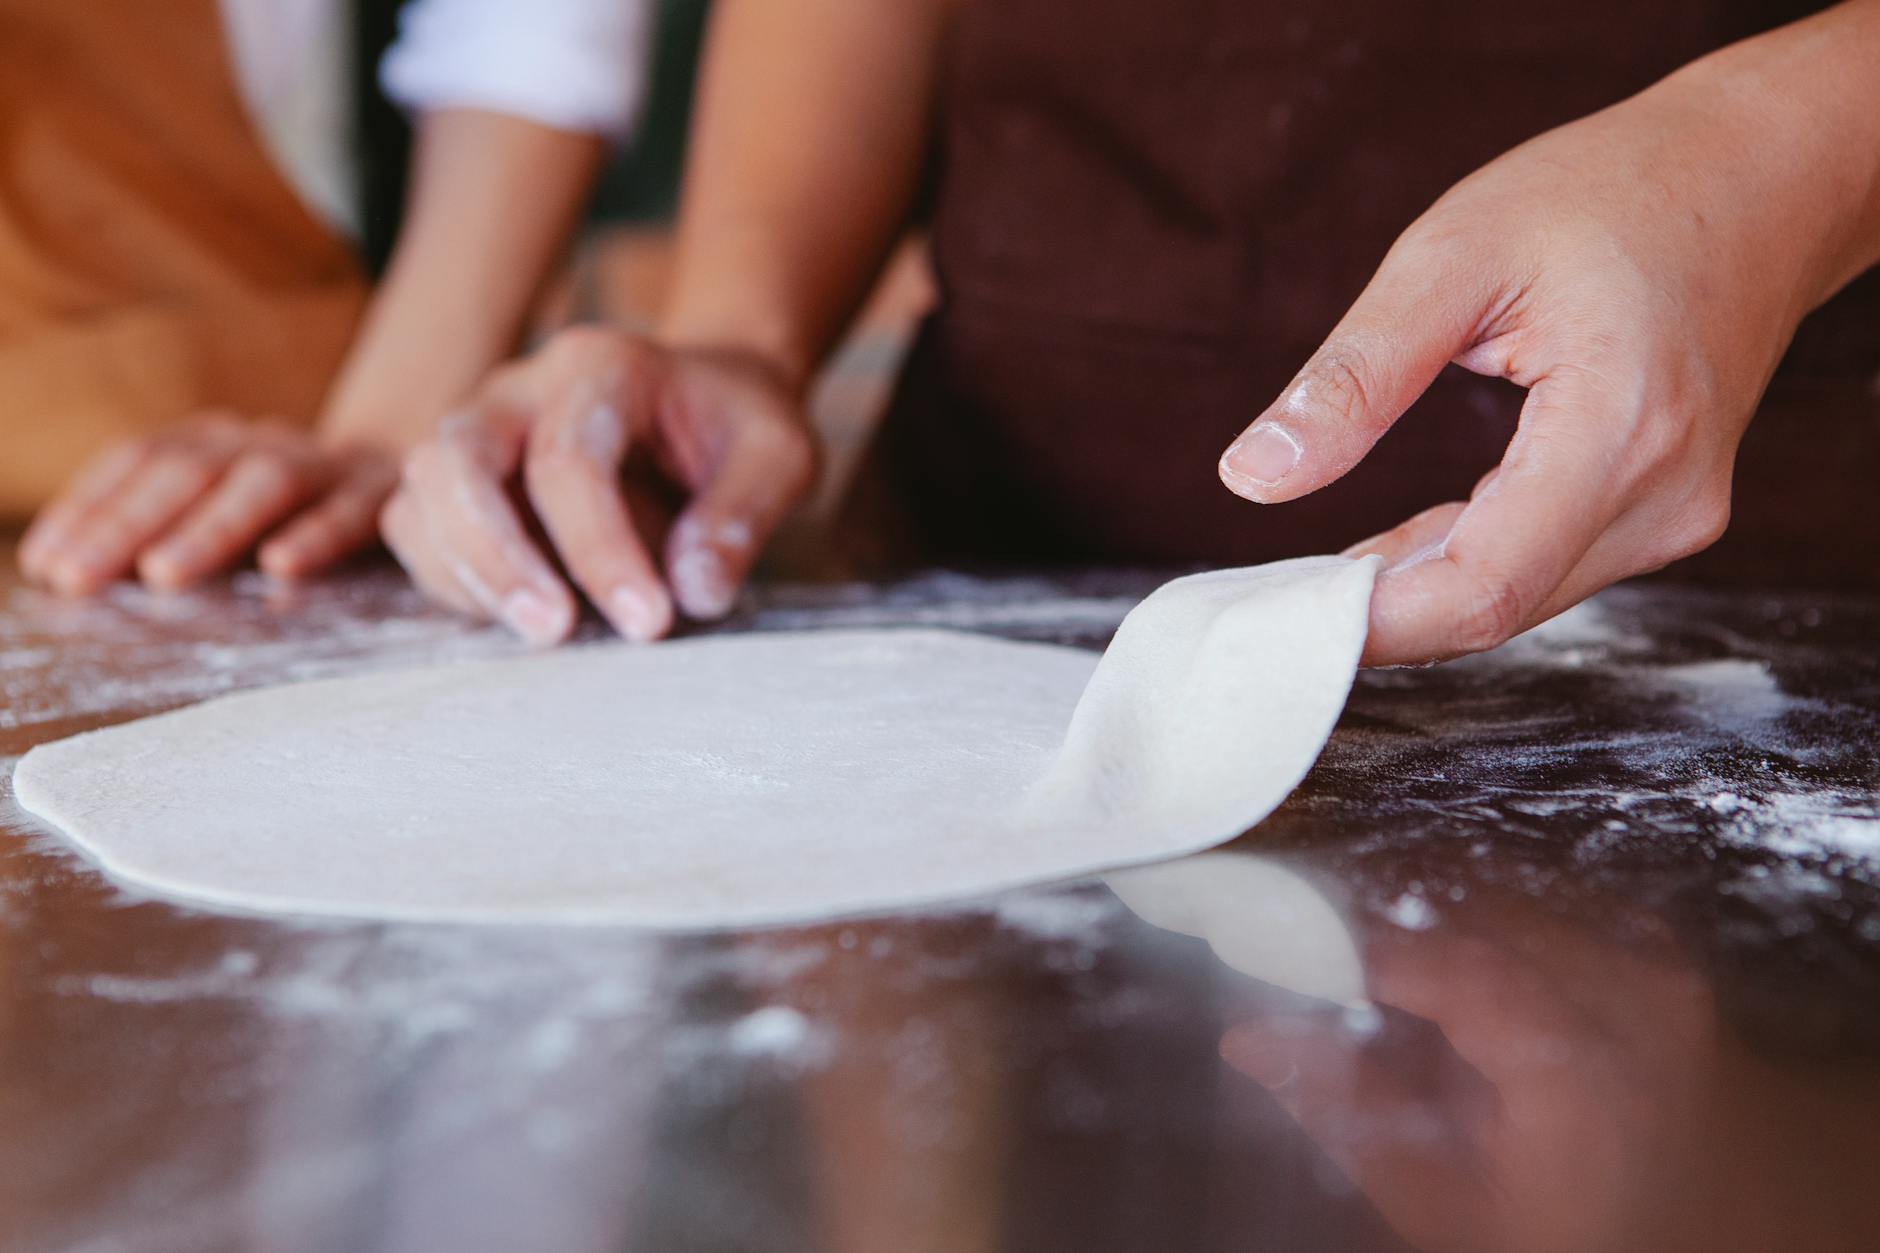
Fluffy Dinner Rolls: Par-Baking and Freezing
There is nothing like the smell of fresh bread on Thanksgiving Dinner, but kneading dough while the turkey is in the oven is a recipe for disaster. Par-baking is the professional baker's secret to fresh rolls on demand.
The 10-Minute Refresh Method
Make your favorite yeast roll dough. Bake the rolls at 350°F until they have risen and are set, but still pale (usually about 12-15 minutes). Let them cool, then wrap them tightly in foil and freeze. On Thursday, take them straight from the freezer to a 350°F oven for 10-12 minutes. They will finish browning and taste exactly like they were just made from scratch.
The Steam Trick: If your rolls feel a little dry, place a small pan of water on the bottom rack of the oven while they finish browning. The steam will soften the crust and make them extra fluffy.
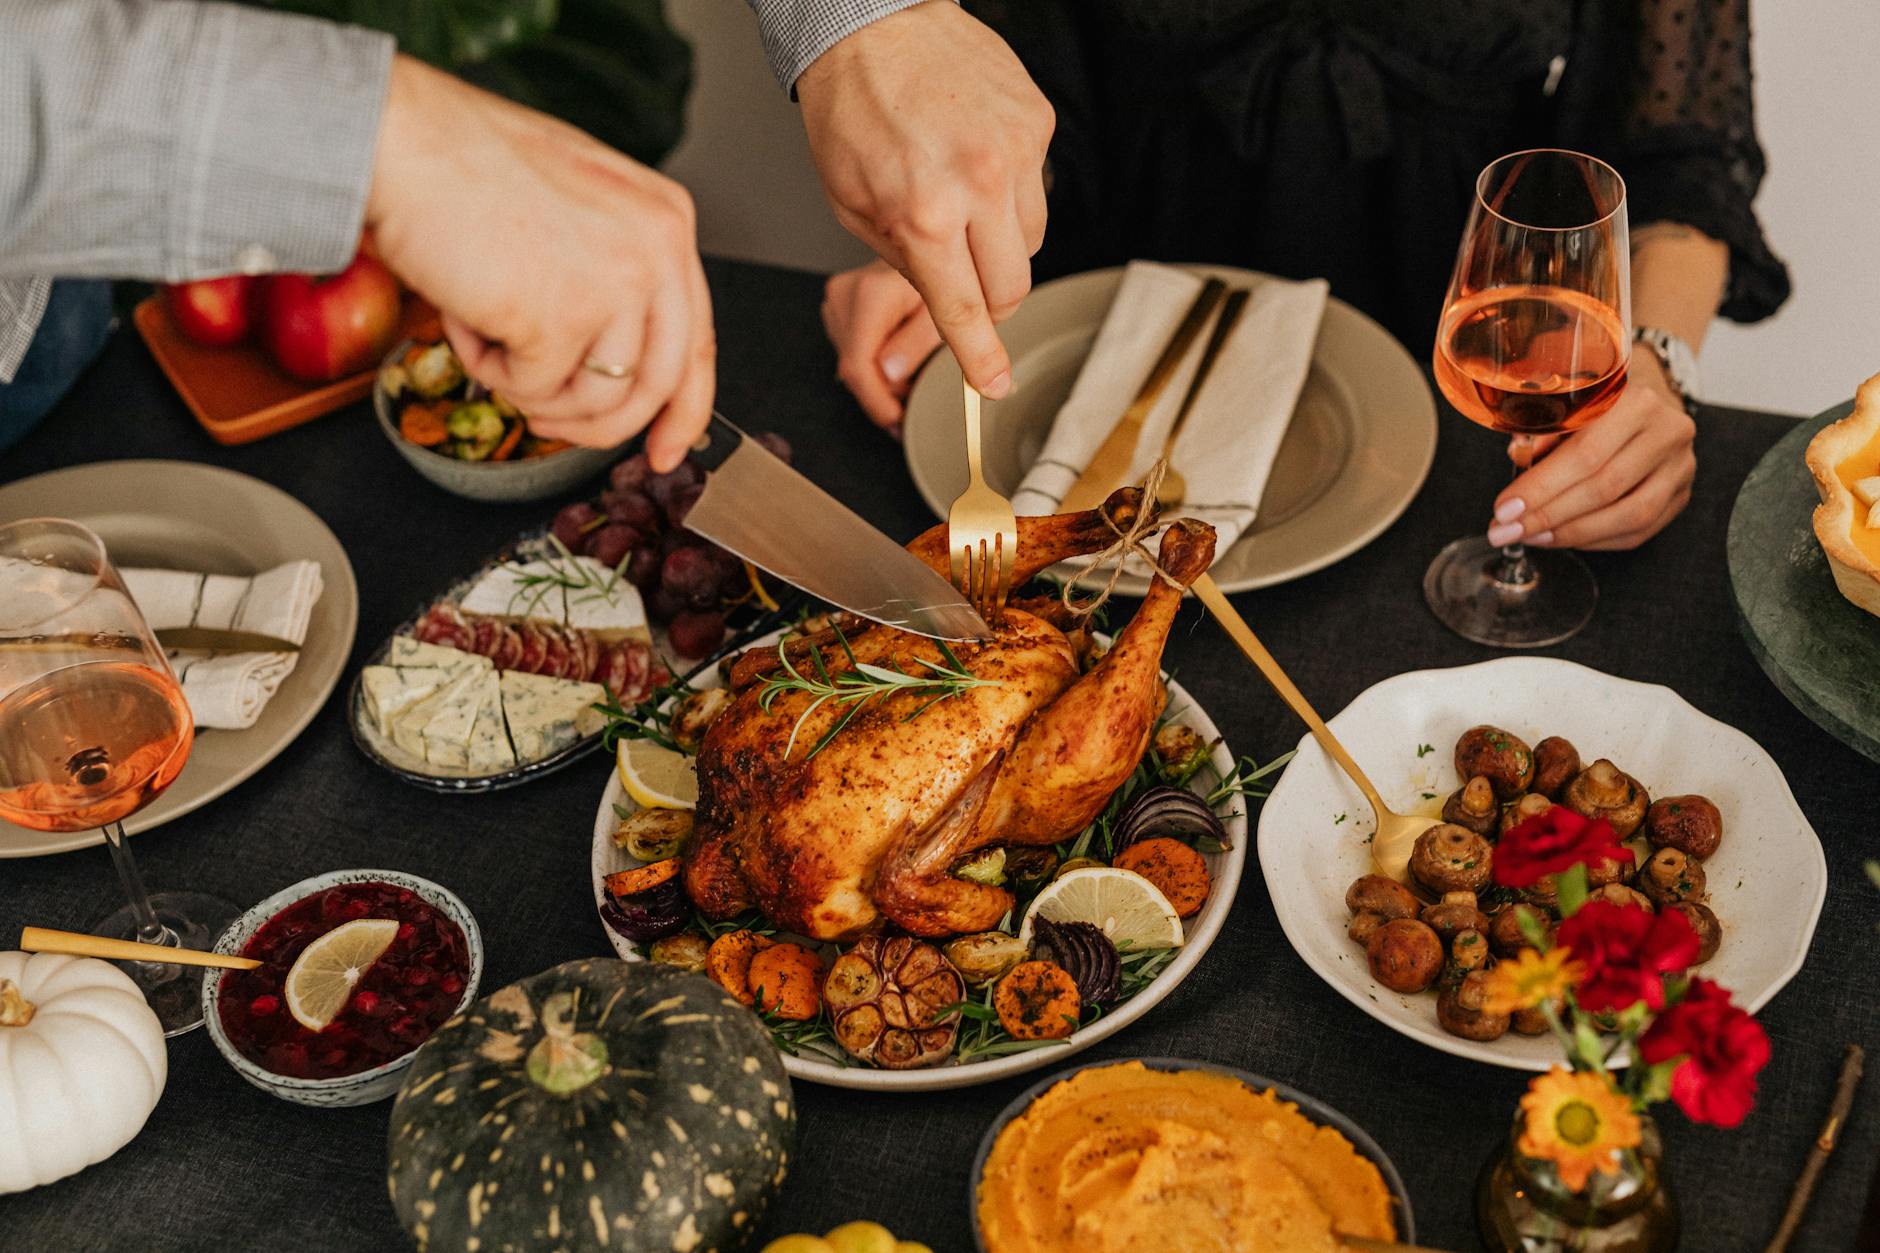
Mastering Oven Space: The Logistics of a Multi-Dish Meal
The most important part of Meal Planning is the final hour. You need to maximize oven space on Thanksgiving by utilizing the "Staggered Entry" method.
The 'Staggered Entry' Method
- The Turkey Window: Once the turkey comes out of the oven, it must rest for at least 45 minutes to allow the juices to redistribute. This is your prime baking time.
- Temperature Compatibility: Most thanksgiving side dishes bake well at 350°F or 375°F. Group your dishes by temperature. The stuffing and sweet potato casserole can usually share a rack.
- The Top Rack: Use the top rack for things that need browning (like the green bean casserole topping).
- Alternative Heat: Use your slow cooker for the potatoes, an air fryer for the sprouts, and a toaster oven for the rolls.
Common Thanksgiving Side Dish Mistakes (And How to Fix Them)
Even with the best prep ahead plan, things can go wrong. Here is my troubleshooting guide based on 15 years of kitchen "save" moments.
Final Thoughts for a Successful Holiday
Thanksgiving is about gratitude, not perfection. By using this make-ahead guide, you are reclaiming your time and ensuring that the food on the table is as warm as the company around it. Start your thanksgiving side dishes prep early, trust your kitchen timer, and remember: if the rolls get a little too brown, that's just extra flavor!
Happy cooking, and may your gravy always be lump-free!