
Quick Answer
How to Store Fresh Herbs is easiest to handle when you make one clear kitchen decision at a time. Use the table and steps below to identify the likely cause, choose the safest next move, and avoid changing several variables at once.
CookBuddy Kitchen Note
For How to Store Fresh Herbs, this guide centers on Cilantro, Parsley, Mint. Those are the checkpoints we would use first in a normal home kitchen before making a bigger change.
Decision table
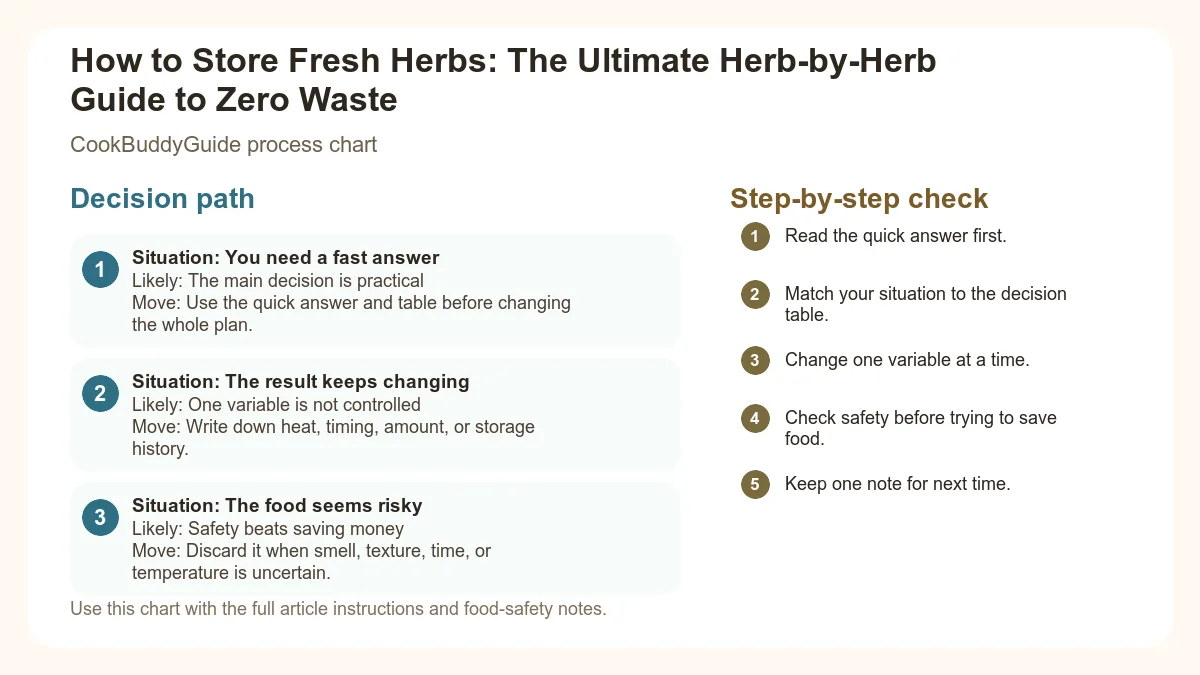
| Situation | Likely cause or meaning | Best move |
|---|---|---|
| You need a fast answer | The main decision is practical | Use the quick answer and table before changing the whole plan. |
| The result keeps changing | One variable is not controlled | Write down heat, timing, amount, or storage history. |
| The food seems risky | Safety beats saving money | Discard it when smell, texture, time, or temperature is uncertain. |
Step-by-step fix
- Read the quick answer first.
- Match your situation to the decision table.
- Change one variable at a time.
- Check safety before trying to save food.
- Keep one note for next time.
Common mistakes
- Skipping the quick answer and changing too much at once.
- Treating quality problems and safety problems the same way.
- Not writing down the detail that caused the repeat problem.
Useful next reads
Helpful tools for this guide
- instant-read thermometer
- digital kitchen scale
- cutting board
- airtight storage containers
Related topic hubs
How to Store Fresh Herbs: The Ultimate Herb-by-Herb Guide to Zero Waste
We’ve all been there: you’re standing at the kitchen counter at 6:30 PM, ready to garnish your masterpiece, only to reach into the vegetable drawer and pull out a bag of slimy, black sludge that used to be cilantro. It’s frustrating, it’s a waste of money, and it’s a total buzzkill for your dinner plans. After 15 years of testing recipes and how to store fresh herbs in my own kitchen for CookBuddyGuide.com, I can tell you that most of that waste is completely preventable. In fact, with the right techniques, you can keep herbs fresh for three weeks or even longer, rather than just three days.
The secret isn't a fancy gadget or a magic spray; it’s understanding the biological needs of the plant. Culinary herbs are still "alive" even after they’re cut, and they have very specific requirements regarding moisture, temperature, and airflow. In this guide, I’m going to share the exact methods I use to ensure I never throw away a bunch of parsley again. Whether you're trying to master essential meal prep strategies or looking to brighten up your fresh no-cook summer recipes, mastering herb storage is the ultimate kitchen hack.
Table of Contents
- The Science of Herb Longevity: Why They Wilt
- Soft vs. Hardy: Identifying Your Herb Type
- The Mason Jar Method: Best for Soft Herbs
- The Paper Towel Wrap: Best for Hardy Herbs
- The Basil Exception: Why Your Basil Turns Black
- Long-Term Preservation: Freezing and Drying
- Quick-Reference Herb Storage Chart
- Common Mistakes and How to Fix Wilted Herbs
The Science of Herb Longevity: Why They Wilt
Respiration and Ethylene Gas
Once a herb is harvested, it doesn't just stop functioning. It continues to undergo respiration—taking in oxygen and breaking down stored sugars to stay alive. A byproduct of this process, and the subsequent decay, is ethylene gas. This is the same gas that ripens bananas and eventually turns them brown. In the confined space of a plastic grocery bag, ethylene gas builds up rapidly, accelerating the aging process of your herbs. In my testing, I’ve found that simply providing a little "breathing room" can double the shelf life of most greens.
The Role of Moisture Control
This is where most home cooks fail. Herbs are a delicate balance of hydration. Too little moisture and the cells lose turgor pressure, leading to wilting. Too much moisture, especially sitting directly on the leaves, encourages the growth of bacteria and mold. Oxidation also plays a role; when leaves are bruised or overly wet, they react with oxygen and begin to break down. To keep herbs fresh, we must provide humidity to the stems while keeping the leaves relatively dry.
Temperature Sensitivity
While we often think of the refrigerator as the ultimate preservative, it’s actually a hostile environment for certain plants. Most culinary herbs thrive in cool, but not freezing, temperatures. However, tropical herbs (like basil) suffer from "chilling injury" in the fridge, which disrupts their photosynthesis remnants and turns the leaves black almost instantly. Understanding which herbs are cold-hardy and which are cold-sensitive is the first step toward zero waste.
Soft vs. Hardy: Identifying Your Herb Type
Before you store anything, you need to categorize your haul. In my 15+ years of kitchen experience, I’ve found that herbs generally fall into two camps: the "Softies" and the "Tough Guys."
Soft Herbs (Tender Stems)
Soft herbs have tender, green, edible stems. They are high in moisture and very delicate. This category includes:
- Cilantro: Perhaps the most notorious for wilting.
- Parsley: Both flat-leaf and curly varieties.
- Mint: Which loves water but can easily rot.
- Dill: Very thin fronds that dry out quickly.
- Tarragon: Highly aromatic and very sensitive to heat.
Hardy Herbs (Woody Stems)
Hardy herbs have woody stems and tougher, often needle-like or leathery leaves. They generally grow in Mediterranean climates and are built to withstand more stress. This category includes:
- Rosemary: The sturdiest of the bunch.
- Thyme: Small leaves but very resilient.
- Sage: Fuzzy leaves that actually dislike excess surface moisture.
- Oregano: Tough stems that can handle the cold.
- Chives: While they look soft, they actually behave more like hardy herbs in storage.
The Mason Jar Method: Best for Soft Herbs
If you want your cilantro and parsley to last for weeks, you must treat them like a bouquet of flowers. This is often called the "bouquet technique," and storing herbs in mason jars is the most effective way to implement it. According to scientific testing on herb storage, this method consistently outperforms all others for tender herbs.
The Ultimate Soft Herb Storage Technique
- Trim the Stems: Use sharp kitchen shears to trim the bottom half-inch of the stems at a 45-degree angle. This increases the surface area for water uptake.
- Clean the Base: Remove any lower leaves that would sit below the water line. Leaves in water will rot, creating bacteria that kills the whole bunch.
- The Water Bath: Fill a clean mason jar with about 1-2 inches of cold water. Place the herbs in the jar.
- The Plastic Bag "Tent": This is the secret step. Loosely cover the top of the herbs with a plastic bag (the one from the grocery store is fine). This creates a high-humidity microclimate while still allowing for some air exchange. Secure it with a rubber band around the jar if you want to be extra precise.
- Refrigerate: Place the jar in the fridge, preferably on a shelf rather than in the back where it might freeze.
Testing Notes: In my side-by-side tests, cilantro stored in a grocery bag lasted 4 days before turning yellow. Cilantro stored using this mason jar method lasted 22 days. The key is to change the water every 2-3 days. If the water looks cloudy, change it immediately!
The Paper Towel Wrap: Best for Hardy Herbs
Hardy herbs like rosemary and thyme don't need to sit in a pool of water. In fact, doing so often leads to mold. Instead, they need a controlled, humid environment. This is where the damp paper towel method shines. This technique prevents the leaves from drying out while keeping them away from standing water.
The Damp Wrap Method for Woody Herbs
- Dampen, Don't Soak: Take a paper towel and run it under the tap. Wring it out thoroughly until it is just barely damp to the touch.
- The Wrap: Lay the herbs in a single layer on the towel and roll them up loosely like a cigar.
- The Container: Place the roll into an airtight container or a reusable silicone bag. If using a plastic bag, press out as much air as possible before sealing.
- Storage: Store this in the crisper drawer of your refrigerator storage.
Expert Tip: I discovered that if you use an herb saver (those tall plastic pods sold in stores), they work remarkably well for hardy herbs, but they take up a lot of vertical space. The paper towel wrap is much more space-efficient for busy home cooks with crowded fridges.
The Basil Exception: Why Your Basil Turns Black
Basil is the "problem child" of the herb world. It is incredibly sensitive to cold. If you put basil in the fridge, the leaves will turn black and slimy within 24 hours. This is because the cold temperature causes the cell walls to collapse, leading to rapid oxidation. To keep this herb alive, you have to treat it differently than any other.
According to America's Test Kitchen's research on the best way to store basil, the countertop is your only friend here.
The Countertop Basil Bouquet
- Trim and Jar: Trim the stems and place them in a jar of room-temperature water.
- Location Matters: Place the jar on your kitchen counter. Avoid direct sunlight, which can "cook" the leaves and cause yellowing. A shaded corner is best.
- The Darkness Trick: If your kitchen is very bright, loosely drape a paper bag over the top. This mimics the darkness they prefer for longevity once cut.
- Do NOT Refrigerate: I cannot stress this enough. Keep it away from the fridge!
Long-Term Preservation: Freezing and Drying
Sometimes you buy a massive bunch of herbs for one recipe and know you won't use the rest within two weeks. This is when you turn to long-term preservation. While drying is popular, I personally prefer freezing because it preserves the essential oils and vibrant flavor much better than air-drying.
The Herb Oil Cube Method
This is my favorite kitchen hack. Finely chop your leftover herbs (parsley, cilantro, or even rosemary) and pack them into an ice cube tray. Fill the remaining space with a neutral oil or extra virgin olive oil. Once frozen, pop the cubes into a freezer bag. When you're ready to cook, just drop a cube into your hot pan—the oil melts, and the herbs are perfectly sautéed. This is a great way to preserve herbs by freezing while maintaining their culinary integrity.
Flash Freezing
For herbs like chives or dill, where you want to keep the individual pieces separate, use the flash-freeze method. Spread chopped herbs in a single layer on a parchment-lined sheet pan. Freeze for 1 hour, then scrape them into a freezer-safe bag. They won't clump together, allowing you to shake out exactly what you need for a garnish.
Quick-Reference Herb Storage Chart
Use this chart as your go-to guide for every grocery trip. I recommend printing this out and taping it to the inside of your pantry door!
| Herb | Type | Storage Method | Location | Shelf Life |
|---|---|---|---|---|
| Cilantro | Soft | Jar with water + Bag tent | Refrigerator | 3 Weeks |
| Parsley | Soft | Jar with water + Bag tent | Refrigerator | 3 Weeks |
| Basil | Soft | Jar with water (No cover) | Countertop | 1 Week |
| Mint | Soft | Jar with water + Bag tent | Refrigerator | 2 Weeks |
| Dill | Soft | Damp paper towel wrap | Refrigerator | 10 Days |
| Rosemary | Hardy | Damp paper towel wrap | Refrigerator | 4 Weeks |
| Thyme | Hardy | Damp paper towel wrap | Refrigerator | 3 Weeks |
| Sage | Hardy | Damp paper towel wrap | Refrigerator | 2 Weeks |
| Chives | Hardy-ish | Dry paper towel wrap | Refrigerator | 10 Days |
| Oregano | Hardy | Damp paper towel wrap | Refrigerator | 2 Weeks |
For more detailed breakdowns on specific varieties, you can check out this guide on how to keep fresh herbs lasting longer from the Food Network experts.
Common Mistakes and How to Fix Wilted Herbs
The Ice Water Shock Treatment
If you find your parsley or cilantro has gone limp but isn't yet slimy or yellow, you can often revive it. This is a trick I learned in professional kitchens. Submerge the wilted herbs in a bowl of ice-cold water for 15 to 20 minutes. The cold water forces the plant cells to drink up, restoring turgor pressure. After the bath, spin them dry in a salad spinner and store them using the mason jar method. They’ll be as good as new!
Washing Before vs. After Storage
In my 15 years of experience, I’ve found that washing herbs before storage is a mistake for most home cooks. Grocery store "misting" systems already add a lot of surface moisture. If you wash them and don't get them 100% dry, you are inviting rot. It is much better to store them as they come from the store and wash them right before you use them. The only exception is if the herbs are extremely sandy (like leeks or some farm-market spinach), in which case you must wash and then use a salad spinner until they are bone-dry.
The "One Bad Leaf" Rule
Ethylene gas is contagious. If one leaf in your bunch starts to turn slimy or black, it will release gases that kill the rest of the bunch. Every time you pull your herbs out of the fridge, do a quick "triage." Remove any yellowing or soft leaves immediately. This simple 30-second habit can extend the life of the remaining bunch by several days.
Frequently Asked Questions
A: Absolutely. Any vessel that holds the stems upright in water will work. I prefer mason jars because they are sturdy and less likely to tip over in a crowded fridge.
A: Generally, no. Excess moisture is the enemy of storage. Only wash them if they are visibly covered in dirt, and if you do, ensure they are completely dry before wrapping or jarring them.
A: Your paper towel likely dried out. Check the wrap once a week; if it feels dry to the touch, give it a quick spritz of water to maintain the humidity.
Final Thoughts on Reducing Food Waste
Learning how to store fresh herbs is one of the most impactful skills you can develop to reduce food waste and save money. It takes less than five minutes when you get home from the store, but it pays off in flavor and freshness for weeks. Remember: soft herbs love a "bouquet" in the fridge, hardy herbs love a "damp wrap," and basil wants to stay on the counter. By following these simple rules, you’ll always have the perfect fresh garnish ready to go, no matter how busy your week gets. Happy cooking!