Quick Answer
15+ Spooktacular Halloween Treats for Kids is built around practical home-kitchen ratios and simple texture checks. Follow the main method first, then use the variation and troubleshooting notes to adjust sweetness, salt, moisture, or cook time.
CookBuddy Kitchen Note
For 15+ Spooktacular Halloween Treats for Kids, this guide centers on Edible Googly Eyes, Candy Melts, Pretzel Sticks and Rods. Those are the checkpoints we would use first in a normal home kitchen before making a bigger change.
Decision table
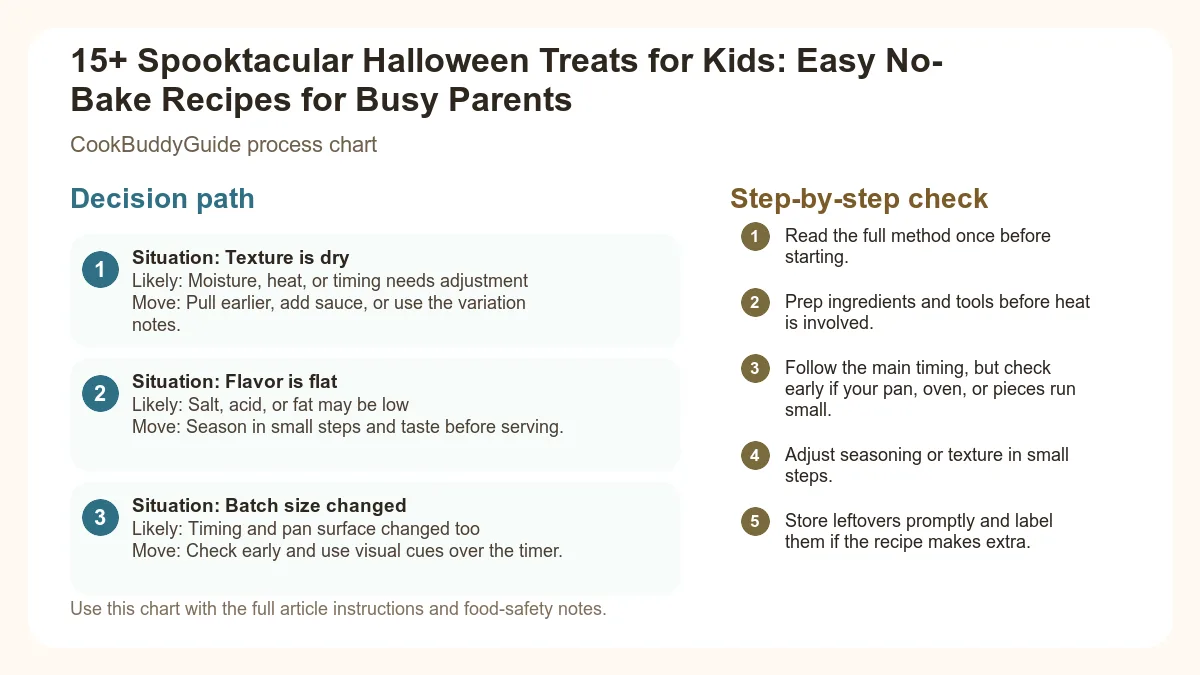
| Situation | Likely cause or meaning | Best move |
|---|---|---|
| Texture is dry | Moisture, heat, or timing needs adjustment | Pull earlier, add sauce, or use the variation notes. |
| Flavor is flat | Salt, acid, or fat may be low | Season in small steps and taste before serving. |
| Batch size changed | Timing and pan surface changed too | Check early and use visual cues over the timer. |
Step-by-step fix
- Read the full method once before starting.
- Prep ingredients and tools before heat is involved.
- Follow the main timing, but check early if your pan, oven, or pieces run small.
- Adjust seasoning or texture in small steps.
- Store leftovers promptly and label them if the recipe makes extra.
Common mistakes
- Changing the recipe before trying the base method once.
- Measuring casually when texture depends on ratios.
- Waiting until the end to fix seasoning.
- Ignoring carryover heat or resting time.
Useful next reads
Helpful tools for this guide
- instant-read thermometer
- digital kitchen scale
- cutting board
- airtight storage containers
Related topic hubs
15+ Spooktacular Halloween Treats for Kids: Easy No-Bake Recipes for Busy Parents
It’s 7:00 PM on a Tuesday in late October. You’ve just finished a long day of work, the kids are buzzing about their costumes, and you suddenly remember the "spooky snack" sign-up sheet for the school party tomorrow morning. We’ve all been there. The temptation to grab a bag of generic candy is real, but you want to bring something that feels special, festive, and—most importantly—doesn't require you to preheat an oven or scrub flour off your ceiling.
In my 15 years of testing recipes for CookBuddyGuide.com, I’ve learned that the most successful halloween treats for kids aren't the ones that take five hours to decorate. They are the ones that rely on easy assembly, clever use of edible crafts, and high-impact visuals. This guide is your ultimate survival manual for the spooky season. We are diving deep into no bake halloween treats that are school-safe treats, festive desserts, and even a few healthy Halloween snacks to balance out the sugar rush.
- Why No-Bake is a Parent's Best Friend
- Essential Supplies & Spooky Pantry Staples
- Pretzel Rod Witches Brooms (Sweet & Savory)
- Boo-nanas: Healthy Banana Ghosts
- Tangerine Pumpkins: The 30-Second Snack
- Oreo Spider Cookies
- Strawberry Draculas
- Rice Krispie Treat Jack-o-lanterns
- Allergy-Friendly Alternatives
- Hosting a Kids' Halloween Party
- Storage & Transportation Guide
Why No-Bake Halloween Treats are a Parent's Best Friend
Saving Time During the Spooky Season
October is arguably the busiest month for parents. Between soccer playoffs, costume hunting, and pumpkin patches, the kitchen often becomes a secondary thought. This is where no bake halloween treats shine. By removing the baking element, you eliminate the need for cooling times, which is often where "quick" recipes fail. In my testing, I found that I could assemble three different types of spooky snacks in the time it would take to bake and cool a single batch of cupcakes.
Kitchen Safety: Cooking Without the Oven
One of the biggest hurdles to involving toddlers and elementary-aged kids in the kitchen is the "hot zone." When you aren't dealing with 400-degree ovens or boiling sugar on a stovetop, the kitchen becomes a safe playground. These kid-friendly recipes allow your little ones to be the lead chefs. They can dip, stick, and decorate without you hovering nervously over their shoulders. It transforms a chore into a bonding activity.
The Joy of Edible Crafts for Kids
Think of these treats as edible crafts. For a child, putting edible googly eyes on a cookie is just as satisfying as painting a picture. It encourages fine motor skills and creativity. I’ve noticed that kids are much more likely to eat healthy Halloween snacks, like fruit-based ghosts, if they were the ones who gave the ghost its "face."
Essential Supplies for Your Halloween Treat Assembly Line
The 'Spooky' Pantry Staples
Before you start, you need a toolkit. After years of trial and error, I’ve narrowed down the must-haves that turn ordinary food into halloween treats for kids:
- Edible Googly Eyes: Available in various sizes. These are the MVP of Halloween.
- Candy Melts: Orange, green, and purple are the classics. They melt more predictably than standard chocolate chips.
- Pretzel Sticks and Rods: For "legs," "stems," and "broomsticks."
- Black Decorating Icing: Look for the tubes with fine-tip nozzles for detail work.
- Rice Cereal Treats: Premade or homemade, these are the perfect structural base.
- Clementines and Bananas: The foundation of your healthy options.
Tools for Precision and Fun
Don't underestimate the power of the right tool. I always keep a box of toothpicks on hand for applying tiny dots of icing. Parchment paper is another non-negotiable; it prevents candy melts from sticking to your counters and makes cleanup a breeze. If you are working with dark chocolate, having a microwave-safe silicone bowl makes the melting process much smoother. For those looking for professional results, check out this guide on the best ways to melt chocolate to avoid seizing and graininess.
Pretzel Rod Witches Brooms: A Sweet and Salty Classic
These are a staple at my house because they offer that perfect crunch. You can go two ways with these: the savory cheese version or the sweet chocolate version. Both use pretzel sticks as the handle.
The Savory Cheese & Chive Broom
Ingredients: 12 Pretzel sticks, 6 sticks of string cheese, fresh chives or Fruit Roll-Ups (for the tie).
- Cut each string cheese stick in half.
- On the cut end of each half, use a sharp knife to fringe the bottom half of the cheese (about 1 inch up) to create "bristles."
- Carefully push a pretzel stick into the uncut top end of the cheese. Pro-tip: Don't push too hard or the cheese will split!
- Tie a piece of chive or a thin strip of Fruit Roll-Up around the top of the cheese to hide the "seam."
The Chocolate and Shredded Wheat Sweet Version
In my testing, I discovered that if you want a sweet version, using shredded wheat cereal provides the best "broom" texture. Simply dip the end of a pretzel stick into melted dark chocolate, then press it into a small bundle of crushed shredded wheat. Let it set on parchment paper. It’s a festive dessert that isn't overly sugary.
Boo-nanas: Healthy Banana Ghosts
If you're looking for healthy Halloween snacks that actually get eaten, "Boo-nanas" are the winner. I’ve served these at preschool parties and adult mixers alike, and they always vanish first.
Banana Ghost Pops
Ingredients: 4 slightly under-ripe bananas, 1 cup white candy melts (or Greek yogurt for a healthier swap), mini chocolate chips.
- Peel the bananas and cut them in half crosswise.
- Insert a popsicle stick into the cut end.
- Dip the banana into the melted white chocolate or yogurt until fully coated.
- Place two mini chocolate chips near the tip for eyes and one for a wide "O" mouth.
- Freeze for 20 minutes if using yogurt, or let sit at room temperature if using chocolate.
Preventing Browning: The Secret Ingredient
The mistake I made the first time was using over-ripe bananas. They become too soft to hold the stick. Use bananas that are just barely yellow with a hint of green at the stem. To prevent browning while you work, lightly spritz the cut bananas with a mixture of water and lemon juice. This is a standard tip for many healthy snacks for kids to keep them looking fresh in lunchboxes.
Tangerine Pumpkins: The 30-Second Healthy Snack
When you are looking for last-minute treats, it doesn't get easier than this. These are perfect for school-safe treats because they are naturally nut-free, dairy-free, and gluten-free.
Peeling Tips for Clean Segments
The key here is using clementines or "Cuties" because they peel easily and stay in one piece. If you are prepping these for a large group, peel them all at once and keep them in a damp paper towel-lined container to prevent them from drying out.
The Best Edible 'Stems'
I’ve experimented with several "stems." Celery sticks are the most common, but I’ve found that a small sliver of green bell pepper or a tiny piece of cucumber skin actually looks more realistic. Simply tuck a 1/2 inch piece into the center hole of the peeled clementine. In my experience, kids find the celery version a bit "stringy," so the cucumber sliver is usually the winner.
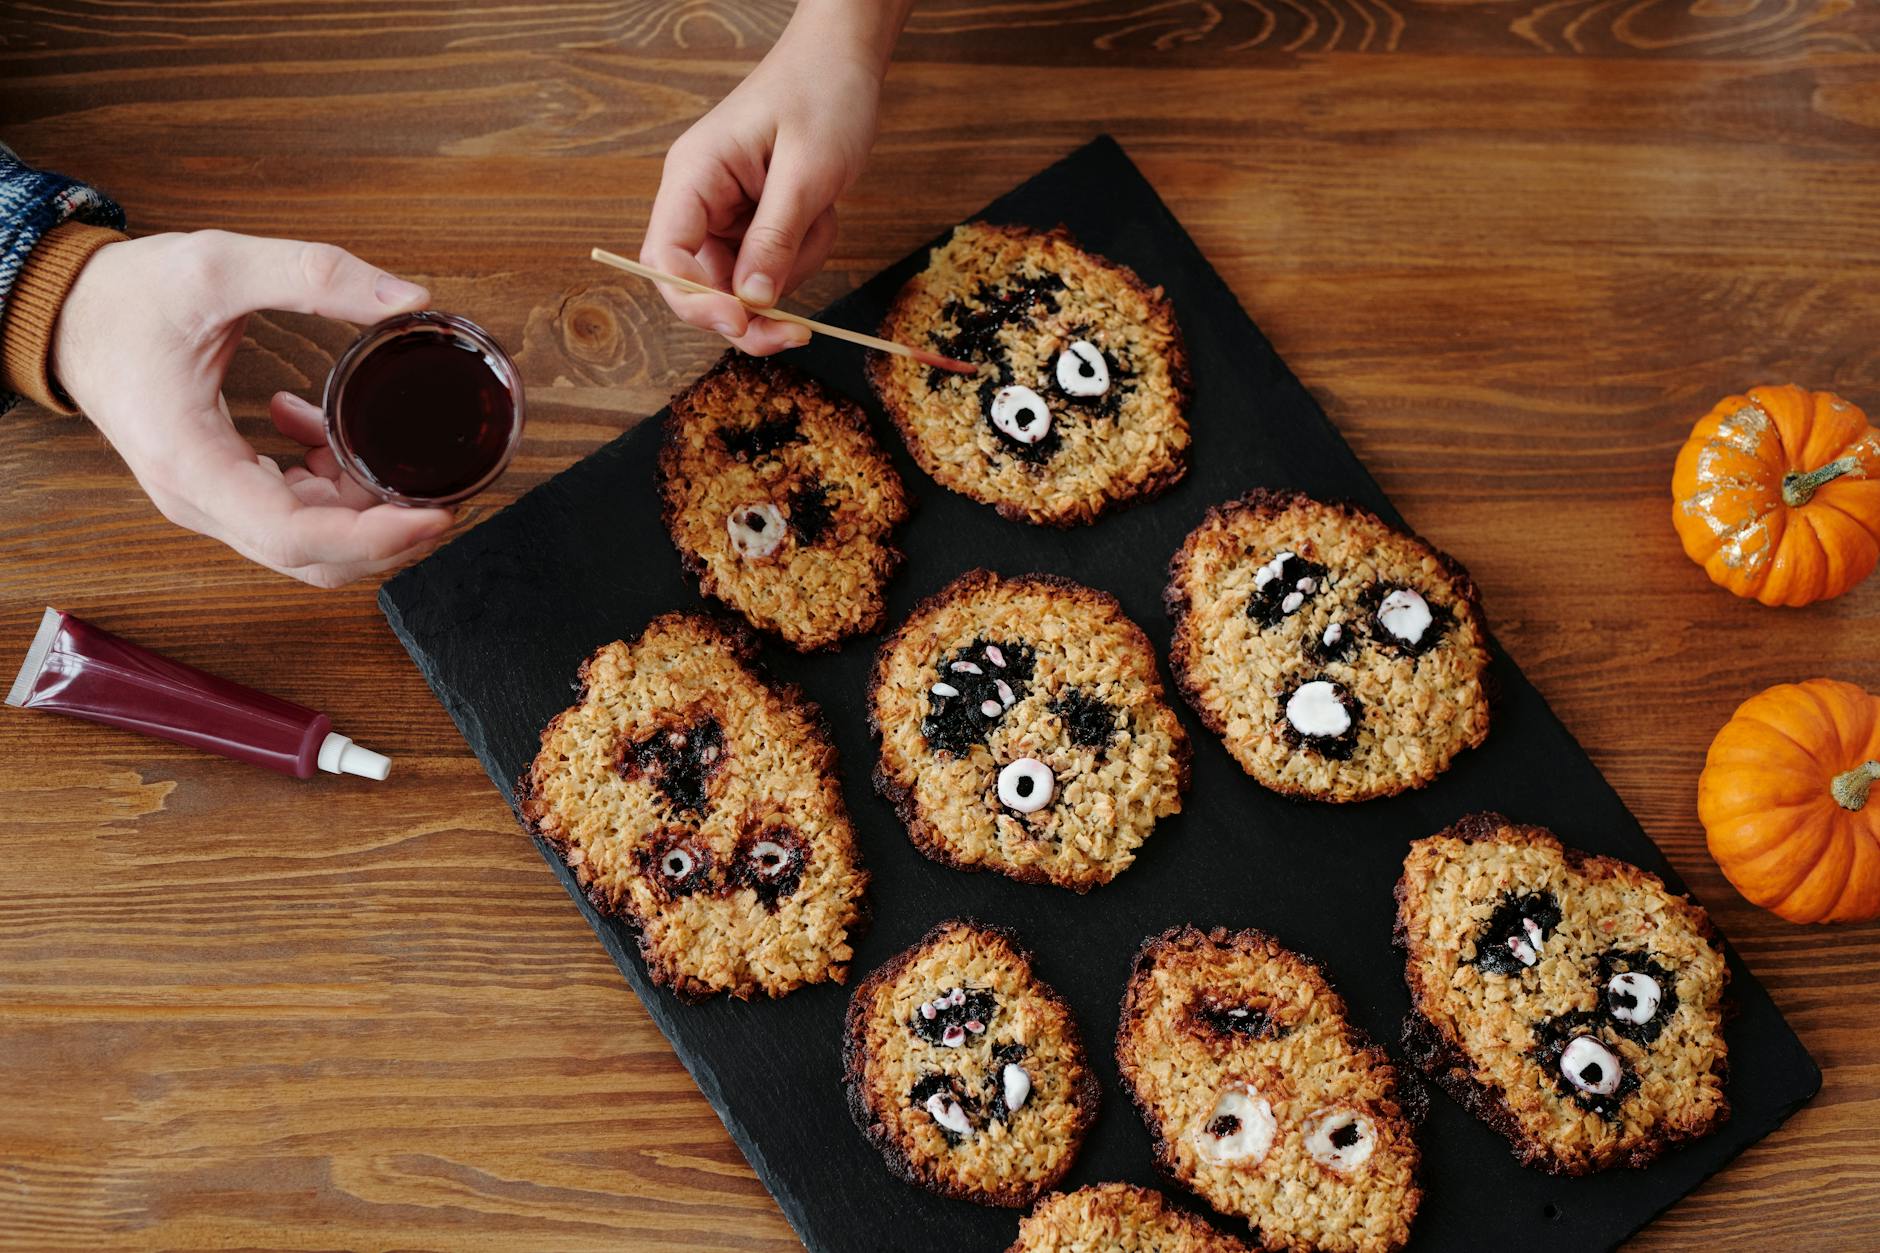
Oreo Spider Cookies: Creepy-Crawly Delights
This is the ultimate edible craft. It’s a halloween party food classic that requires zero cooking and maximum fun. If you've already mastered toddler dinner ideas, you know that presentation is everything!
Double Stuf Spider Cookies
Ingredients: 12 Double Stuf Oreos, 48 small pretzel sticks (broken in half), 24 edible googly eyes, a dab of black icing.
- Carefully insert four pretzel "legs" (half-sticks) into the cream filling on each side of the Oreo. Expert Note: You must use Double Stuf; regular Oreos don't have enough filling to hold the legs securely.
- Use a tiny dab of icing or melted chocolate to act as "glue" for the googly eyes on top of the cookie.
- For a "hairy" spider look, you can dip the legs in chocolate and then chocolate sprinkles before inserting them.
Securing the Eyes Without the Mess
The "dab of frosting" technique is crucial. I discovered that if you try to press the eyes directly into the cookie, they just fall off. Use a toothpick to place the "glue" exactly where you want it. If you're out of frosting, a tiny bit of peanut butter or SunButter works just as well.
Strawberry Draculas: Fruit with a Bite
These are perhaps the most impressive-looking no bake halloween treats on this list. They take a little bit of "carving," but the result is a sophisticated yet kid-friendly recipe.
Carving the Mouth Without Tearing the Fruit
Select strawberries that are conical and firm. Using a small paring knife, cut a wedge out of the front of the strawberry (about 1/3 of the way down). This creates the "open mouth."
Slivered Almond Fangs and Marshmallow Teeth
To give your Dracula his bite, press two slivered almonds into the top of the "mouth" wedge to act as fangs. You can fill the rest of the mouth with mini marshmallow "teeth" or even a slice of apple. For the final "spooky" touch, use a toothpick to drip a little strawberry jam or red food coloring down the side of the fangs to look like blood. It’s a hit for any Halloween party food spread.
Rice Krispie Treat Jack-o-lanterns
While you can buy premade rice cereal treats, making them yourself allows you to color the entire batch orange. If you're new to this, follow this guide on how to make cereal treats to get the marshmallow-to-cereal ratio just right.
Molded Pumpkin Treats
Ingredients: 6 cups Rice Krispies, 10oz marshmallows, 3 tbsp butter, orange food coloring gel, Tootsie Rolls (for stems), green icing.
- Melt butter and marshmallows together. Once melted, stir in the orange gel coloring until you reach a vibrant hue.
- Mix in the cereal.
- Crucial Step: Grease your hands with butter! This prevents the sticky mixture from clinging to you while you roll the treats into 2-inch balls.
- While still warm, press a small piece of Tootsie Roll into the top for a stem.
- Once cool, pipe a small green leaf next to the stem with icing.
Coloring the Cereal Base Naturally
If you prefer to avoid artificial dyes, you can use beet powder or a concentrated carrot juice reduction to color your marshmallows. However, for that neon "Halloween orange," a high-quality gel coloring is usually the most effective.
Allergy-Friendly Alternatives for School Events
When preparing halloween treats for kids for a classroom, safety is the priority. Many schools are strictly nut-free. Always refer to the official guidelines on managing food allergies in children to ensure you're protecting every student.
- Nut-Free: Use SunButter (sunflower seed butter) as a binder in any recipe calling for peanut butter. It has a similar consistency and a nutty flavor that is school-safe.
- Dairy-Free/Vegan: Swap standard candy melts for dairy-free chocolate chips. For the "Boo-nanas," use a coconut-based or soy-based yogurt.
- Gluten-Free: Most rice cereal treats are gluten-free, but check the labels for malt flavoring, which can contain gluten. Use gluten-free pretzels for your spiders and brooms.
Tips for Hosting a Kids' Halloween Treat Party
If you are brave enough to host a DIY treat-making party, organization is your best friend. Much like preparing 5-ingredient dinner recipes, the secret is in the "mise en place."
Setting Up Stations
Don't put all the ingredients in the middle of the table. Instead, set up "stations" for each treat. Use muffin tins to hold small decorations like edible googly eyes, chocolate chips, and pretzel sticks. This keeps the mess contained and allows kids to move from one "craft" to the next.
Managing the Sugar Rush
To prevent a total meltdown, serve the healthy Halloween snacks (like the tangerine pumpkins) first. Once they’ve had some fruit, let them move on to the festive desserts. Also, keep plenty of water on hand. According to the safe food handling for holidays guidelines, ensure that all kids wash their hands thoroughly before and after the "assembly line" to prevent the spread of germs.
Storage and Transportation Guide
You’ve made these beautiful treats; now you have to get them to the party without them falling apart.
Which Treats Can Be Made in Advance?
- Rice Krispie Pumpkins: Can be made 2 days in advance. Store in an airtight container at room temperature.
- Oreo Spiders: Best made the day of, but can last 24 hours. Don't refrigerate, or the pretzels will get soft!
- Fruit-based Treats: These are the most delicate. Tangerine pumpkins can be peeled 4-5 hours ahead, but banana ghosts should be eaten within 2-3 hours of assembly if not frozen.
How to Pack for a School Classroom
The Egg Carton Trick: For Oreo spiders or strawberry Draculas, use clean, empty egg cartons to transport them. Each treat sits in its own "nest," preventing them from sliding around and losing their legs or fangs. For larger items, use a single layer in a flat Tupperware container with parchment paper between layers.
Frequently Asked Questions
A: You are likely overheating them! Melt them in 30-second intervals at 50% power, stirring in between. If they are still thick, add a teaspoon of coconut oil or vegetable shortening to thin them out.
A: Yes, but regular chocolate chips are designed to hold their shape, so they don't melt as smoothly. Adding a little shortening will help them reach a "dippable" consistency.
A: Use a toothpick to "pre-drill" a small hole in the Oreo cream before sliding the pretzel stick in. This reduces the pressure on the cookie and the pretzel.
Final Thoughts
Halloween doesn't have to be a source of stress. By focusing on no bake halloween treats, you can create a memorable experience for your kids without the kitchen chaos. Whether you are making spooky snacks for a class of thirty or just a few party favors for a neighborhood get-together, these recipes prove that simple ingredients like clementines, pretzel sticks, and dark chocolate can become something magical. Happy haunting and happy cooking!