Quick Answer
How to Blanch Vegetables is easiest to handle when you make one clear kitchen decision at a time. Use the table and steps below to identify the likely cause, choose the safest next move, and avoid changing several variables at once.
CookBuddy Kitchen Note
For How to Blanch Vegetables, this guide centers on Preparation, Boil the Water, Prepare the Ice Bath. Those are the checkpoints we would use first in a normal home kitchen before making a bigger change.
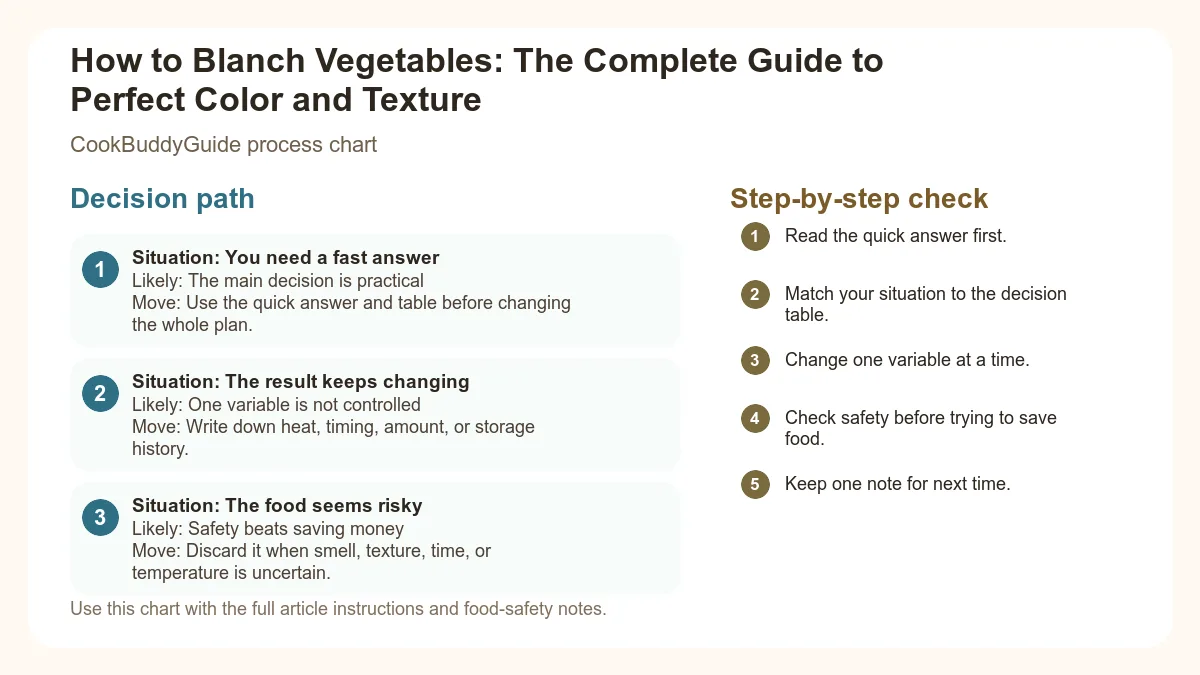
Decision table
| Situation | Likely cause or meaning | Best move |
|---|---|---|
| You need a fast answer | The main decision is practical | Use the quick answer and table before changing the whole plan. |
| The result keeps changing | One variable is not controlled | Write down heat, timing, amount, or storage history. |
| The food seems risky | Safety beats saving money | Discard it when smell, texture, time, or temperature is uncertain. |
Step-by-step fix
- Read the quick answer first.
- Match your situation to the decision table.
- Change one variable at a time.
- Check safety before trying to save food.
- Keep one note for next time.
Common mistakes
- Skipping the quick answer and changing too much at once.
- Treating quality problems and safety problems the same way.
- Not writing down the detail that caused the repeat problem.
Useful next reads
Helpful tools for this guide
- instant-read thermometer
- digital kitchen scale
- cutting board
- airtight storage containers
Related topic hubs
How to Blanch Vegetables: The Complete Guide to Perfect Color and Texture
There is nothing more disheartening than opening a freezer bag of home-grown green beans only to find them a dull, brownish-gray color with a rubbery texture that tastes vaguely like the freezer. For years, I struggled with this exact problem in my own kitchen. I thought I was saving time by skipping the extra steps, but I was actually ruining my harvest. After 15 years of testing recipes and preserving seasonal produce for CookBuddyGuide.com, I’ve learned that knowing how to blanch vegetables is the single most important skill for any home cook looking to master food preservation and meal prep.
Blanching is a fundamental kitchen technique that involves briefly boiling vegetables and then immediately plunging them into an ice bath. While it might seem like an unnecessary "chef-y" step, it is actually a scientific necessity if you want your vegetables to maintain their nutritional value, vibrant color, and "snap." Whether you are blanching vegetables for meal prep or getting ready for a massive session of frozen vegetable storage, this guide will walk you through every nuance of the process.
Table of Contents
- What is Blanching and Why Does it Matter?
- Essential Tools for Successful Blanching
- Step-by-Step: How to Blanch Vegetables Like a Pro
- The Ultimate Blanching Time Chart by Vegetable
- Blanching Vegetables for Meal Prep and Freezing
- Common Blanching Mistakes (And How to Fix Them)
- Creative Ways to Use Your Blanched Vegetables
What is Blanching and Why Does it Matter?
At its core, blanching is a two-part process: a brief heat treatment followed by a rapid cooling. But what is actually happening inside the vegetable? To understand why we do this, we have to look at the biology of the plant.
The Science: Enzyme Deactivation Explained
Vegetables contain active enzymes that continue to work even after the produce is harvested. These enzymes are responsible for ripening, but if left unchecked, they eventually cause the plant to decay, lose its flavor, and turn tough. Freezing alone doesn't stop these enzymes; it only slows them down. This is where blanching comes in. The high heat of boiling salted water works to deactivate enzymes that cause spoilage, effectively "locking in" the vegetable at its peak state. In my testing, I’ve found that unblanched frozen corn becomes starchy and bland within weeks, while blanched corn stays sweet for up to a year.
Preserving Vibrant Colors and Crisp Texture
Have you ever noticed how broccoli turns a neon, electric green the second it hits hot water? That’s the chlorophyll reacting to the heat. Brief exposure to boiling water expands the tiny air pockets between the plant cells, making the green pigment more visible. However, if you cook it too long, the chlorophyll breaks down and turns that dreaded olive-drab color. Blanching allows you to "set" that beautiful color. Furthermore, it helps achieve a tender-crisp texture—that perfect middle ground where the vegetable is cooked enough to lose its raw "grassiness" but still retains a satisfying bite.
Blanching vs. Parboiling: What’s the Difference?
This is a common question among kitchen techniques for beginners. While they look similar, the intent is different. Parboiling vs blanching comes down to time and purpose. Blanching is very brief (usually 1–5 minutes) and is always followed by an ice bath to stop the cooking process immediately. Parboiling (short for "partial boiling") usually involves cooking the vegetable for a longer period—about 50% to 70% of the way through—and is often used for dense items like potatoes or carrots that will finish cooking in a secondary method, like roasting or frying. If you are perfect for sheet pan dinners, you might parboil your potatoes so they finish at the same time as your quick-cooking salmon.
Essential Tools for Successful Blanching
You don't need a professional kitchen to blanch like a pro, but you do need the right setup. Efficiency is key here because seconds matter once the vegetables hit the water.
The Large Stockpot and Salt Ratio
The biggest mistake I see home cooks make is using a pot that is too small. When you add a pound of cold vegetables to a small pot of boiling water, the temperature drops significantly. It can take several minutes for the water to return to a boil, which results in soggy, overcooked vegetables. I recommend a large 6-to-8-quart stockpot. The rule of thumb: Use at least one gallon of water per pound of vegetables.
Don't forget the salt! Salting your water isn't just for pasta. It helps with nutrient retention and seasons the vegetable from the inside out. I use about 2 tablespoons of kosher salt per gallon of water. It should taste like the sea.
The Ice Bath: Your Most Important Tool
You cannot skip the ice bath. I repeat: do not skip it! This is the "shocking" phase of the process. Without it, the residual heat will continue to cook the interior of the vegetable, leading to "carryover cooking." To prepare a proper ice bath, fill a large bowl with cold water and at least two trays of ice cubes. The water needs to be bone-chillingly cold to work effectively. According to culinary experts on the importance of the ice bath, the goal is to bring the internal temperature of the vegetable down as fast as possible to preserve that tender-crisp texture.
Spider Strainers and Slotted Spoons
A spider strainer is my favorite tool for this job. Its wide, wire-mesh basket allows you to scoop out all the vegetables in one or two motions, leaving the boiling water behind so you can start the next batch immediately. If you don't have one, a large slotted spoon will work, but it’s much slower. For vegetable prep guide enthusiasts, a spider is a worthy $10 investment.
Step-by-Step: How to Blanch Vegetables Like a Pro
Follow this step-by-step guide to blanching to ensure your vegetables come out perfectly every time. I’ve refined this process over hundreds of batches of blanching vegetables for meal prep.
The Master Blanching Method
Ingredients: Fresh vegetables, water, kosher salt, lots of ice.
- Preparation: Wash your vegetables thoroughly. Cut them into uniform pieces (e.g., 1-inch florets or 2-inch segments). Uniformity is crucial; if some pieces are large and others small, they will blanch unevenly.
- Boil the Water: Bring a large pot of water to a rolling boil. Add your salt.
- Prepare the Ice Bath: While the water heats, fill a large bowl with cold water and ice. Place it right next to the stove.
- Blanch: Carefully drop the vegetables into the boiling water. Start the timer the moment the water returns to a boil. If you are doing a large amount, work in batches to keep the water temperature high.
- Test for Doneness: About 30 seconds before the timer goes off, remove one piece and bite into it. It should be vibrant in color and "tender-crisp"—cooked but still having a firm snap.
- Shock: Use your spider strainer to immediately transfer the vegetables from the boiling water into the ice bath. Swirl them around to ensure they are fully submerged.
- Dry: Once the vegetables are completely cold (usually takes the same amount of time they were in the boiling water), remove them and drain well. I like to spread them out on a clean kitchen towel and pat them dry. Removing excess moisture is the key to freezer burn prevention.
The Ultimate Blanching Time Chart by Vegetable
Timing is everything. One minute too long and you have mush; one minute too short and the enzymes remain active. Here is a comprehensive list based on recommended blanching times for vegetables from university extension guidelines.
Green Vegetables
- Asparagus: 2 minutes for small stalks, 4 minutes for large stalks.
- Broccoli (florets): 3 minutes. (Note: In my testing, 3 minutes is the "sweet spot" for freezing).
- Green Beans: 3 minutes.
- Peas (shelled): 1.5 to 2 minutes.
- Sugar Snap Peas: 2 to 3 minutes.
Root Vegetables
- Carrots (sliced or diced): 2 minutes.
- Potatoes (cubed): 3 to 5 minutes (depending on size).
- Parsnips: 2 minutes.
Leafy Greens
- Spinach: 90 seconds. (It collapses quickly, so move fast!)
- Kale/Collard Greens: 2 to 3 minutes.
Cruciferous and Others
- Cauliflower (florets): 3 minutes.
- Brussels Sprouts: 3 minutes for small, 5 minutes for large.
- Corn on the cob: 7 to 11 minutes (depending on size).
- Zucchini/Summer Squash: 3 minutes (Note: These can get watery, so dry them very well).
Blanching Vegetables for Meal Prep and Freezing
If you’re a busy home cook, blanching vegetables for meal prep is one of the best meal prep hacks you can learn. It allows you to buy in bulk when produce is on sale and have high-quality ingredients ready at a moment’s notice.
Flash Freezing: The Secret to No-Clump Veggies
Have you ever tried to grab a handful of frozen peas only to find a solid, icy brick? To avoid this, use the flash freezing method. After drying your blanched vegetables, spread them out in a single layer on a parchment-lined baking sheet. Place the sheet in the freezer for 1–2 hours until the vegetables are frozen solid individually. Then, transfer them to your storage container. This ensures they stay separate, allowing you to pour out exactly what you need for a quick stir-fry.
Storage Solutions: Vacuum Sealing vs. Freezer Bags
For long-term frozen vegetable storage, oxygen is the enemy. If you have a vacuum sealer, use it! It’s the gold standard for preventing freezer burn. If not, use high-quality freezer bags and use the "straw trick" to suck out as much air as possible before sealing. Always label your bags with the vegetable type and the date. Most blanched vegetables will stay fresh for 8 to 12 months.
If you're already doing this, you might want to check out our guide on preparing vegetables for freezer meals to take your organization to the next level.
Common Blanching Mistakes (And How to Fix Them)
Even seasoned cooks can stumble when how to blanch vegetables becomes a chore rather than a technique. Here are the pitfalls I’ve encountered over the years.
If you don't cook the vegetables long enough, you actually stimulate enzyme activity rather than stopping it. This can lead to bitter flavors and off-odors during storage. The Fix: Always use a timer and wait for the water to return to a full boil before you start it.
As mentioned, this leads to mushy vegetables. If you run out of ice, use the coldest running water possible, but ice is truly necessary for shocking vegetables effectively. The Fix: Buy a bag of ice if your freezer can't keep up with your harvest.
Adding too many vegetables at once drops the water temperature. The Fix: Blanch in small batches. It feels like it takes longer, but because the water recovers faster, it’s actually more efficient.
Water left on the surface of the vegetable turns into ice crystals in the freezer, which causes freezer burn. The Fix: Use a salad spinner for leafy greens or a clean lint-free towel for sturdier veggies like carrots and beans.
Creative Ways to Use Your Blanched Vegetables
Blanching isn't just for the freezer! It’s a versatile technique for immediate meals too. Many professional chefs use this blanching vegetables for meal prep strategy to get dinner on the table in minutes.
Elevating Salads and Grain Bowls
Raw kale or broccoli can be a bit "tough" for some palates. A quick 60-second blanch makes them much more digestible and vibrant without losing their crunch. I love adding blanched and chilled green beans to a Nicoise salad or tossing blanched snap peas into a farro grain bowl with a lemon vinaigrette.
Perfect Stir-Fries in Half the Time
The hardest part of a stir-fry is ensuring the dense vegetables (like carrots or broccoli) are cooked through without overcooking the delicate ones (like bean sprouts). In my kitchen, I blanch the broccoli and carrots for 2 minutes first. Then, when I’m ready to stir-fry, I toss them in at the very end just to coat them in the sauce. They stay crisp, bright, and perfectly cooked.
Crudité Platters That Stay Fresh
If you’re hosting a party, try blanching your vegetable platter components (like asparagus, cauliflower, and green beans) for just 60 seconds. This "sets" the color so they don't look dry or dull on the buffet table. Your guests will wonder why your vegetables look so much better than the pre-cut bags from the grocery store!
Final Thoughts from the Kitchen
Mastering how to blanch vegetables is like unlocking a secret level of home cooking. It moves you away from the "guesswork" of cooking and toward a more intentional, scientific approach that yields consistent, delicious results. Whether you are preserving a summer bounty or just trying to make your Tuesday night dinner a little more vibrant, the boiling-and-shocking method is your best friend. Remember: use a big pot, lots of salt, and never, ever skip the ice bath. Happy cooking!
Quick Reference: The "Rule of 3"
When in doubt, remember these three "3s" for the most common veggies (Broccoli, Green Beans, Cauliflower):
- 3 Gallons of water (for a large batch)
- 3 Minutes in the boiling water
- 3 Minutes in the ice bath