Quick Answer
How to Make the Best Gravy Without Drippings (Rich & Savory) is built around practical home-kitchen ratios and simple texture checks. Follow the main method first, then use the variation and troubleshooting notes to adjust sweetness, salt, moisture, or cook time.
CookBuddy Kitchen Note
For How to Make the Best Gravy Without Drippings (Rich & Savory), this guide centers on White Roux, Blond Roux, Brown Roux. Those are the checkpoints we would use first in a normal home kitchen before making a bigger change.
Decision table
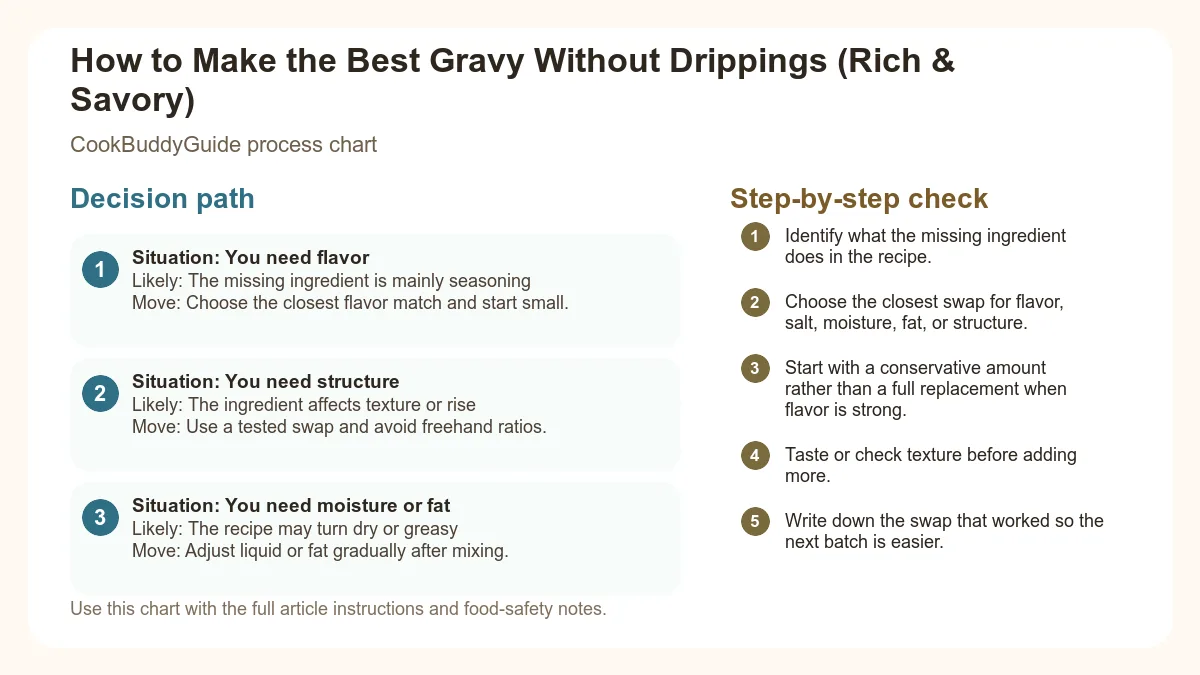
| Situation | Likely cause or meaning | Best move |
|---|---|---|
| You need flavor | The missing ingredient is mainly seasoning | Choose the closest flavor match and start small. |
| You need structure | The ingredient affects texture or rise | Use a tested swap and avoid freehand ratios. |
| You need moisture or fat | The recipe may turn dry or greasy | Adjust liquid or fat gradually after mixing. |
Step-by-step fix
- Identify what the missing ingredient does in the recipe.
- Choose the closest swap for flavor, salt, moisture, fat, or structure.
- Start with a conservative amount rather than a full replacement when flavor is strong.
- Taste or check texture before adding more.
- Write down the swap that worked so the next batch is easier.
Common mistakes
- Replacing a strong ingredient 1:1 before tasting.
- Choosing a flavor match when the recipe actually needs structure.
- Forgetting that salty swaps can change the whole dish.
- Adding extra liquid before the batter, dough, or sauce has time to hydrate.
Useful next reads
Helpful tools for this guide
- instant-read thermometer
- digital kitchen scale
- cutting board
- airtight storage containers
Related topic hubs
How to Make the Best Gravy Without Drippings (Rich & Savory)
It’s 6:15 PM on a Tuesday. You’ve just finished whipping up a mountain of fluffy mashed potatoes, and your air fryer chicken is resting on the counter. Suddenly, you realize the one thing missing: the gravy. But there are no pan drippings. No roasted turkey juices, no fatty beef runoff—just a clean pan and a hungry family.
In my 15 years of professional recipe testing, I’ve encountered this "gravy panic" more times than I can count. Whether you’re hosting a massive holiday dinner or just trying to elevate a simple weeknight meal, knowing how to make gravy without drippings is a fundamental skill that separates the home cook from the home chef. After making this 20+ times in various iterations, I’ve discovered that you don’t actually need a roast to achieve that deep, mahogany color and soul-warming flavor. You just need a few kitchen staples and a little bit of science.
Table of Contents
- Why You Don't Need a Roast for Incredible Gravy
- The Foundation: Understanding the Butter and Flour Roux
- Choosing Your Liquid: Broth, Stock, and Beyond
- The Master Recipe: Step-by-Step Gravy Without Drippings
- Flavor Boosters: Adding Depth and Umami
- Vegetarian Variation: Savory Mushroom and Thyme Gravy
- How to Control Thickness and Prevent Lumps
- Common Mistakes and How to Avoid Them
- Make-Ahead, Storage, and Reheating Guidance
- Serving Suggestions: Beyond the Turkey
Why You Don't Need a Roast for Incredible Gravy
The Myth of the Pan Dripping
For decades, we’ve been told that "real" gravy requires the fond—the browned bits at the bottom of a roasting pan. While those drippings are packed with flavor, they are essentially just fat and concentrated proteins that have undergone the Maillard Reaction. In my testing, I’ve found that we can replicate these exact flavor profiles using high-quality unsalted butter and beef stock or concentrated bouillon cubes.
The secret is in the layering. When you don't have drippings, you have to build the floor of the flavor house yourself. This means you have more control over the final product. You aren't at the mercy of a too-salty ham or a greasy turkey; you get to decide the exact viscosity and salt level of your sauce. This guide to gravy without a roast confirms that the ratio of fat to flour is your most powerful tool in this process.
When to Make Gravy from Scratch
There are countless scenarios where homemade gravy from scratch no drippings is actually the superior choice. Think about poutine—you need a specific consistency that a roasting pan might not provide. Or consider a vegetarian Thanksgiving where the main dish is a nut roast or stuffed squash. Even for leftover rotisserie chicken meals, having a go-to "no-dripping" recipe allows you to turn leftover rotisserie chicken into a gourmet hot chicken sandwich in under ten minutes.
The Foundation: Understanding the Butter and Flour Roux
The Science of the Roux
The heart of any great gravy is the roux. A roux is a cooked mixture of equal parts fat and flour. In our case, we use unsalted butter and all-purpose flour. When you heat the flour in fat, the fat coats the starch granules, preventing them from clumping together when you add liquid later. This is the key to a smooth texture.
During my years in the kitchen, I’ve seen many cooks rush this step. If you don't cook the flour long enough, your gravy will have a "pasty" or "raw" aftertaste. You need to cook the roux for at least 2 to 3 minutes until it smells slightly nutty. This is the beginning of the Maillard reaction, where the proteins and sugars in the flour begin to brown, creating a complex flavor profile that mimics roasted meat. To understand the deeper chemistry, I highly recommend reading about the science of making a roux.
White vs. Blond vs. Brown Roux: Which is Best for Gravy?
- White Roux: Cooked for 1-2 minutes. Best for Béchamel or white sausage gravy. It has the most thickening power but the least flavor.
- Blond Roux: Cooked for 3-5 minutes. It turns a pale golden color and starts to smell like toasted bread. This is the "sweet spot" for chicken or turkey gravy.
- Brown Roux: Cooked for 10-15 minutes. It turns the color of peanut butter. It has less thickening power (you'll need more of it), but it provides a deep, smoky richness perfect for beef gravy or gumbo.
Choosing Your Liquid: Broth, Stock, and Beyond
Beef vs. Chicken vs. Vegetable Base
Since we lack the natural juices of a roast, the quality of your liquid is paramount. I always advocate for using a high-quality beef stock or chicken stock. If you are using store-bought, look for "low-sodium" options. Why? As the gravy simmers and reduces, the salt concentration increases. If you start with a full-sodium broth, you’ll likely end up with a salt lick by the time the gravy reaches the right viscosity.
Pro Tip: In my testing, I found that "Better Than Bouillon" pastes often outperform boxed broths for no-dripping recipes. They contain more "meat solids" which help replicate the mouthfeel of traditional pan gravy.
The Role of Sodium and Temperature
The temperature of your liquid matters immensely for emulsification. I discovered that adding cold broth to a hot roux often leads to instant clumping. For a foolproof smooth texture, warm your broth in the microwave or a separate small pot before adding it to the roux. If you must use cold liquid, add it in tiny increments (one tablespoon at a time), whisking until a thick paste forms before adding more.
The Master Recipe: Step-by-Step Gravy Without Drippings
Ingredients You'll Need
- 4 tablespoons unsalted butter
- 1/4 cup all-purpose flour
- 2 cups low-sodium beef stock (or chicken stock for a lighter version)
- 1/2 teaspoon onion powder
- 1/4 teaspoon garlic powder
- 1 teaspoon Worcestershire sauce
- 1/2 teaspoon soy sauce (for color and umami)
- Freshly cracked black pepper to taste
- Kosher salt (only if needed at the end)
The Foolproof Mixing Method
- Melt the Butter: In a medium saucepan over medium heat, melt the butter until it begins to foam.
- Create the Roux: Sprinkle the flour over the butter. Using a sturdy whisking technique, stir constantly for 3 minutes. The mixture should look like wet sand and smell slightly nutty.
- Incorporate Liquid: Slowly pour in about 1/4 cup of the warm stock. Whisk vigorously until a thick, smooth paste forms. Repeat this process until all the stock is incorporated. This gradual addition is the secret to avoiding lumps.
- Season: Whisk in the onion powder, garlic powder, Worcestershire sauce, and soy sauce.
- Simmer: Bring the mixture to a gentle simmer. Let it cook for 3-5 minutes, stirring occasionally, until it reaches your desired thickness. It should easily coat the back of a spoon.
- Final Polish: Taste and adjust seasoning. If it’s too thick, add a splash more broth. If it's too thin, simmer for another 2 minutes.
Flavor Boosters: Adding Depth and Umami
The Power of Worcestershire Sauce
When you make gravy without drippings, you are missing the fermented, aged complexity of meat that has spent hours in an oven. Worcestershire sauce is your "cheat code" here. It contains anchovies, tamarind, and vinegar, which provide a massive hit of umami. Just a teaspoon can transform a flat-tasting sauce into something that tastes like it came from a professional steakhouse.
Using Soy Sauce for Color
One of the biggest complaints about homemade gravy is that it looks "gray" or too pale. While you can cook your roux longer to get a darker color, adding a splash of soy sauce or liquid aminos provides an instant deep brown hue without the risk of burning the flour. It also adds a layer of savory saltiness that complements the beef stock perfectly.
Herbs and Aromatics
If you have an extra five minutes, I highly recommend deglazing the pan with a little bit of dry sherry or white wine before adding your stock. This lifts any tiny bits of browned flour and adds a sophisticated acidity. Additionally, dropping a sprig of fresh thyme or rosemary into the gravy while it simmers (and removing it before serving) infuses the sauce with a "fresh from the garden" aroma that masks the fact that you used bouillon cubes.
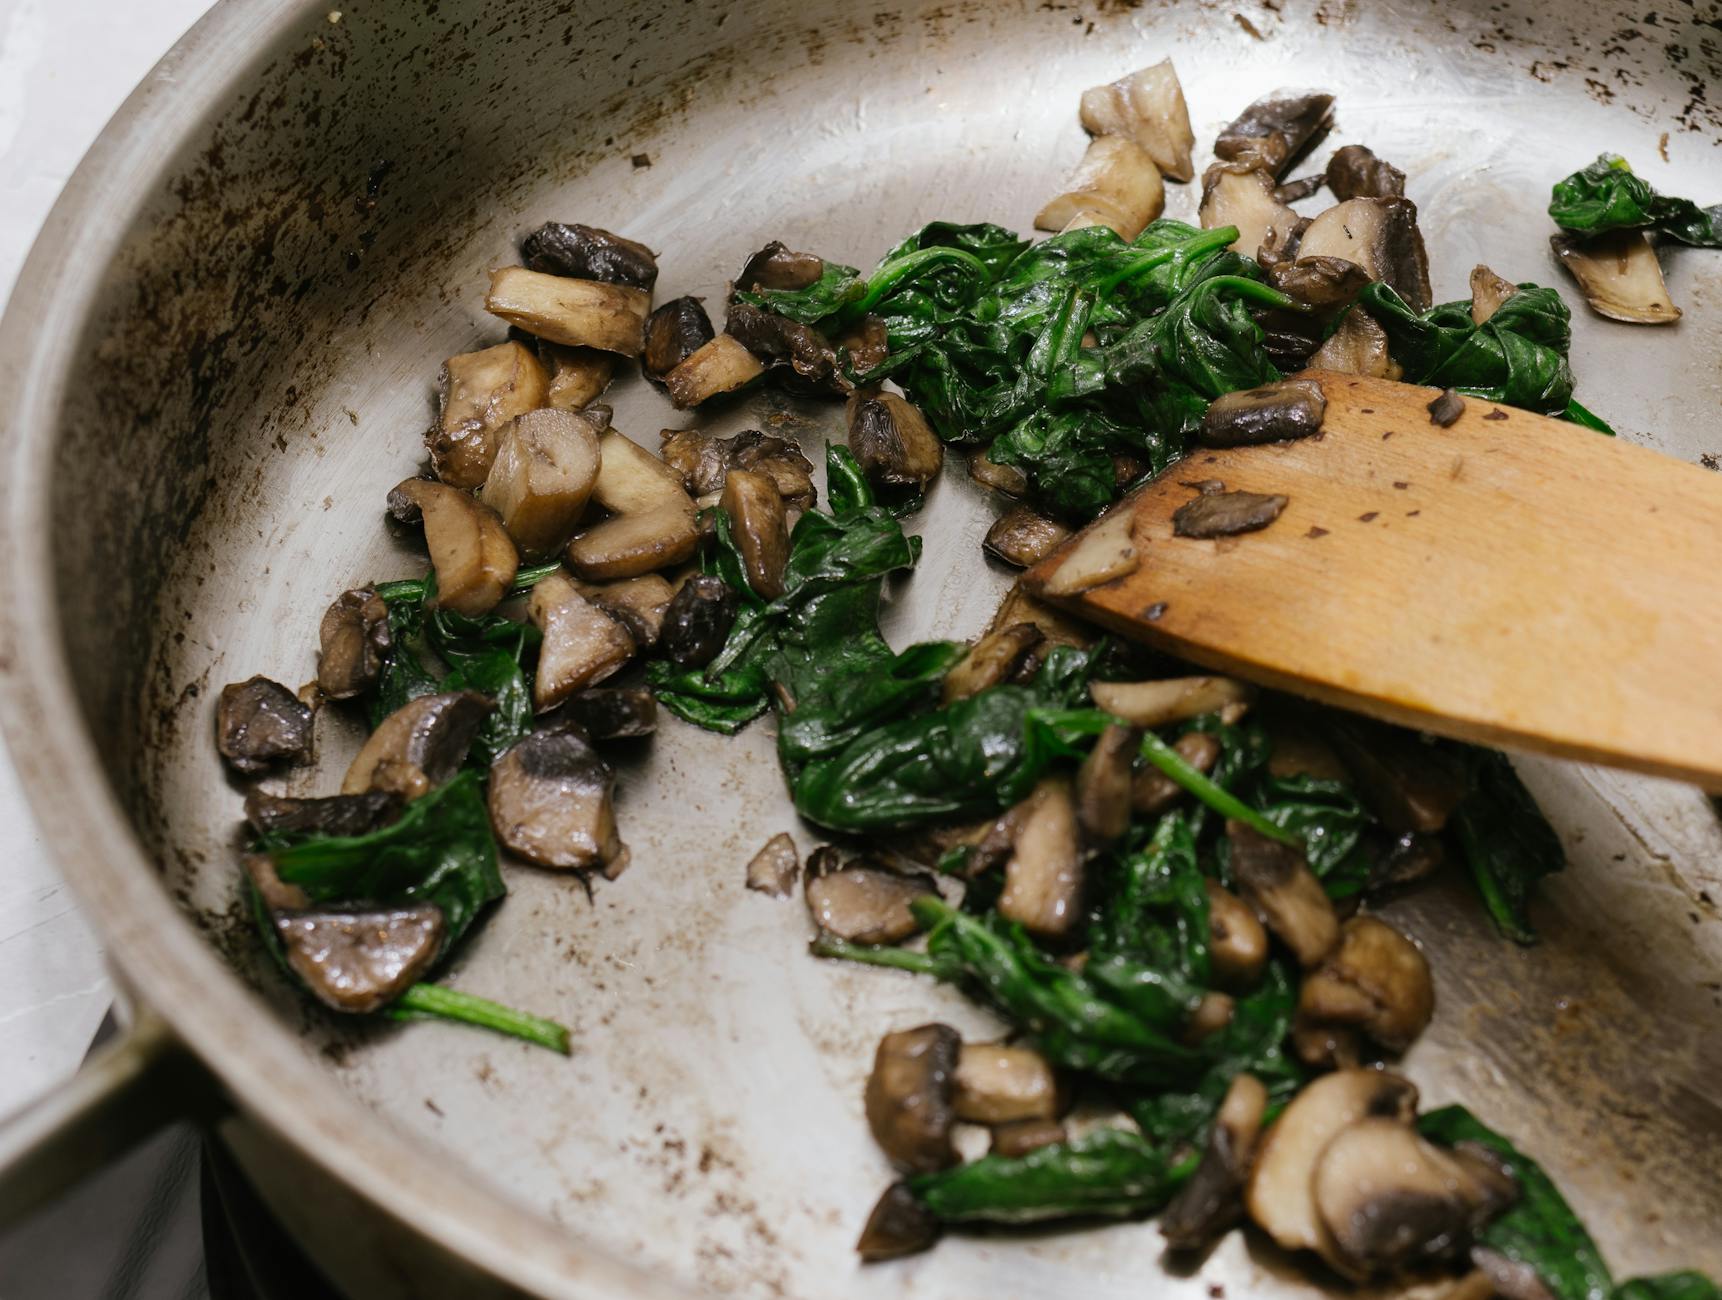
Vegetarian Variation: Savory Mushroom and Thyme Gravy
For those looking for a meat-free option that doesn't compromise on richness, mushrooms are your best friend. They are naturally high in glutamates, which provide that "meaty" sensation. To learn more about this, check out these tips for building flavor in vegetarian gravy.
Building Umami with Mushrooms
To make a mushroom version of this recipe, I start by sautéing 8 ounces of finely minced cremini or shiitake mushrooms in the butter *before* adding the flour. You want to cook them until they have released all their moisture and are deeply browned. This creates "vegetarian drippings" in the bottom of your pot.
Testing Note: I once tried using white button mushrooms, but they lacked the depth of the cremini. If you want a truly dark, rich vegetarian gravy, use a mix of cremini and a teaspoon of tomato paste. The tomato paste, when sautéed with the mushrooms, adds a dark red color and incredible depth through the Maillard reaction.
How to Control Thickness and Prevent Lumps
The Whisking Technique
The most common failure in homemade gravy from scratch no drippings is the dreaded lump. Lumps occur when the outside of a flour clump hydrates and seals off the dry flour inside. To prevent this, your whisking technique must be aggressive and constant. I prefer a balloon whisk for the initial stages and a flat "sauce whisk" for reaching the corners of the pan as the gravy thickens.
Fixing a Gravy That's Too Thin or Too Thick
- Too Thin: Do not just dump more flour in! This will create lumps. Instead, make a "slurry" by mixing 1 tablespoon of cornstarch with 1 tablespoon of cold water. Whisk this into the boiling gravy and watch it thicken instantly.
- Too Thick: This is an easy fix. Whisk in more broth, one tablespoon at a time. Remember that gravy continues to thicken as it cools, so aim for a slightly thinner consistency than you think you need.
The Sieve Method: A Chef's Secret
Even the best chefs have "off" days. If you find your gravy has lumps despite your best efforts, don't panic. Simply pour the finished gravy through a fine-mesh sieve into a clean bowl. This ensures a professional, smooth texture every time. For more troubleshooting, see these tips for preventing lumpy gravy.
Common Mistakes and How to Avoid Them
The Floury Aftertaste
If your gravy tastes like a wet baguette, you didn't cook your roux long enough. I’ve made this mistake when I was in a hurry. The flour needs to reach at least 175°F (80°C) to neutralize the raw enzymes. Always set a timer for that initial butter-and-flour stage. Three minutes is the minimum for a blond roux.
The "Skin" Problem
As gravy sits, the proteins and starches on the surface dehydrate, forming a tough skin. To prevent this, if you aren't serving immediately, press a piece of plastic wrap directly onto the surface of the gravy. This prevents air from reaching it and keeps it creamy.
A: You can, but margarine has a higher water content and lower fat stability. For the best flavor and emulsification, stick to high-quality butter.
A: Adding a potato is a myth—it doesn't actually "suck out" the salt. The best way to fix over-salted gravy is to increase the volume. Add a splash of unsalted water or cream, or make a second "micro-batch" of unsalted roux and liquid and mix them together.
Make-Ahead, Storage, and Reheating Guidance
One of the best things about making gravy without drippings is that you can do it days in advance. Unlike traditional drippings gravy, which requires the bird to be out of the oven, this version can be ready and waiting in the fridge.
Can You Freeze Homemade Gravy?
Yes! Because this is a flour-based gravy, it freezes exceptionally well. I like to freeze mine in silicone muffin tins so I have "gravy pucks" ready for individual servings. It will stay fresh in the freezer for up to 3 months. When you are ready to use it, let it thaw in the fridge overnight.
Reheating Without Breaking the Emulsion
When you reheat gravy, the starch bonds often tighten up, making it look like jelly. To restore it to its former glory, place it in a saucepan over low heat. Add a splash of broth or water and whisk constantly. Do not let it come to a violent boil immediately; slow and steady wins the race here. For more safety details, refer to the USDA safe reheating and storage practices.
Serving Suggestions: Beyond the Turkey
Now that you’ve mastered the art of the "no-dripping" gravy, the world is your oyster. This sauce is incredibly versatile. Here are a few of my favorite ways to use it:
- Poutine: Use the beef version of this recipe, add an extra splash of Worcestershire, and pour it over crispy fries and cheese curds.
- Salisbury Steak: Sear ground beef patties and simmer them directly in this gravy for 10 minutes. The viscosity of this sauce is perfect for smothered meats.
- Biscuits and Gravy: Use the same roux method but swap the beef stock for whole milk and add browned breakfast sausage.
- Savory Breakfast: Pour a little chicken gravy over a fried egg and toast for a high-protein start to your day.
In conclusion, the lack of a roast shouldn't stop you from enjoying a world-class sauce. By mastering the roux, choosing the right liquids, and utilizing umami boosters like Worcestershire sauce, you can create a gravy that rivals any holiday dinner centerpiece. Next time you're staring at a clean pan and a pile of potatoes, remember: you have all the tools you need in your pantry already. Happy cooking!