Quick Answer
Your cheesecake cracking usually comes down to a controllable kitchen variable such as heat, timing, moisture, measuring, or storage history. Start with the most visible clue, change one variable, and compare the next batch before changing the whole method.
CookBuddy Kitchen Note
For your cheesecake cracking, the most useful home checks are temperature, measuring, resting time, and visible texture. Those details tell you more than guessing, especially before adding extra flour, liquid, heat, or leavening.
Decision table
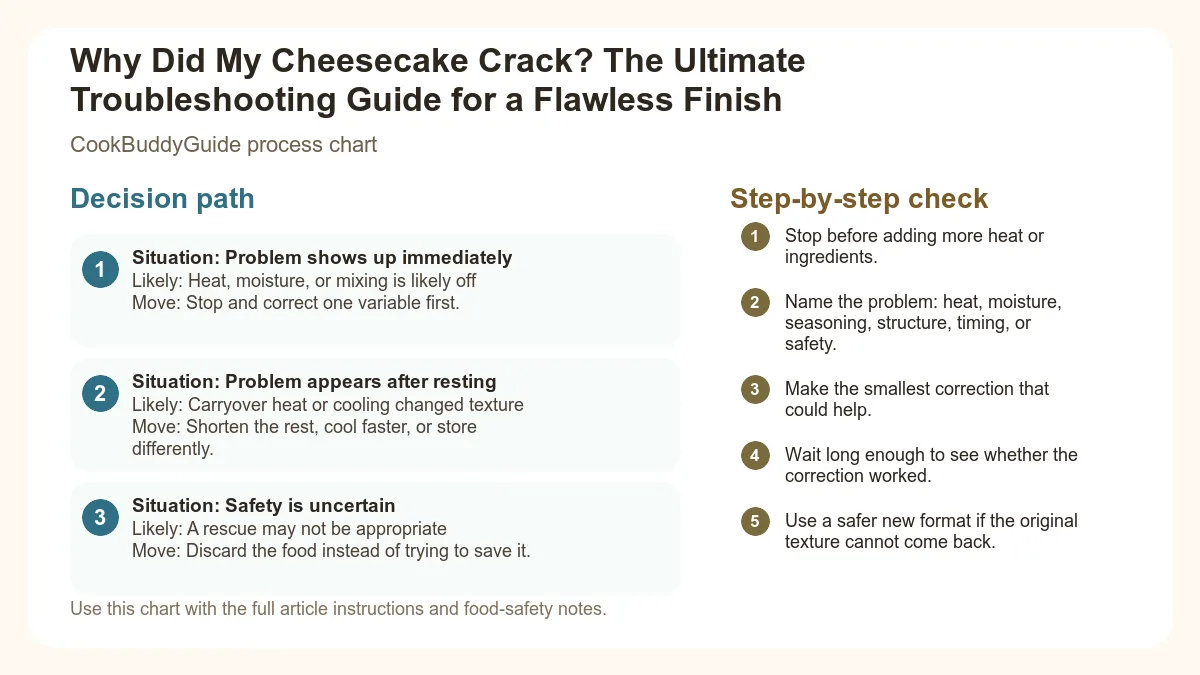
| Situation | Likely cause or meaning | Best move |
|---|---|---|
| Problem shows up immediately | Heat, moisture, or mixing is likely off | Stop and correct one variable first. |
| Problem appears after resting | Carryover heat or cooling changed texture | Shorten the rest, cool faster, or store differently. |
| Safety is uncertain | A rescue may not be appropriate | Discard the food instead of trying to save it. |
Step-by-step fix
- Stop before adding more heat or ingredients.
- Name the problem: heat, moisture, seasoning, structure, timing, or safety.
- Make the smallest correction that could help.
- Wait long enough to see whether the correction worked.
- Use a safer new format if the original texture cannot come back.
Common mistakes
- Adding several fixes at once and losing track of what helped.
- Using high heat to rush a texture problem.
- Trying to rescue food when safety is uncertain.
- Repeating the recipe without writing down the likely cause.
Useful next reads
Helpful tools for this guide
- digital kitchen scale
- instant-read thermometer
- rimmed sheet pan
- silicone spatula
Related topic hubs
Why Did My Cheesecake Crack? The Ultimate Troubleshooting Guide for a Flawless Finish
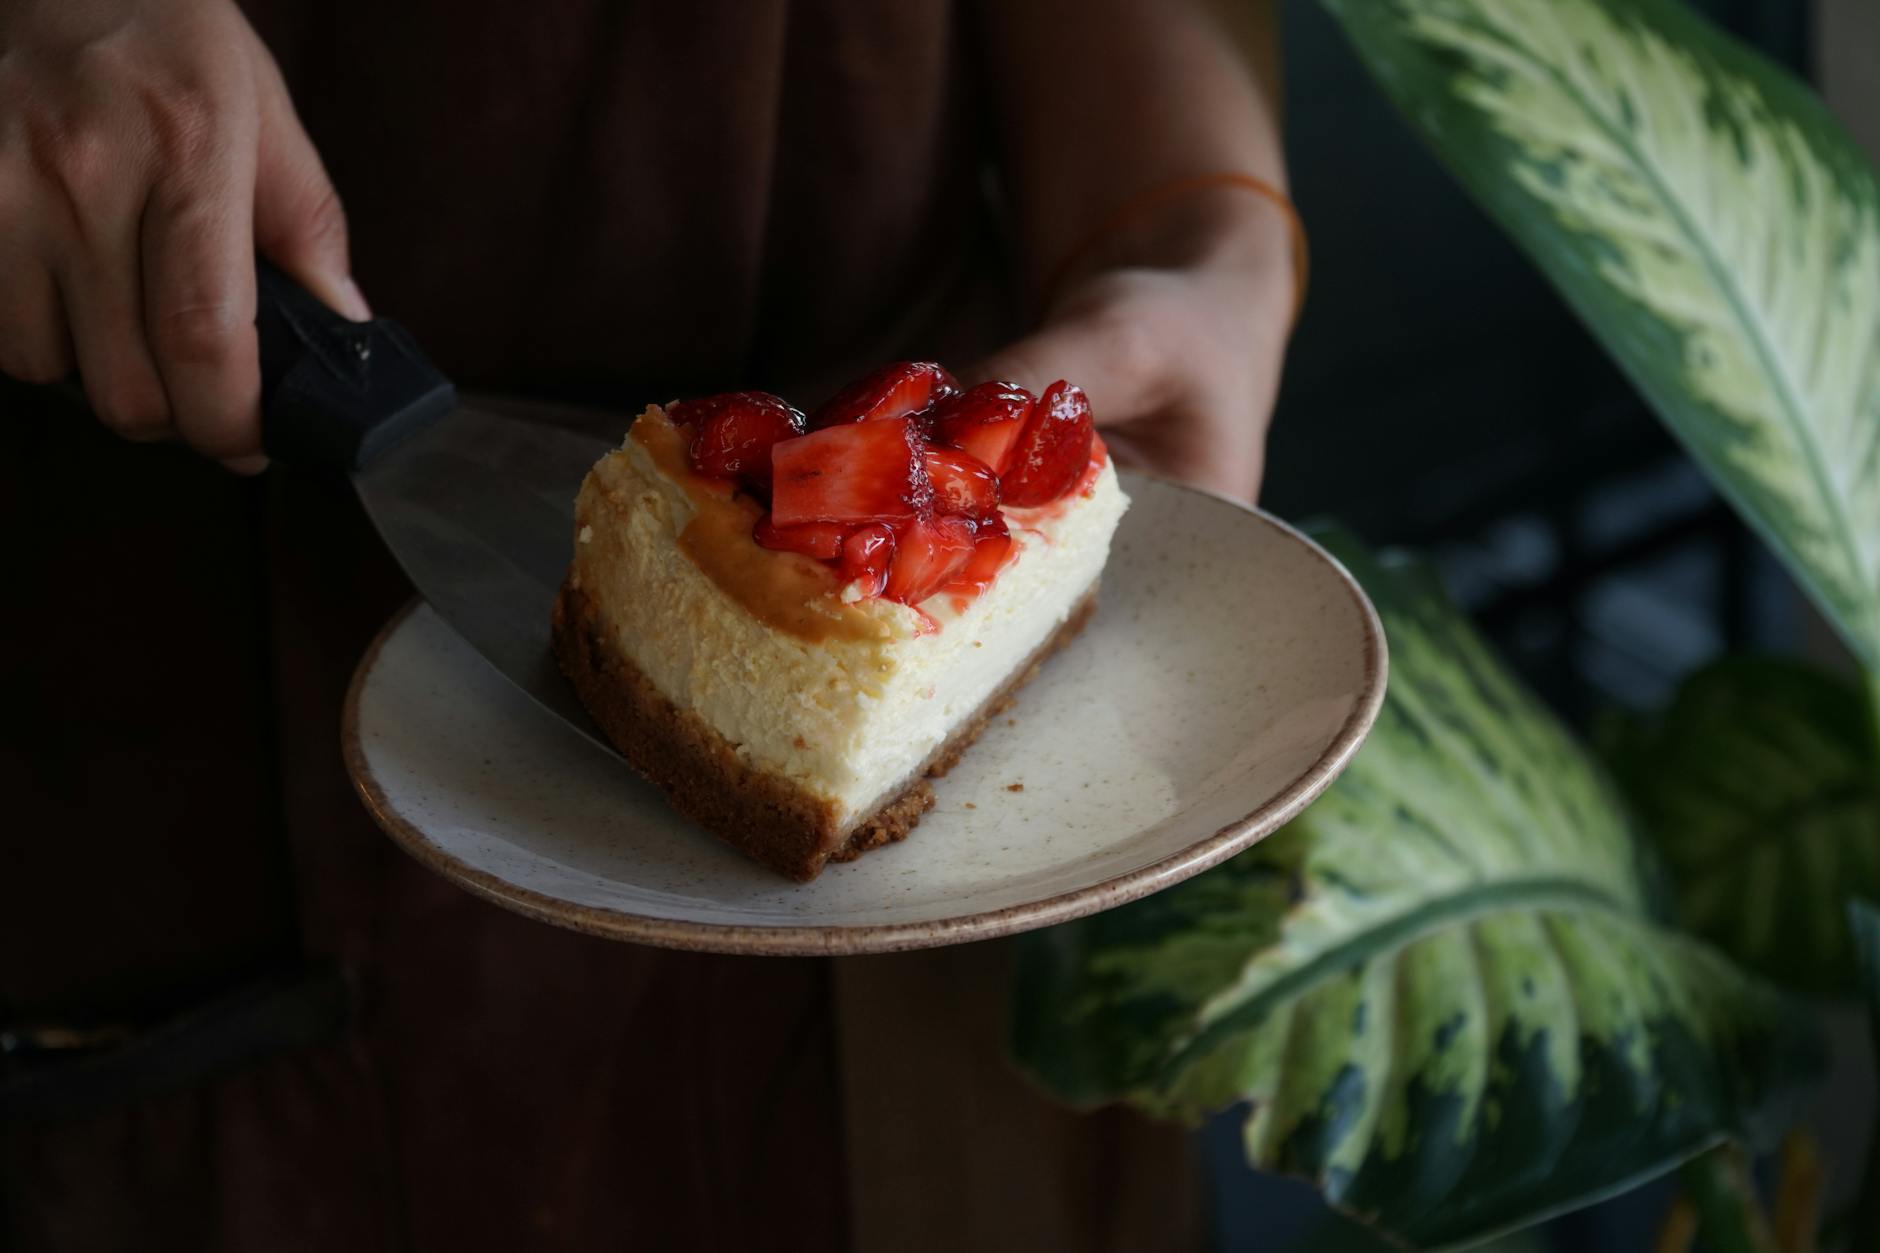
You’ve spent forty dollars on premium cream cheese. You’ve carefully pressed the graham cracker crust into the pan, ensuring every corner is even. You’ve waited patiently while the kitchen filled with that unmistakable, sweet, tangy aroma. But as you open the oven door, your heart sinks. Right across the middle of your beautiful creation is a jagged fissure that looks like a miniature Grand Canyon. You find yourself asking the age-old baker’s question: why did my cheesecake crack?
In my 15 years of testing recipes for CookBuddyGuide.com, I’ve seen every possible cheesecake catastrophe. I’ve had cakes that leaked, cakes that slumped, and yes, more cracked surfaces than I care to admit. But through those failures, I discovered that a flawless, smooth surface isn't just about luck—it’s about understanding the delicate science of the custard texture. Whether you are making a dense New York style cheesecake or a lighter ricotta version, the principles of physics and chemistry are the same.
Table of Contents
- The Science of Cheesecake Structure
- Top 5 Reasons: Why Did My Cheesecake Crack?
- How to Prevent Cheesecake Cracks: The Preparation Phase
- The Ultimate Water Bath (Bain-Marie) Tutorial
- Mastering the Bake: Temperature and Timing
- The Critical Cooling Process
- Damage Control: How to Fix a Cracked Cheesecake
- Essential Tools for Crack-Free Cheesecakes
- Frequently Asked Questions
The Heartbreak of the Crack: Why It Happens to the Best of Us
The first step to fixing a problem is understanding what you’re actually making. Many home cooks approach a cheesecake as if it were a standard sponge cake. This is the first mistake. A cheesecake is, technically speaking, a baked custard. Unlike a flour-based cake that relies on a gluten structure to hold its shape, a cheesecake relies on protein coagulation from eggs and the stability of cream cheese fats.
The Science of Cheesecake Structure
When you bake a custard, the proteins in the eggs begin to uncoil and bond together, trapping moisture and fat in a delicate web. If those proteins bond too tightly—usually due to excessive heat—they begin to squeeze the moisture out. This is why an overbaked filling often feels rubbery or grainy rather than silky. When the moisture is forced out and the structure tightens too much, the surface tension increases until the cake literally pulls itself apart, resulting in those dreaded cracks.
Why Visual Appeal Matters for Texture
While some might say, "It all tastes the same," a crack is usually a symptom of a larger textural issue. A crack often indicates that the cheesecake has been dried out or subjected to "thermal shock." In my experience, a cracked cheesecake is frequently overcooked at the edges while being just right in the center, or vice versa. Achieving a smooth surface is the visual proof that you have managed the baking temperature perfectly, resulting in a uniform, melt-in-your-mouth experience.
Top 5 Reasons: Why Did My Cheesecake Crack?
After troubleshooting hundreds of cakes in my own kitchen, I’ve narrowed down the culprits to five main offenders. If you’re wondering why did my cheesecake crack, it’s almost certainly one of these.
1. Overmixing and the Air Bubble Trap
We’ve been conditioned to "beat until smooth," but with cheesecake, you can take this too far. When you whip the batter at high speeds, you incorporate air bubbles. In the oven, these bubbles expand as they heat up, causing the cheesecake to rise like a soufflé. However, cheesecake doesn't have the structural integrity to stay risen. As it cools, the air escapes, the cake collapses, and the surface splits. To maintain a dense, creamy texture, you must avoid overmixing the cheesecake batter once the eggs are added.
2. Overbaking: The Moisture Thief
This is the most common cause of cracking. Because cheesecake continues to cook after it’s removed from the oven (carryover cooking), many bakers wait too long to pull it out. If the center is firm when you take it out, it’s already overbaked. As the proteins continue to tighten during the cooling process, they shrink, causing the surface to tear.
3. Temperature Shock: Cooling Too Rapidly
Imagine coming out of a hot sauna into a snowbank. Your body reacts instantly. Cheesecake is the same. If you move a cake from a 300°F oven directly to a 70°F countertop, the surface contracts rapidly while the interior remains expanded. This tug-of-war always ends with a crack. You must cool the cheesecake slowly to allow the structure to settle gradually.
4. The Missing Water Bath
Baking a cheesecake in a dry oven is risky. Without a water bath (also known as a bain-marie), the edges of the springform pan get significantly hotter than the center. This uneven heat distribution causes the outer ring of the cake to set and expand while the center is still liquid. The resulting stress on the surface leads to deep fissures.
5. The "Sticky Edge" Syndrome
As a cheesecake cools, it naturally shrinks slightly. If the edges of the cake are stuck to the sides of the pan, the cake cannot pull inward toward the center. Instead, the sides stay anchored to the pan, and the center is forced to pull apart to accommodate the shrinkage. You must loosen the edges of the cake shortly after it comes out of the oven to prevent this tension.
How to Prevent Cheesecake Cracks: The Preparation Phase
Prevention starts long before the oven is preheated. Your mixing technique and ingredient temperature are the foundation of a crack-free cake. If you're looking for how to prevent cheesecake cracks, start with these non-negotiable rules.
The "Perfect Start" Checklist
- Room Temperature Ingredients: This is the golden rule. Your cream cheese, eggs, and sour cream must be at room temperature (around 65-70°F). Cold cream cheese is stubborn and creates lumps. If you try to beat those lumps out, you’ll end up overmixing the batter and incorporating too much air.
- The Paddle Attachment: If using a stand mixer, always use the paddle attachment, not the whisk. The whisk is designed to aerate; the paddle is designed to cream.
- Low Speed Only: Keep your mixer on low to medium-low. It takes longer, but the result is a silky, bubble-free batter.
- Scrape the Bowl: I discovered that scraping the bottom of the bowl every 2 minutes is the only way to ensure homogeneity without over-beating. Lumps of unmixed cream cheese can create "weak spots" in the custard.
The Ultimate Water Bath (Bain-Marie) Tutorial
Many bakers fear the water bath because of the "soggy crust" nightmare. I’ve been there—pulling a beautiful cake out only to find the bottom is a watery mess. However, a water bath is the single best way to ensure even heat. The water cannot exceed 212°F, which means it acts as a heat shield, insulating the delicate custard texture from the harsh, direct heat of the oven elements.
If you're truly averse to the traditional method, you might consider Instant Pot baking techniques, which essentially use pressure and steam to create a perfect environment without the foil-wrapping hassle. But for a traditional oven bake, follow these steps.
Step-by-Step Leak-Proof Water Bath
- The Foil Shield: Use heavy-duty foil. Standard foil is too thin and prone to tiny pinhole tears. Wrap the bottom and sides of your springform pan with three overlapping layers of 18-inch wide heavy-duty foil.
- The Slow Cooker Liner Trick: In my testing, I found that placing the foil-wrapped pan inside a heat-safe slow cooker liner bag before putting it in the water provides a 100% fail-safe seal.
- The Hot Water: Always use boiling or very hot water for your setting up a water bath. If you use cold water, the oven has to work twice as hard to heat the water and the cake, leading to uneven baking.
- The Roasting Pan: Place your wrapped springform pan inside a large roasting pan. Place the roasting pan in the oven, then pour the hot water into the roasting pan until it reaches halfway up the sides of the cheesecake pan.
Mastering the Bake: Temperature and Timing
Cheesecake thrives on a "low and slow" philosophy. High temperatures cause the eggs to puff up and then collapse. I recommend a baking temperature of 300°F (150°C). It takes longer, but the gentle heat prevents the proteins from over-coagulating.
The Jiggle Test: How to Tell When It's Done
Forget the toothpick test; it doesn't work for custards. You need to perform the cheesecake jiggle test. Gently nudge the side of the pan with a wooden spoon. The outer 2-3 inches of the cheesecake should be set and firm, but the center (about the size of a grapefruit) should still jiggle like Jell-O. It shouldn't look liquid or slosh, but it should have a definite wobble.
Using an Internal Thermometer
If you want to be 100% certain, use an instant-read kitchen thermometer. This is the most authoritative way to ensure success. Aim for an internal temperature of 150°F (66°C). Once it hits this mark, turn off the oven immediately. Any higher, and you risk the "moisture thief" taking over and causing a crack.
The Critical Cooling Process
The hour after you turn off the oven is just as important as the hour the cake spent baking. This is where most people lose the battle against cracks. The goal is to lower the temperature as slowly as possible.
The 3-Stage Cooling Method
Stage 1: The Oven Door Trick (1 Hour)
Once the oven is off, crack the door open about an inch. Use a wooden spoon to prop it open if necessary. Let the cheesecake sit in the water bath inside the oven for a full hour. This allows the temperature to drop gently.
Stage 2: The Countertop Chill (1 Hour)
Remove the pan from the water bath, take off the foil, and place the pan on a cooling rack. Immediately run a thin, flexible spatula or a paring knife around the edge of the cake to ensure it isn't sticking. Let it sit at room temperature for another hour.
Stage 3: The Refrigerator Set (6+ Hours)
Do not skip this. A cheesecake needs at least 6 hours (preferably overnight) in the fridge to fully set its structure. Cover it loosely with plastic wrap only after it is completely cool to avoid condensation dripping onto your smooth surface.
Damage Control: How to Fix a Cracked Cheesecake
If you’re reading this and your cake has already cracked—don't panic. Even professional pastry chefs have "bad hair days" with their cakes. The good news is that cheesecake is incredibly easy to "fix" or hide. If the crack is massive and you're feeling discouraged, remember you can always pivot to no-bake dessert recipe ideas next time!
The Sour Cream Topping Mask
This is my favorite trick. It adds a beautiful tang and creates a perfectly level surface. Whisk together 1 cup of sour cream, 2 tablespoons of sugar, and 1 teaspoon of vanilla. Spread it over the warm cheesecake and bake for an additional 10 minutes at 350°F. It fills the cracks and sets into a beautiful white layer.
Fruit Compotes and Ganache Covers
A raspberry coulis, a pile of fresh macerated strawberries, or a thick layer of chocolate ganache can hide even the deepest cracks. Not only does it look intentional, but it also adds a layer of flavor that complements the cream cheese perfectly.
The Warm Spoon Smoothing Technique
For small, hairline cracks, you can sometimes "weld" the cake back together. Dip a metal offset spatula or a large spoon into boiling water, wipe it dry, and gently press and smooth the crack. The heat from the metal slightly melts the fats in the cheese, allowing you to bridge the gap.
Essential Tools for Crack-Free Cheesecakes
Having the right equipment makes the process much less stressful. In my testing, I've found that high-quality tools provide better insulation and more consistent results.
- Springform Pan: Look for a heavy-gauge aluminized steel pan. Brands like Nordic Ware or Fat Daddio’s distribute heat much more evenly than thin, dark-colored pans which can cause the edges to overcook.
- Heavy-Duty Foil: As mentioned, 18-inch wide heavy-duty foil is essential for a leak-proof bain-marie. Standard foil requires too many seams, and seams are where water gets in.
- Kitchen Thermometer: A digital instant-read thermometer takes the guesswork out of the jiggle test.
- Silicone Spatula: For scraping the bowl thoroughly to prevent those "lump-based" cracks.
Frequently Asked Questions
A: Yes! Use the warm spoon technique or cover it with a topping. Once the cake is cold, the crack is permanent, but its flavor and texture (other than the split) are usually still excellent.
A: It was likely overbaked or overmixed. A water bath helps regulate temperature, but if you leave the cake in the oven too long (past 150°F internal), the proteins will still tighten and crack the surface.
A: Absolutely. It is purely an aesthetic issue. The cake will still taste delicious!
Final Thoughts for a Flawless Finish
Understanding why did my cheesecake crack is the first step toward becoming a master baker. It’s a journey of patience and precision. By focusing on room temperature ingredients, avoiding the "air bubble trap," and respecting the slow cooling process, you can achieve that professional, smooth surface every time. Remember, even if it cracks, it’s still a delicious combination of sugar, cream, and joy. Happy baking!