Quick Answer
Your pancakes rubbery usually comes down to a controllable kitchen variable such as heat, timing, moisture, measuring, or storage history. Start with the most visible clue, change one variable, and compare the next batch before changing the whole method.
CookBuddy Kitchen Note
For your pancakes rubbery, the practical test is to change one pan variable at a time. Pan temperature, surface moisture, oil timing, and when you move the food are easier to judge separately than all at once.
Decision table
| Situation | Likely cause or meaning | Best move |
|---|---|---|
| Food sticks immediately | The pan is too cool, wet, or crowded | Preheat longer, dry the food, and cook in batches. |
| Food sticks then releases | A crust is forming normally | Wait before flipping instead of forcing the food loose. |
| Food burns before it releases | Heat is too high or oil is smoking | Lower the burner and use a clean pan with fresh oil. |
Step-by-step fix
- Dry the food surface with a towel before it goes into the pan.
- Preheat the pan until water droplets bead and move quickly.
- Add oil after heating, then let the oil shimmer before adding food.
- Place the food down and leave it until a crust forms.
- Flip only when the food releases with gentle pressure.

Common mistakes
- Adding food before the pan is fully preheated.
- Putting wet protein or vegetables straight into hot oil.
- Moving food before a crust has time to form.
- Crowding the pan until food steams instead of browns.
Useful next reads
Helpful tools for this guide
- digital kitchen scale
- instant-read thermometer
- rimmed sheet pan
- silicone spatula
Related topic hubs
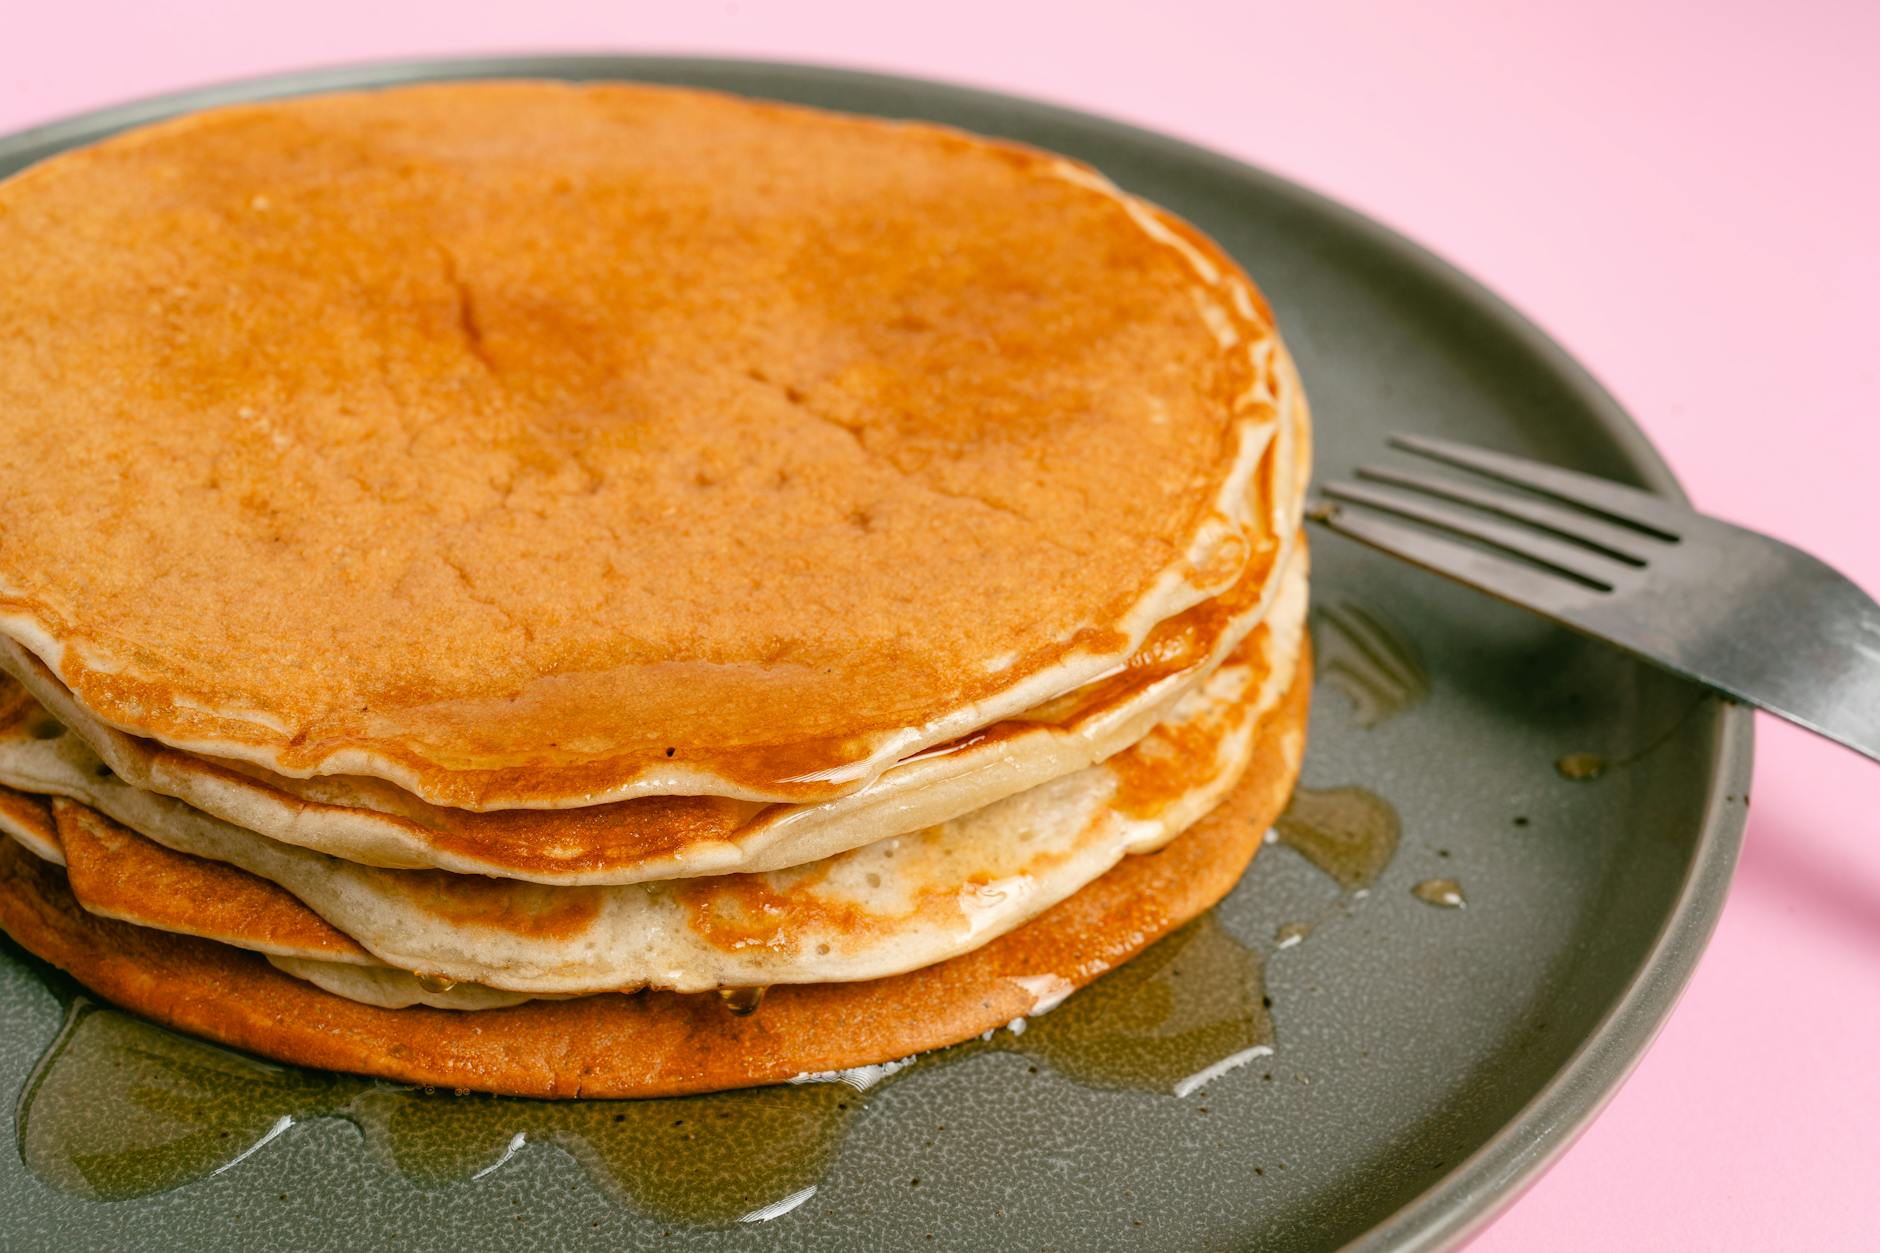
Why Are My Pancakes Rubbery? 7 Common Mistakes (and How to Fix Them for Good)
There is nothing more heartbreaking on a Sunday morning than a stack of pancakes that looks beautiful on the outside but feels like a used tennis ball when you bite into it. You’ve gathered the ingredients, preheated the griddle, and envisioned a stack of diner-style pancakes, only to end up with a plate of chewy, elastic rounds. If you are currently staring at a disappointing breakfast and wondering, "why are my pancakes rubbery?", you are not alone. In my 15 years of professional recipe testing for CookBuddyGuide, I have seen this happen to the best of home cooks.
The good news is that pancake texture is not a matter of luck; it is a matter of chemistry. Achieving that elusive, airy, honeycomb structure requires a delicate balance of ingredients and technique. When things go wrong, it’s usually because of a few specific mechanical or chemical errors. This guide will walk you through exactly how to fix rubbery tough pancakes and ensure your next batch is the fluffiest one yet.
Table of Contents
- The Science of the Perfect Pancake: Fluffy vs. Rubbery
- Mistake #1: Overmixing the Batter (The Gluten Trap)
- Mistake #2: Skipping the Essential Rest Period
- Mistake #3: Using Expired or Weak Leavening Agents
- Mistake #4: Cooking on High Heat (The Seared Surface)
- Mistake #5: Incorrect Flour-to-Liquid Ratios
- Mistake #6: Pressing Down with the Spatula
- Mistake #7: Flipping Too Early (or Too Often)
- How to Fix Rubbery Tough Pancakes: Ultimate Guide
- The CookBuddyGuide Fail-Proof Fluffy Pancake Recipe
The Science of the Perfect Pancake: Fluffy vs. Rubbery
To understand why a pancake turns out rubbery, we first have to look at what makes a pancake "good." A perfect pancake should have a tender, cake-like crumb that yields easily to a fork. When you cut into it, you should see thousands of tiny air pockets—this is the "honeycomb structure." These pockets are formed when leavening agents like baking powder or baking soda react with moisture and heat to produce carbon dioxide gas.
What defines a "rubbery" pancake?
A rubbery pancake lacks these air pockets. Instead of a light crumb, the interior is dense, moist, and elastic. If you can bend your pancake into a U-shape without it breaking, or if it has a "springy" resistance when you chew, you’ve entered rubbery territory. This texture is almost always the result of Gluten development gone wild. While gluten is the hero of a chewy sourdough bread, it is the absolute villain of a breakfast pancake.
The role of gluten in breakfast chemistry
When wheat flour meets liquid, two proteins—glutenin and gliadin—bond to form gluten. Mechanical action, such as whisking or stirring, strengthens these bonds, creating a stretchy web. In bread, we want this web to be strong to trap gas and provide chew. In pancakes, we want the gluten to remain as weak as possible. When you overwork the batter, you create a tight, reinforced network that prevents the pancake from rising and results in a tough pancake texture.
Mistake #1: Overmixing the Batter (The Gluten Trap)
In my early years of cooking, I used to think a smooth batter was the hallmark of a professional chef. I would whisk until every single white speck of flour disappeared. I was wrong. In fact, overmixing develops too much gluten, which is the number one reason why your pancakes turn out like rubber. Every stroke of the whisk is essentially "kneading" the batter.
Why "Lumpy" is actually your best friend
The secret to diner-style pancakes is a lumpy batter. When you combine your wet and dry ingredients, you should stop mixing the moment you no longer see large streaks of dry flour. Small lumps are perfectly fine; they will hydrate and disappear during the resting phase and the cooking process. If your batter looks like smooth cake frosting, you’ve gone too far.
The visual cues of an over-worked batter
An overmixed batter often looks shiny and slightly elastic. If you lift the whisk and the batter stretches before breaking, you’ve developed a strong gluten network. To avoid this, I recommend the "10-stroke rule." Once the liquid hits the flour, use a large wire whisk or even a simple fork to fold the ingredients together no more than 10 to 12 times. Expert tip: Never, ever use an electric hand mixer or a stand mixer for pancake batter. The high speed of the beaters develops gluten in seconds, ensuring a rubbery result.
Mistake #2: Skipping the Essential Rest Period
You’re hungry, the kids are asking for breakfast, and you want to get the batter onto the griddle immediately. I’ve been there. But letting the batter rest for at least 10 to 15 minutes is the difference between a "fine" pancake and a "legendary" one. This is a non-negotiable step in my kitchen.
What happens during those 10-15 minutes?
Two critical things happen during the rest period. First, the starch granules in the flour have time to fully hydrate. When flour is evenly moistened, the batter consistency becomes more uniform, leading to a better rise. Second, any gluten that was developed during the mixing process has a chance to "relax." Think of gluten like a rubber band; if you pull it and hold it, it stays tight. If you let go and wait, it softens. Resting the batter allows those protein bonds to loosen, which is essential to fix rubbery tough pancakes.
Starch hydration and gluten relaxation
In my tests, I’ve found that a 15-minute rest produces a pancake that is significantly taller and more tender than one cooked immediately. During this time, you can preheat your griddle or prepare your toppings. If you are into breakfast meal prep ideas, you can even make the batter the night before, though you may need to add a touch more liquid in the morning as the flour will have absorbed quite a bit of moisture.
Mistake #3: Using Expired or Weak Leavening Agents
If your batter is lumpy and rested but the pancakes are still flat and dense, your leavening agents are likely the culprit. Baking powder is the engine of the pancake. It is a chemical leavener that contains both an acid and a base. When it hits liquid and heat, it creates carbon dioxide. Without those bubbles, your pancake is just a dense disk of cooked flour.
Baking powder vs. Baking soda: The lift factor
Most recipes use baking powder, but some (especially those using Buttermilk) use a combination of both. Baking soda requires an acid (like buttermilk or lemon juice) to activate. If you use baking soda with regular milk, there’s no acid to trigger the reaction, and you’ll end up with a metallic-tasting, flat pancake. Always check your recipe to ensure you are using the correct agent.
The "Hot Water Test" for freshness
Baking powder loses its potency over time, especially in humid kitchens. I always recommend that home cooks check if baking powder is expired before starting. To test it, drop half a teaspoon of baking powder into a small bowl of hot water. If it bubbles vigorously immediately, it’s good to go. If it just sits there or bubbles weakly, throw it out and buy a fresh tin. This simple 30-second test has saved many of my Sunday brunches.
Mistake #4: Cooking on High Heat (The Seared Surface)
Patience is a virtue, especially at the stove. One of the most common reasons why are my pancakes rubbery is that the griddle is too hot. When you cook on high heat, the exterior of the pancake sears and browns almost instantly. This creates a "tough skin" before the internal leavening agents have had time to expand and set. The result? A burnt outside and a gummy, undercooked, rubbery interior.
The 'Low and Slow' philosophy
Pancakes should be cooked over medium-low heat. If you are using an electric griddle, set the griddle temperature to exactly 375°F (190°C). If you are using a stovetop pan, aim for a setting where a drop of water flicked onto the surface dances and sizzles for a second before evaporating. Cooking on too high heat also prevents the Maillard reaction—the chemical reaction between amino acids and reducing sugars that gives pancakes their delicious toasted flavor—from developing evenly.
Finding the 'Goldilocks' temperature
I always cook a "tester" pancake first. It’s usually small and ugly, but it tells me everything I need to know about the heat. If the pancake takes more than 3 minutes to show bubbles, the heat is too low. If it’s dark brown before any bubbles appear, the heat is too high. This is a great tip to keep in mind even when making toddler friendly dinner ideas like savory corn pancakes; consistent heat is key to a soft texture.
Mistake #5: Incorrect Flour-to-Liquid Ratios
Precision is the hallmark of a great baker. Many home cooks "eyeball" their pancake ingredients, pouring milk until the batter "looks right." However, pancake texture is highly sensitive to the ratio of flour to liquid. Too much flour leads to a heavy, bread-like pancake that feels tough. Too much liquid creates a thin batter that can't hold air bubbles, leading to a flat, rubbery crepe-like result.
Weight vs. Volume: Why a kitchen scale changes everything
In my 15+ years of testing, the single best piece of cooking tips I can give is to use a kitchen scale. A "cup" of flour can weigh anywhere from 120 grams to 160 grams depending on how tightly it is packed into the measuring cup. If you pack your flour, you are inadvertently adding 30% more flour than the recipe intended, which is a fast track to a tough pancake.
The 'Spoon and Level' method
If you don't have a scale, use the "spoon and level" method. Spoon the flour into the measuring cup until it overflows, then level it off with the back of a knife. Never scoop the flour directly with the measuring cup, as this packs it down. For a standard fluffy pancake recipe, you generally want a 1:1 ratio of flour to liquid by volume (e.g., 1 cup flour to 1 cup buttermilk), but this can vary slightly based on the brand of flour.
Mistake #6: Pressing Down with the Spatula
We’ve all seen it: a cook flips a pancake and then immediately presses it down firmly with the spatula. This is a habit likely carries over from cooking burgers or grilled cheese, but it is a disaster for pancakes. When you press a pancake, you are physically forcing out the carbon dioxide bubbles that the leavening agents worked so hard to create.
The 'Burger Smasher' habit you need to break
Pancakes are not burgers. They don't need to be "seared" into the pan. By pressing down, you compress the delicate internal structure, turning a potentially fluffy interior into a dense, rubbery mass. Once you flip that pancake, leave it alone. The only thing the spatula should be used for is the initial flip and the final removal from the pan.
Preserving the air pockets
To keep your pancakes soft, treat them like a delicate soufflé. The air pockets are what give the pancake its "lift" and prevent it from feeling like a piece of rubber. If you feel the urge to press, put the spatula down and step away from the stove! Your patience will be rewarded with a much better pancake texture.
Mistake #7: Flipping Too Early (or Too Often)
Flipping a pancake is a rite of passage, but doing it too soon is a major mistake. If you flip before the structure has set, the batter will spread out across the pan, losing its height and becoming thin and tough. Furthermore, flipping the pancakes too early often leads to multiple flips, which deflates the pancake further.
The 'Bubble Signal': When to make your move
How do you know when to flip? Look for three visual cues:
- Bubbles: Bubbles should form on the surface and, more importantly, they should start to pop and stay open, forming little "holes."
- Edges: The edges of the pancake should look matte and set, rather than shiny and wet.
- The Lift: Gently lift a corner with your spatula. It should be a beautiful golden brown.
The 'One-Flip' Rule
In my kitchen, we follow the "One-Flip Rule." A pancake should only be flipped once. Every time you flip it back and forth, you lose heat and air, and you increase the chances of the pancake becoming tough. Wait for the signal, flip once, and let the second side cook for about half the time of the first side.
How to Fix Rubbery Tough Pancakes: Ultimate Guide
What if you’ve already made the batter and you realize it’s looking a bit suspicious? Don’t throw it out just yet. You can often fix rubbery tough pancakes before they hit the griddle if you know what to look for.
Can you save a rubbery batter?
If you realize you have overmixed the batter (it looks very smooth and elastic), the best thing you can do is let it rest longer. Instead of 15 minutes, give it 30 to 45 minutes in the refrigerator. This extra time allows the over-activated gluten to relax more significantly. While it won't be as perfect as a properly mixed batter, it will be much better than if you cooked it immediately.
Adjusting your recipe on the fly
If your batter is too thick (it doesn't pour, it "glops"), do not whisk it vigorously to thin it out. Instead, gently fold in a tablespoon or two of buttermilk or milk. Use a spatula and a folding motion (like you would for a mousse) to incorporate the liquid without further developing the gluten. If the batter is too thin, you can sprinkle a tiny bit of flour over the top and gently fold it in, but be very careful not to overwork it at this stage.
The CookBuddyGuide Fail-Proof Fluffy Pancake Recipe
This is my "gold standard" recipe. It uses buttermilk for its acidic properties, which react with the baking soda to create an incredible rise and a tender crumb.
Ingredients
- 2 cups (240g) All-purpose wheat flour (measured using the spoon-and-level method)
- 2 tablespoons granulated sugar
- 2 teaspoons baking powder
- 1/2 teaspoon baking soda
- 1/2 teaspoon salt
- 2 cups buttermilk (shaken)
- 2 large eggs
- 4 tablespoons unsalted butter, melted and slightly cooled
- 1 teaspoon vanilla extract
Instructions
- Whisk Dry Ingredients: In a large bowl, whisk together the flour, sugar, baking powder, baking soda, and salt. Ensure there are no large clumps of baking soda.
- Mix Wet Ingredients: In a separate medium bowl, whisk the eggs, buttermilk, melted butter, and vanilla until well combined.
- The Gentle Combine: Pour the wet ingredients into the dry ingredients. Using a whisk or fork, stir until just combined. Stop when you still see small lumps. Do not overmix!
- The Essential Rest: Let the batter sit at room temperature for 15 minutes. You will see small bubbles starting to form on the surface—this is good!
- Preheat: Heat a non-stick griddle or large skillet over medium-low heat. Lightly grease with a small amount of butter or oil.
- Cook: Pour about 1/3 cup of batter for each pancake. Cook until bubbles form and stay open (about 2-3 minutes).
- The Flip: Flip carefully and cook the other side for another 1-2 minutes until golden brown.
- Serve: Serve immediately with warm maple butter.
Frequently Asked Questions
A: Yes, but whole wheat flour has more protein and can lead to even tougher pancakes. I recommend using "White Whole Wheat Flour" or a 50/50 mix of all-purpose and whole wheat for the best texture.
A: Your heat is too high! The outside is searing before the heat can penetrate the center. Lower your flame and try again.
A: This is usually due to expired baking powder or a batter that was too thin. Check your leavening agent's freshness and ensure you are measuring your flour correctly.
Final Thoughts on Perfecting Your Pancake Game
Mastering the art of the pancake is a journey of understanding Gluten development and heat management. By avoiding these 7 common mistakes—especially the temptation to overmix—you can transform your breakfast from a rubbery disappointment into a fluffy, diner-style feast. Remember: lumpy batter is okay, resting is mandatory, and the "one-flip" rule is your path to success.
Next time you find yourself at the stove, take a deep breath, turn down the heat, and let the science of the Maillard reaction and leavening agents work their magic. You’ve got this! For more kitchen troubleshooting and family-friendly recipes, keep exploring CookBuddyGuide. Happy cooking!