Quick Answer
The Ultimate Smoothie Bowl Recipe is built around practical home-kitchen ratios and simple texture checks. Follow the main method first, then use the variation and troubleshooting notes to adjust sweetness, salt, moisture, or cook time.
CookBuddy Kitchen Note
For The Ultimate Smoothie Bowl Recipe, this guide centers on Chill your bowl, Layer the ingredients, The Minimal Liquid Rule. Those are the checkpoints we would use first in a normal home kitchen before making a bigger change.
Decision table
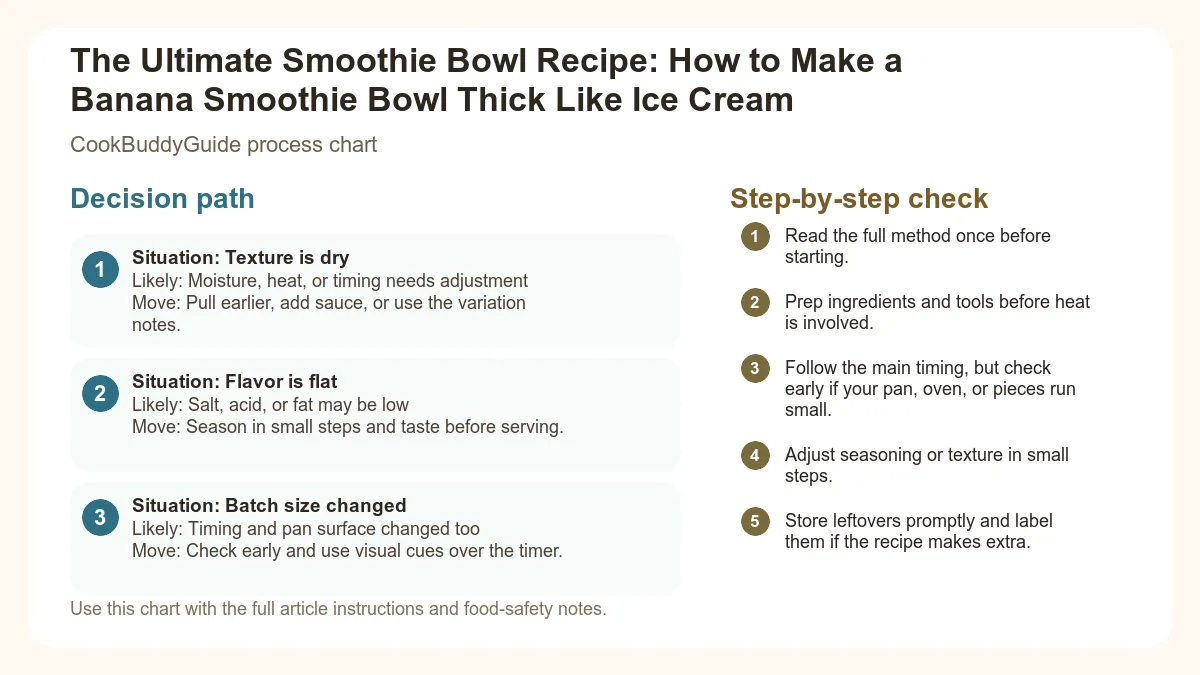
| Situation | Likely cause or meaning | Best move |
|---|---|---|
| Texture is dry | Moisture, heat, or timing needs adjustment | Pull earlier, add sauce, or use the variation notes. |
| Flavor is flat | Salt, acid, or fat may be low | Season in small steps and taste before serving. |
| Batch size changed | Timing and pan surface changed too | Check early and use visual cues over the timer. |
Step-by-step fix
- Read the full method once before starting.
- Prep ingredients and tools before heat is involved.
- Follow the main timing, but check early if your pan, oven, or pieces run small.
- Adjust seasoning or texture in small steps.
- Store leftovers promptly and label them if the recipe makes extra.
Common mistakes
- Changing the recipe before trying the base method once.
- Measuring casually when texture depends on ratios.
- Waiting until the end to fix seasoning.
- Ignoring carryover heat or resting time.
Useful next reads
Helpful tools for this guide
- instant-read thermometer
- digital kitchen scale
- cutting board
- airtight storage containers
Related topic hubs
There is nothing more heartbreaking in the kitchen than spending ten minutes prepping a vibrant, nutrient-dense breakfast only to have it turn into a lukewarm soup the moment it hits the bowl. We have all been there: you envision a thick, velvety base that holds up a mountain of granola and fresh fruit, but you end up with a runny mess that requires a straw rather than a spoon. After 15 years of testing every smoothie bowl recipe imaginable in my own kitchen, I have discovered that the secret to a professional-grade result isn't a magic ingredient—it is a specific set of techniques and a commitment to the "minimal liquid" philosophy.
In this guide, I am going to show you exactly how to achieve a banana smoothie bowl thick like ice cream every single time. We will dive into the science of pectin, the mechanics of high-speed blenders, and the art of the "pulse and scrape." Whether you are looking for a satisfying healthy breakfast idea or a guilt-free vegan dessert, mastering this thick consistency will change your morning routine forever. This isn't just a drink in a bowl; it's a culinary experience that mimics the indulgence of nice cream while packing a punch of nutritional density.
Table of Contents
- Why Texture is Everything in a Smoothie Bowl Recipe
- The Secret Ingredient: Why Frozen Bananas are Non-Negotiable
- Essential Equipment: Blender vs. Food Processor
- The Master Recipe: Banana Smoothie Bowl Thick Like Ice Cream
- Pro Blending Techniques for Maximum Thickness
- The Ultimate Topping Guide: Texture and Flavor
- Calorie Control: Keeping Your Bowl Healthy
- Troubleshooting Common Smoothie Bowl Mistakes
- Storage and Meal Prep Tips
Why Texture is Everything in a Smoothie Bowl Recipe
The Difference Between a Smoothie and a Smoothie Bowl
The fundamental mistake most home cooks make is treating a smoothie bowl like a standard smoothie. A traditional smoothie is designed to be sippable through a straw; it requires a significant amount of liquid to keep the ingredients moving around the blades. A true smoothie bowl recipe, however, demands high viscosity. In my testing, I’ve found that the ideal texture should resemble soft-serve ice cream or a thick gelato. If you tilt your bowl and the mixture slides immediately to one side, it’s too thin. A perfect bowl should hold its shape, allowing your smoothie bowl toppings to sit proudly on top without sinking into the abyss.
The Science of the "Spoonable" Consistency
Achieving this consistency is a matter of temperature and air incorporation. When you use frozen fruit and minimal liquid, the blender creates a "frozen emulsion." As the blades break down the ice crystals in the fruit, they incorporate a small amount of air, creating that fluffy, whipped texture we love in nice cream. Furthermore, there is a psychological component to this. Research suggests that the act of chewing your food—even if it's a blended base—increases satiety levels. By adding crunch through toppings and maintaining a thick base, you signal to your brain that you are eating a full meal, which is why these are such effective healthy breakfast ideas.
The Secret Ingredient: Why Frozen Bananas are Non-Negotiable
Pectin and Sugar: The Chemistry of Creaminess
You might wonder why bananas are the gold standard for a thick base. It comes down to their unique chemical makeup. Bananas are rich in pectin, a type of starch that acts as a natural thickening agent. As a banana ripens, its starches convert to sugar, but the pectin remains, providing a creamy, almost fatty mouthfeel without the need for dairy. According to the nutritional profile of bananas, they also provide a significant amount of dietary fiber, which helps stabilize the mixture. When frozen, these fibers and sugars create a solid structure that mimics the butterfat in traditional ice cream.
How to Properly Freeze Bananas for Blending
I cannot stress this enough: do not just throw a whole banana into the freezer. I made this mistake in my early days of blogging, and I nearly broke my blender trying to hack through a frozen solid peel. To get the best results, wait until your bananas are "cheetah spotted"—yellow with plenty of brown flecks. This is when the sugar content is highest and the texture is most pliable. Peel them, slice them into 1-inch coins, and lay them in a single layer on a parchment-lined tray. This guide on how to freeze fruit confirms that flash-freezing prevents the slices from clumping together into a giant block, which is essential for your blender's motor health. Aim for at least a 24-hour freeze to ensure the core is rock solid.
Essential Equipment: Blender vs. Food Processor
High-Speed Blenders: The Gold Standard
If you are serious about your smoothie bowl recipe, a high-speed blender (like a Vitamix or Blendtec) is your best friend. These machines have motors powerful enough to pulverize frozen fruit with almost zero liquid. In my 15+ years of experience, I’ve found that the sheer RPM of these blenders creates a smoother finish than any other tool. However, the real hero is the blender tamper. This tool allows you to push the frozen chunks down into the blades safely while the motor is running, preventing the dreaded "air pocket" that stops the blending process.
Using a Food Processor for Low-Liquid Blends
If you don't own a high-speed blender, don't despair. A food processor is actually superior to a standard, low-power blender for making a banana smoothie bowl thick like ice cream. Because a food processor has a wider base and longer blades, it doesn't require a "vortex" to blend. It can chop through frozen bananas and create a thick, pate-like consistency. It takes a little longer—usually 2 to 3 minutes of processing—but the result is incredibly thick and spoonable.
The Master Recipe: Banana Smoothie Bowl Thick Like Ice Cream
This is the foundational recipe I use every morning. It is an excellent acai bowl alternative that relies on pantry staples.
Ingredients
- 3 large overripe bananas (peeled, sliced, and frozen for 24 hours)
- 2 tablespoons plant-based milk (unsweetened almond or soy works best)
- 1/2 teaspoon vanilla extract
- A pinch of sea salt (to enhance the sweetness)
- Optional: 1 scoop of protein powder (see our High Protein Meals for Weight Loss for brand recommendations)
Instructions
- Chill your bowl: Place your serving bowl in the freezer for 5 minutes before you start. This prevents the smoothie from melting the moment it touches the ceramic.
- Layer the ingredients: Add your plant-based milk and vanilla to the blender first, then top with the frozen banana coins. Adding liquid first helps the blades catch.
- The Minimal Liquid Rule: Start with only 2 tablespoons of liquid. It will look like it isn't enough—trust the process. You can find more on these ratios in this guide on how to make a smoothie bowl.
- Blend on low: Start your blender on the lowest speed. Use the blender tamper to aggressively push the bananas into the blades.
- Increase speed: Once the bananas look like small crumbles, increase the speed to medium-high. Watch for the "four mounds" to form in the blender—this is the sign of a perfect thick blend.
- Final Scrape: Stop the blender, scrape the sides with a silicone spatula, and give it one final 5-second burst on high.
- Serve immediately: Scoop the mixture into your chilled bowl and add your favorite smoothie bowl toppings.
Pro Blending Techniques for Maximum Thickness
The Low-to-High Speed Ramp Up
One mistake I see often is people turning their blender to "High" immediately. This causes the blades to spin so fast that they create a pocket of air around themselves, and the frozen fruit just sits on top, untouched. This is known as cavitation. To avoid this, always start at the lowest possible setting. You want to hear the motor "growl" as it works through the chunks. Only when the mixture has reached a soft-serve consistency should you ramp up the speed to achieve that final silky finish.
Avoiding the "Spinning Blades" Trap
If your blades are spinning but nothing is moving, stop immediately. Do not add more liquid yet! Instead, use your spatula to move the frozen fruit around, breaking up any air pockets. Often, just a quick stir is all you need to get the "vortex" started again. If you absolutely must add more liquid, add it one teaspoon at a time. In the world of thick smoothie bowls, a little liquid goes a very long way.
When to Add Mix-ins
If you want to add cacao powder, matcha, or protein powder, wait until the bananas are halfway blended. If you add powders at the very beginning, they tend to stick to the sides of the blender jar and don't incorporate evenly. Adding them once the mixture is slushy ensures a perfectly homogenous vegan dessert or breakfast base.
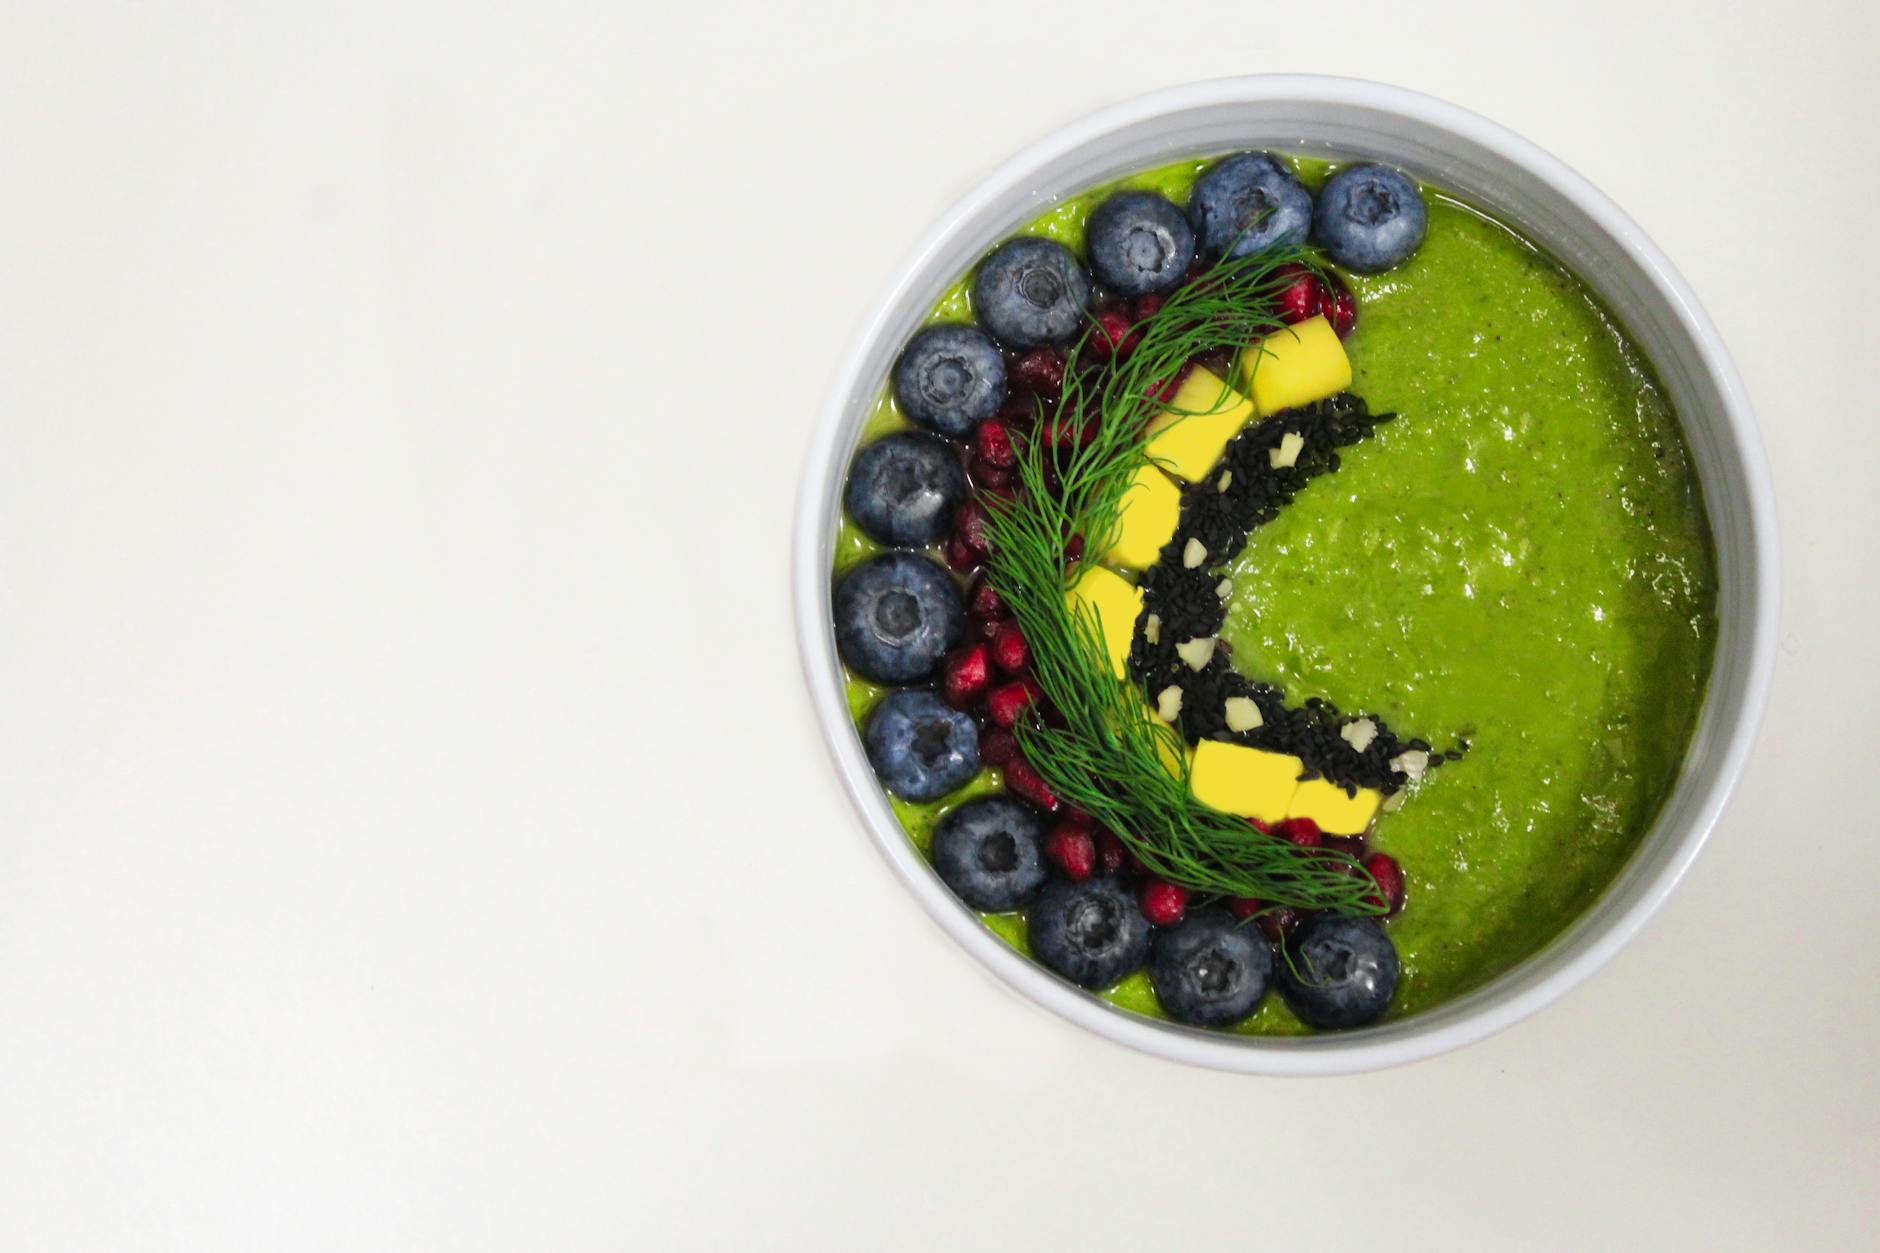
The Ultimate Topping Guide: Texture and Flavor
Crunch Factors: Granola and Nuts
A smoothie bowl is only as good as its toppings. To balance the soft, creamy base, you need a variety of textures. I always start with a base layer of grain-free granola or toasted nuts. According to the health benefits of nuts, adding walnuts or almonds provides essential healthy fats and macronutrients that keep you full longer. I personally love using cacao nibs for a "chocolate chip" crunch without the added sugar.
Fresh Elements: Berries and Tropical Fruit
Fresh fruit adds acidity and brightness. Sliced strawberries, blueberries, or raspberries are classic choices. For a more tropical vibe, try dragon fruit or mango. The key is to slice your fruit thinly so it doesn't weigh down the base. If you've followed my smoothie bowl recipe correctly, your fruit should sit right on top of the thick "ice cream" base.
The Finishing Touches: Nut Butters and Superfoods
The "drizzle" is the hallmark of a professional smoothie bowl. To get that perfect line of peanut or almond butter, microwave a tablespoon of the butter for 10 seconds until it's slightly runny. Use a spoon to drizzle it in a zig-zag pattern across the bowl. Finish with a sprinkle of chia seeds, hemp hearts, or coconut flakes for extra nutritional density and visual appeal.
Calorie Control: Keeping Your Bowl Healthy
Hidden Calories in Smoothie Bowls
While smoothie bowls are packed with vitamins, they can easily turn into 1,000-calorie sugar bombs if you aren't careful. A large bowl with three bananas, half a cup of granola, and two tablespoons of peanut butter adds up quickly. To keep things balanced, refer to the Harvard guide on healthy smoothie portion sizes, which suggests focusing on whole foods and being mindful of liquid sugars.
Low-Calorie Volume Fillers
One of my favorite "secret" tips for a banana smoothie bowl thick like ice cream without the extra calories is using frozen cauliflower rice. I know it sounds strange, but I promise you cannot taste it. By replacing one of the bananas with 1 cup of frozen cauliflower rice, you significantly reduce the sugar content while maintaining that incredible nice cream texture. It’s a game-changer for anyone tracking their macronutrients.
Balancing Macronutrients for Satiety
To prevent a blood sugar spike and subsequent crash, always include a source of protein and fat. A scoop of high-quality protein powder or a tablespoon of ground flaxseeds can make the difference between being hungry in an hour and staying full until lunch. For more ideas on balanced morning meals, check out our guide on Breakfast Meal Prep Ideas.
Troubleshooting Common Smoothie Bowl Mistakes
This usually happens because of too much liquid or the fruit wasn't frozen solid. The "Emergency Ice Cube" fix: Add 3-4 ice cubes and blend on high. It will slightly dilute the flavor, but it will save the texture. Next time, ensure your bananas are frozen for at least 24 hours.
Stop! This happens when the motor is struggling with a load that's too dry. Add one tablespoon of liquid, stir the mixture manually to remove air pockets, and try again on a lower speed. Never force a blender to run if it smells like burning plastic.
Frozen fruit can sometimes lose its punch. Always add a pinch of salt—it's a flavor enhancer that makes the banana taste more like "banana." A squeeze of lemon juice or a dash of cinnamon can also brighten up the entire bowl.
Storage and Meal Prep Tips
Can You Make Smoothie Bowls Ahead of Time?
In my experience, smoothie bowls are best eaten immediately. However, you can meal prep the components. I use silicone bags to create "smoothie packs" containing the sliced bananas, a scoop of protein, and any other frozen fruits. In the morning, all you have to do is dump the bag into the blender, add your 2 tablespoons of milk, and blend. This saves at least 5 minutes of prep time during the morning rush.
Storing Leftovers as 'Nice Cream' Popsicles
If you find you’ve made too much, do not put the bowl in the fridge; it will just melt. Instead, pour the leftovers into popsicle molds. These make for a fantastic, low calorie topping alternative or a quick healthy snack for kids. They will keep in the freezer for up to two weeks. When you're ready to eat one, let it sit at room temperature for 2 minutes to soften slightly, and it will have that perfect nice cream texture all over again.
Conclusion: Master the Scoop
Creating the perfect smoothie bowl recipe is a skill that rewards patience and technique over speed. By choosing the right bananas, respecting the power of your blender, and being disciplined with your liquid ratios, you can enjoy a banana smoothie bowl thick like ice cream every single morning. Remember, the goal is a breakfast that feels like a treat but fuels you like a superfood. Don't be afraid to experiment with your smoothie bowl toppings and find the combination that makes you excited to get out of bed. Happy blending!