Quick Answer
The Ultimate Homemade McFlurry Recipe is built around practical home-kitchen ratios and simple texture checks. Follow the main method first, then use the variation and troubleshooting notes to adjust sweetness, salt, moisture, or cook time.
CookBuddy Kitchen Note
For The Ultimate Homemade McFlurry Recipe, this guide centers on Prep the Jar, Load the Base, The Pulse. Those are the checkpoints we would use first in a normal home kitchen before making a bigger change.
Decision table
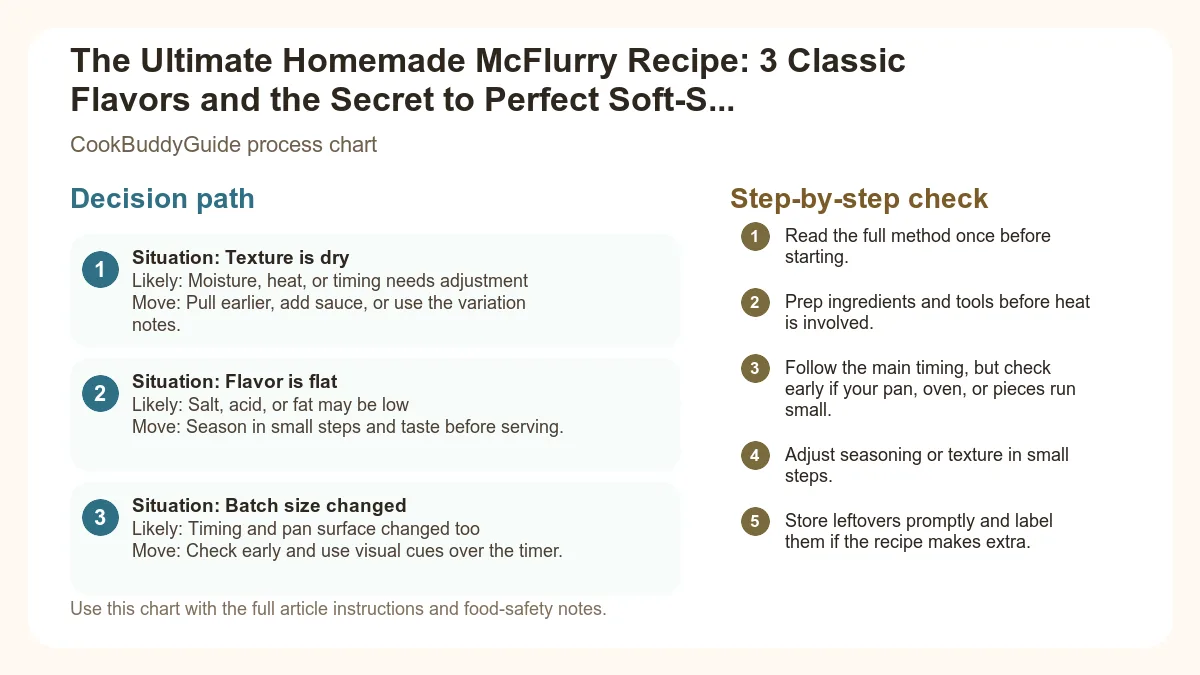
| Situation | Likely cause or meaning | Best move |
|---|---|---|
| Texture is dry | Moisture, heat, or timing needs adjustment | Pull earlier, add sauce, or use the variation notes. |
| Flavor is flat | Salt, acid, or fat may be low | Season in small steps and taste before serving. |
| Batch size changed | Timing and pan surface changed too | Check early and use visual cues over the timer. |
Step-by-step fix
- Read the full method once before starting.
- Prep ingredients and tools before heat is involved.
- Follow the main timing, but check early if your pan, oven, or pieces run small.
- Adjust seasoning or texture in small steps.
- Store leftovers promptly and label them if the recipe makes extra.
Common mistakes
- Changing the recipe before trying the base method once.
- Measuring casually when texture depends on ratios.
- Waiting until the end to fix seasoning.
- Ignoring carryover heat or resting time.
Useful next reads
Helpful tools for this guide
- instant-read thermometer
- digital kitchen scale
- cutting board
- airtight storage containers
Related topic hubs
The Ultimate Homemade McFlurry Recipe: 3 Classic Flavors and the Secret to Perfect Soft-Serve Texture
It is 10:45 PM on a Tuesday. You have a specific, undeniable craving for something cold, creamy, and packed with crushed cookies. You pull into the drive-thru, heart full of hope, only to hear those five soul-crushing words: "Our ice cream machine is down." We have all been there. After 15 years of developing recipes for CookBuddyGuide.com, I decided that the "broken machine" would no longer dictate my dessert fate. I spent three weeks in my test kitchen, burning through gallons of vanilla bean ice cream and dozens of confectionery bags, to crack the code on the perfect mcflurry recipe.
The challenge isn't just mixing candy into ice cream; that is just a sundae. The challenge is replicating that specific, aerated, "spoonable-but-not-liquid" soft-serve texture that defines the McDonald's experience. In this guide, I am going to show you how to use a standard kitchen blender or food processor to create a homemade mcflurry that actually tastes better than the original. We will cover the three titans of the menu: Oreo, M&M, and Reese’s Peanut Butter Cup, while diving deep into the dessert hack that ensures your treat stays thick enough to pass the "spoon stand" test.
Table of Contents
- Why This Recipe Beats the Drive-Thru
- The Science of the Soft-Serve Base
- Mastering the Blender Technique
- The Master McFlurry Base Recipe
- Flavor #1: The Classic Oreo
- Flavor #2: The M&M
- Flavor #3: The Reese's Peanut Butter Cup
- Pro Tips for Thick Consistency
- Creative Flavor Variations
- Storage and Make-Ahead Instructions
Why This Homemade McFlurry Recipe Beats the Drive-Thru
The Quest for the Perfect Soft-Serve Texture
In my early testing, I made a common mistake: I treated this like a milkshake. I added too much milk, blended it for 60 seconds, and ended up with a soup. A thick milkshake vs mcflurry are two entirely different beasts. A milkshake is meant to be sipped through a straw; a McFlurry is meant to be eaten with a heavy-duty plastic spoon. To get that copycat recipe right, you need to manage the "overrun"—the amount of air incorporated into the ice cream. Fast-food machines pump air into a liquid dairy base as it freezes. At home, we have to "re-aerate" hard-pack ice cream without melting it. This requires a specific blender strategy that I’ve refined over dozens of batches.
Cost Savings and Ingredient Control
Let’s talk numbers. A large McFlurry can cost upwards of five dollars depending on your location. For that same price, you can buy a 1.5-quart tub of premium ice cream and a family-size pack of crushed cookies, yielding four to five massive servings at home. More importantly, you control the quality. When you make a homemade mcflurry, you aren't using a "dairy-based dessert mix" filled with stabilizers and carrageenan. You are using real heavy whipping cream and high-quality vanilla. Plus, you can finally fix the ratio problem—no more getting to the bottom of the cup only to find plain vanilla. In my kitchen, we go heavy on the mix-ins every single time.
The Science of the Soft-Serve Base
Choosing the Right Vanilla Ice Cream
Not all vanilla ice creams are created equal for this mcflurry recipe. In my 15+ years of experience, I have found that "premium" high-density ice creams (like Häagen-Dazs) are actually harder to turn into soft serve because they have very little air. For the best results, look for "slow-churned" or "original" styles like Dreyer’s or Edy’s. These brands naturally contain more air, making them more pliable. According to the science of ice cream texture, the balance of fat and air is what creates that signature smooth mouthfeel. Using a vanilla bean ice cream with visible specks also adds a touch of gourmet flair to an otherwise simple sweet treat.
The Role of Fat Content in Creaminess
Fat is the vehicle for flavor. When you blend ice cream, you are friction-heating the fat molecules. If the fat content is too low (like in "light" ice cream), the structure collapses immediately into water. This is why I always recommend adding a splash of heavy whipping cream rather than skim milk. The extra fat stabilizes the air bubbles you are trying to create, keeping the mixture stiff. If you are watching your intake, remember that managing added sugar intake is often more impactful for health than cutting the fat in a once-in-a-while dessert.
The Temperature Sweet Spot
I discovered that the biggest failure point for home cooks is the temperature of the ice cream. If it comes straight from a sub-zero deep freezer, it’s too hard, and you’ll be forced to add too much liquid to get it to move. If it’s been sitting on the counter for 10 minutes, it’s too soft. The "Goldilocks" zone is about 3-5 minutes on the counter. You want it to be "scoopable" but still hold its shape firmly. This allows the kitchen blender tips I’m about to share to work their magic without turning your fast food at home experiment into a puddle.
Mastering the Blender Technique
High-Speed Blenders vs. Food Processors
If you have a Vitamix or a Ninja, you have a powerful tool, but it can be dangerous. These motors are so strong they can melt ice cream in seconds. I actually prefer a food processor dessert method for beginners because the wider blades chop and fold rather than purely liquefy. If you are using a blender, you must use the tamper tool to keep the ice cream moving without adding more liquid. This is a key part of the perfect milkshake blending technique, which emphasizes minimal processing for maximum thickness.
The Pulse Method: Avoiding the 'Milkshake' Trap
Never, ever just hit "ON" and walk away. To achieve the mcflurry recipe texture, you must use the pulse button. I recommend 1-second pulses, about 5 to 8 times total. You are looking for the moment the large scoops break down into a uniform, thick ribbon. If you see a "vortex" form in the middle, you’ve gone too far—you now have a milkshake. I’ve made this mistake more times than I care to admit, usually while trying to multitask during a busy simple five ingredient recipes dinner prep.
The 'Spoon Stand' Test
How do you know you’ve nailed it? The Spoon Stand test. Once you’ve mixed your base, stick a heavy spoon into the center of the blender jar. If the spoon stays perfectly vertical without leaning for at least 10 seconds, you have achieved the peak homemade mcflurry consistency. If it tips, pop the jar into the freezer for 10 minutes to firm up before adding your mix-ins.
The Master McFlurry Base Recipe
This is the foundation for every flavor. Master this, and the possibilities are endless.
Ingredients
- 3 large scoops (approx. 2 cups) high-quality vanilla ice cream
- 2 tablespoons heavy whipping cream (or whole milk)
- 1/2 teaspoon pure vanilla extract (optional, for extra depth)
- Pinch of fine sea salt (the secret to making the flavors pop)
Instructions
- Prep the Jar: Place your blender jar or food processor bowl in the freezer for 10 minutes before starting. A cold jar prevents the ice cream from melting on contact.
- Load the Base: Add the ice cream, heavy cream, vanilla, and salt to the chilled jar.
- The Pulse: Pulse 5-7 times. Use a spatula to scrape down the sides between pulses. Stop as soon as the mixture is smooth but still very thick.
- Check Consistency: Perform the "Spoon Stand" test. If it's too thick to move, add 1 more teaspoon of cream and pulse once.
- Fold in Mix-ins: Add your chosen candies (see flavors below) and pulse 2 more times just to incorporate. Do not over-blend the candies!
Note: Always follow safe dairy handling practices by keeping your ice cream frozen until the moment you are ready to blend.
Flavor #1: The Classic Oreo McFlurry
The Perfect Cookie-to-Cream Ratio
The Oreo version is the undisputed king of the mcflurry recipe world. After testing various ratios, I’ve found that 4 to 5 standard Oreos per 2 cups of ice cream is the "sweet spot." Any less and it feels stingy; any more and the cookies absorb too much moisture, turning the soft-serve grey. For an extra indulgent copycat recipe, I highly recommend using Double Stuf Oreos. The extra creme filling blends into the ice cream base, creating a richer mouthfeel that mimics the high-sugar profile of the fast-food original.
Crushing Techniques: Dust vs. Chunks
Texture is everything. You don't want a fine powder, nor do you want whole cookies that you have to fight with. I put my Oreos in a Ziploc bag and hit them with a rolling pin. You are looking for a 70/30 split: 70% small chunks (about the size of a pea) and 30% "cookie dust." The dust flavors the ice cream, while the chunks provide the crunch. In my testing, I discovered that adding half the cookies into the blender for the final two pulses and then hand-stirring the remaining half provides the best visual and textural result.
Flavor #2: The M&M McFlurry
Mini vs. Regular M&Ms
Here is a professional dessert hack: Never use full-sized M&Ms in a homemade mcflurry. Regular M&Ms become incredibly hard when they hit the cold ice cream, making them a literal tooth-breaker. Mini M&Ms are the secret. They have a higher shell-to-chocolate ratio, which means more crunch in every bite, and their small size allows them to be distributed evenly throughout the mixture. If you can only find regular ones, give them a quick pulse in the blender before adding the ice cream to break them down into smaller shards.
Preventing Color Bleeding
Have you ever noticed how a McFlurry can sometimes turn a weird muddy brown? That’s because the candy shells are dissolving. To prevent this, keep your M&Ms in the freezer until the very last second. Cold shells resist melting. Also, this is a great time to pair this treat with some refreshing no-cook summer meals to keep the kitchen cool, as humidity and heat are the enemies of candy-coated chocolates.
Flavor #3: The Reese's Peanut Butter Cup McFlurry
Chopping the Cups for Maximum Flavor
Reese's Peanut Butter Cups are soft, which means they tend to smear rather than "crunch." To get those distinct pockets of peanut butter, you must freeze the cups for at least 30 minutes before chopping. I use a sharp chef's knife to cut each miniature cup into quarters. If you use the full-sized cups, chop them into 1/2-inch pieces. This ensures that the confectionery doesn't just disappear into the vanilla base.
The Peanut Butter Swirl Hack
If you want to take this mcflurry recipe to the "expert" level, try this: after blending your base, add one teaspoon of creamy peanut butter and barely swirl it in with a knife. This creates "ribbons" of peanut butter that contrast beautifully with the cold ice cream. This is a technique I use in many of my 5-ingredient dinner recipes—using one ingredient in two different textures to create complexity. The salty-sweet balance of the Reese's version makes it a perennial favorite in my household.
Pro Tips for Achieving Signature Thick Consistency
- The "Freeze the Bowl" Method: I cannot stress this enough. If your blender jar is room temperature, it will melt the outer layer of ice cream instantly, creating a liquid jacket that ruins the texture. 10 minutes in the freezer is all it takes.
- Managing Melt Time: Work fast. Have your cookies crushed and your candies chopped before you take the ice cream out of the freezer. Every second counts.
- Troubleshooting Runny Results: If you accidentally added too much milk and it looks like a soup, don't panic. Pour the mixture into a shallow metal bowl and pop it in the freezer for 15 minutes. Stir it vigorously with a fork every 5 minutes to keep it aerated. It won't be perfect, but it will save the batch.
- The Manual Fold: For the most authentic look, always save a tablespoon of your mix-ins to sprinkle on top. It makes the sweet treat look professionally made.
Creative Flavor Variations to Try Next
Once you’ve mastered the "Big Three," it’s time to get creative. The beauty of making a mcflurry recipe at home is that you aren't limited by what's behind the counter. Here are a few "Kitchen Sink" ideas I've tested:
- The Salty Dog: Crushed pretzels, caramel sauce, and a swirl of peanut butter.
- The Birthday Cake: Use cake-batter flavored ice cream and mix in rainbow sprinkles and chunks of frosted animal crackers.
- The Healthy-ish Swap: Use a high-protein ice cream (like Halo Top) and mix in frozen blueberries and almond slivers. You can learn more about homemade soft serve methods that use fruit as a base for an even lighter version.
- Seasonal Specials: In the fall, I love adding a tablespoon of pumpkin puree and crushed ginger snaps. In the winter, crushed peppermint bark is a must.
Storage and Make-Ahead Instructions
Can You Freeze a McFlurry?
The short answer is: not really. The magic of a McFlurry is the soft-serve texture. If you put it in the freezer for more than an hour, it will turn back into a hard block of ice cream. However, if you are making these for a party, you can blend the base, mix in the candies, and store them in the freezer for up to 30 minutes. This is the "firming" window where they stay scoopable and soft.
Reviving a Melted McFlurry
If you find yourself with a melted cup, the best thing to do is use it as a "creamer" for iced coffee or pour it over a warm brownie. Trying to re-blend melted ice cream usually results in a grainy texture because the ice crystals grow too large during the second freezing process. For the best experience, this is a sweet treat meant for immediate consumption—ideally while sitting on your couch, safe in the knowledge that you never have to worry about a "broken machine" again.
Frequently Asked Questions
A: Yes! It takes a bit more elbow grease, but you can use a hand mixer in a chilled metal bowl. It actually gives you great control over the aeration, though it won't be quite as smooth as a high-speed blender.
A: Absolutely. Oat milk-based ice creams tend to have the best "stretch" and creaminess for a dairy-free mcflurry recipe. Just be sure to use a dairy-free creamer or coconut milk as your liquid.
A: Fast-food soft serve is engineered with a very high sugar content. If you want that exact match, you can add 1 teaspoon of powdered sugar to the blender. The cornstarch in the powdered sugar also acts as a stabilizer!
Final Thoughts
Creating the perfect mcflurry recipe at home is more than just a culinary achievement; it's a small victory for home cooks everywhere. By understanding the balance of fat, temperature, and blending technique, you can elevate a simple bowl of ice cream into a world-class dessert. Whether you are a die-hard Oreo fan or a Reese's enthusiast, the key is to keep it thick, keep it cold, and never skimp on the mix-ins. Now, go forth and blend—your kitchen is now the best dessert spot in town!