Quick Answer
How to Make Pie Crust From Scratch is built around practical home-kitchen ratios and simple texture checks. Follow the main method first, then use the variation and troubleshooting notes to adjust sweetness, salt, moisture, or cook time.
CookBuddy Kitchen Note
For How to Make Pie Crust From Scratch, this guide centers on The Pastry Blender, The Food Processor Method, Your Hands. Those are the checkpoints we would use first in a normal home kitchen before making a bigger change.
Decision table
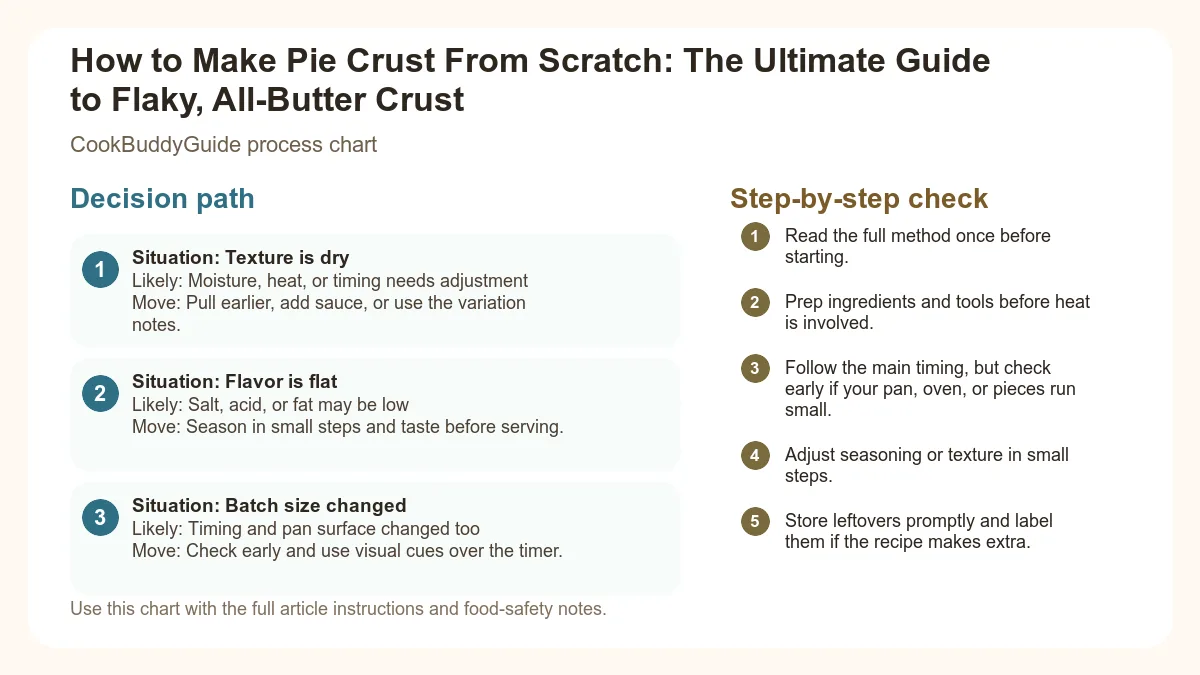
| Situation | Likely cause or meaning | Best move |
|---|---|---|
| Texture is dry | Moisture, heat, or timing needs adjustment | Pull earlier, add sauce, or use the variation notes. |
| Flavor is flat | Salt, acid, or fat may be low | Season in small steps and taste before serving. |
| Batch size changed | Timing and pan surface changed too | Check early and use visual cues over the timer. |
Step-by-step fix
- Read the full method once before starting.
- Prep ingredients and tools before heat is involved.
- Follow the main timing, but check early if your pan, oven, or pieces run small.
- Adjust seasoning or texture in small steps.
- Store leftovers promptly and label them if the recipe makes extra.
Common mistakes
- Changing the recipe before trying the base method once.
- Measuring casually when texture depends on ratios.
- Waiting until the end to fix seasoning.
- Ignoring carryover heat or resting time.
Useful next reads
Helpful tools for this guide
- instant-read thermometer
- digital kitchen scale
- cutting board
- airtight storage containers
Related topic hubs
How to Make Pie Crust From Scratch: The Ultimate Guide to Flaky, All-Butter Crust
You’ve been there: it’s the night before Thanksgiving, or perhaps a quiet Sunday afternoon, and you’re staring at a tub of store-bought dough that tastes like cardboard and crumbles like dry sand. I’ve spent the last 15 years in my kitchen chasing the "shatter-on-impact" flake, and I can tell you from experience that the secret isn't a magic ingredient—it's technique. Learning how to make pie crust from scratch is a rite of passage for any home cook, but it’s also one of the most misunderstood tasks in the culinary world.
In my early years of testing, I turned out plenty of "hockey puck" crusts—tough, grey, and utterly disappointing. But after making this homemade pie crust recipe more than 200 times, I discovered that the difference between a mediocre crust and a world-class shortcrust comes down to the physics of temperature and the restraint of your own hands. This guide is the culmination of those 15 years of testing, designed to give you the confidence to ditch the red box forever.
Table of Contents
- Why Homemade Pie Crust Beats Store-Bought
- The Science of Flakiness: Butter vs. Shortening
- Essential Tools for the Perfect Crust
- Ingredients You’ll Need
- Step-by-Step: Making the Crust
- The Secret to Success: Temperature and Handling
- How to Roll and Shape Like a Pro
- Troubleshooting: Patching and Repairing
- Blind Baking 101
- Storage and Make-Ahead Instructions
Why Homemade Pie Crust Beats Store-Bought Every Time
The Flavor Advantage of Real Butter
The primary reason to learn how to make pie crust from scratch is flavor. Commercial, pre-made crusts often rely on palm oil or hydrogenated vegetable oils to ensure a long shelf life. These fats have a neutral, sometimes even soapy, aftertaste. When you make your own, you are in control. Using a high-quality, European-style unsalted butter provides a rich, nutty depth that no factory-made product can replicate. In my testing at CookBuddyGuide, I’ve found that the salt content in "salted" butter varies wildly between brands, which is why we always recommend unsalted butter so you can control the seasoning perfectly.
Control Over Texture and Ingredients
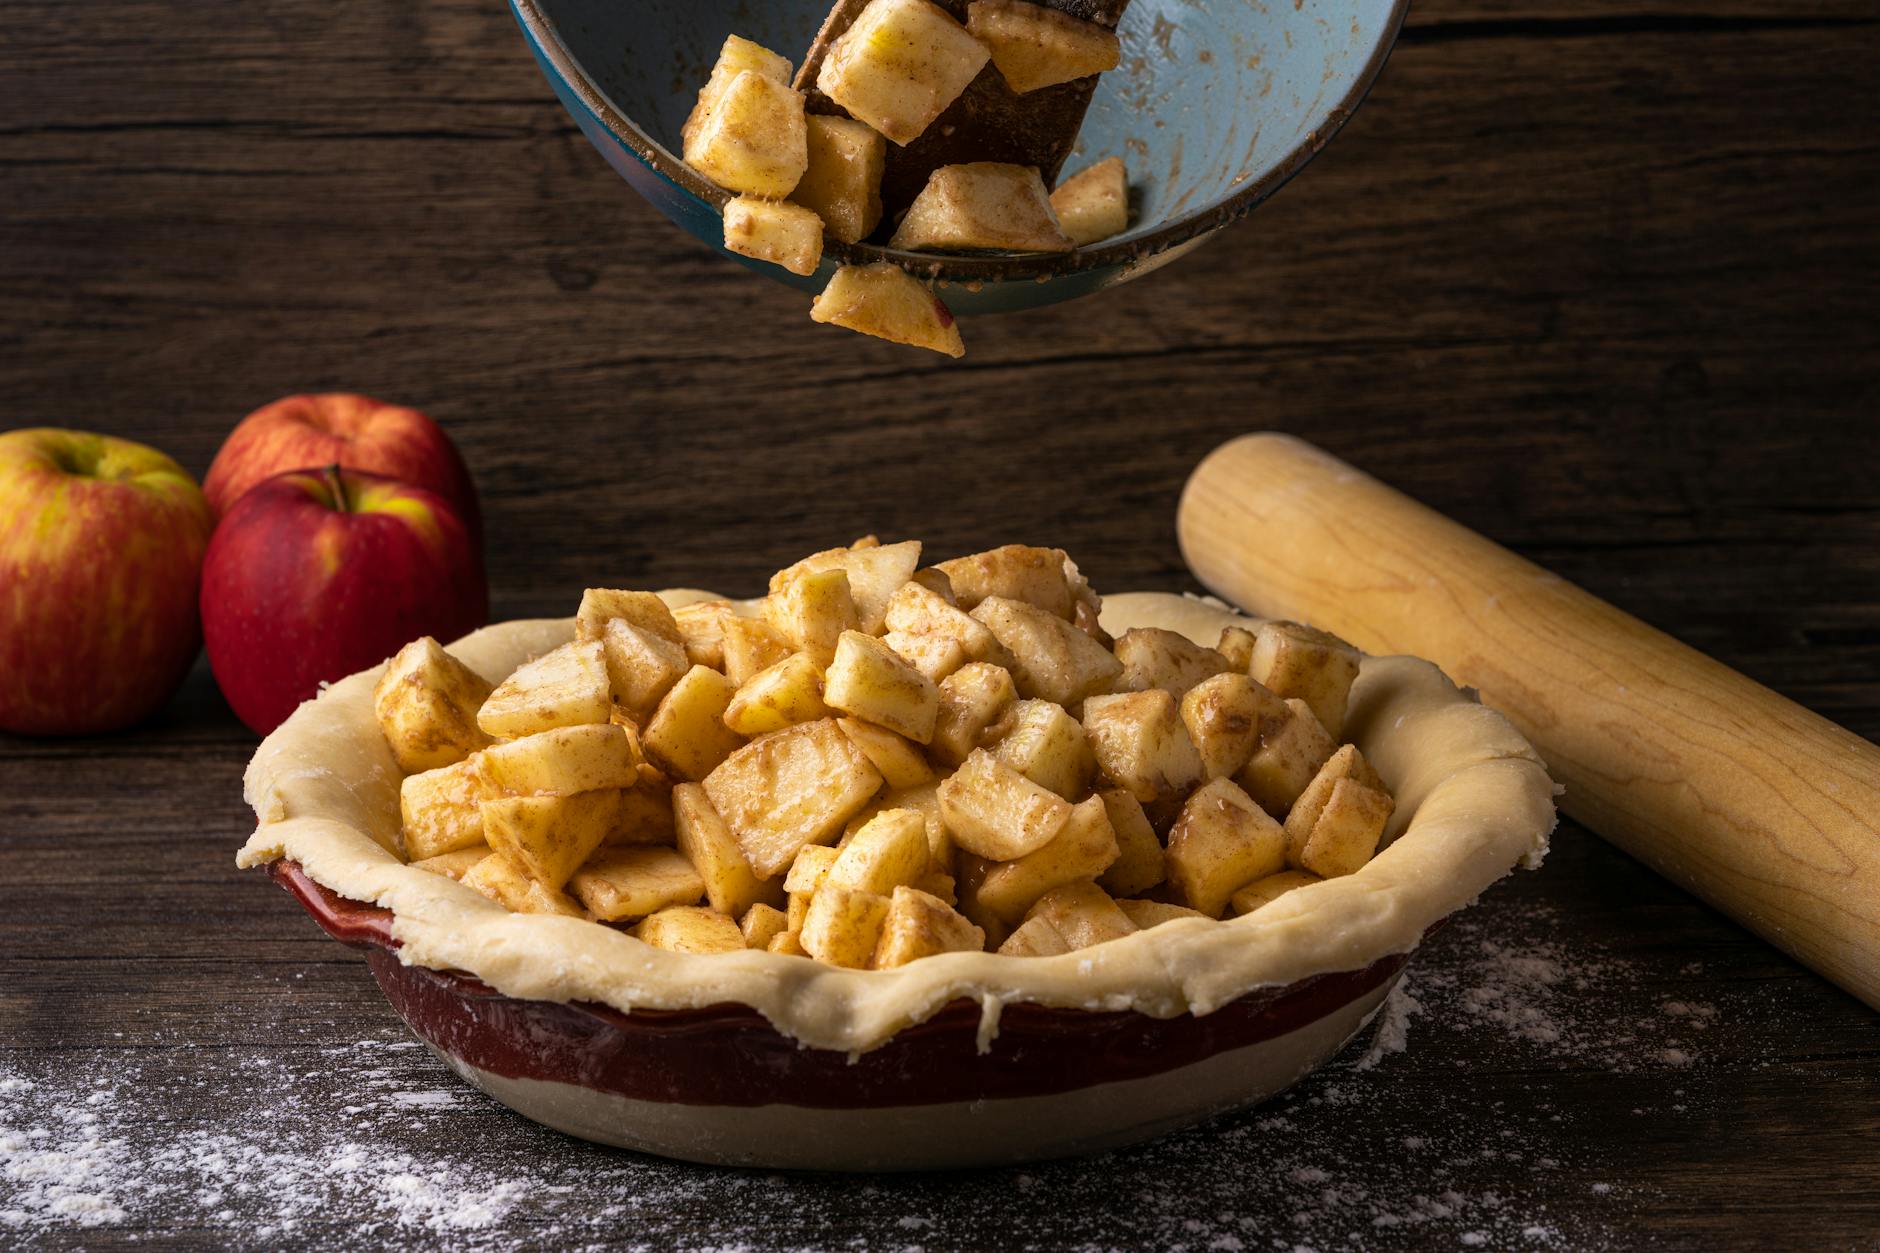
Texture is the second major win. Store-bought crusts are often pressed by heavy machinery, which compacts the dough and eliminates the air pockets necessary for flakiness. A hand-crafted crust allows for lamination—the process of creating thin layers of fat between layers of dough. When that fat hits the hot oven, it melts and creates steam, which puffs the dough up into those coveted, visible flakes. There is a profound satisfaction in seeing pea-sized lumps of butter in your raw dough, knowing they will transform into golden, buttery shards once baked.
The Science of Flakiness: Butter vs. Shortening
The Pros and Cons of All-Butter Crusts
The debate between butter and shortening is as old as baking itself. Butter contains about 15-18% water. When you bake an all-butter crust, that water turns to steam, providing "lift" and creating a distinctively flaky texture. However, butter has a very low melting point (around 90°F-95°F), which means it can melt into the flour if your kitchen is too warm or if you handle the dough too much. This is why keeping pie crust ingredients cold is the single most important rule of pastry making.
Why Some Bakers Swear by Vegetable Shortening
Vegetable shortening is 100% fat and has a much higher melting point than butter. This makes the dough incredibly easy to work with; it’s more pliable and holds its shape (like crimping edges) beautifully during the bake. However, shortening lacks the flavor of butter and can leave a "filmy" feeling on the roof of your mouth. As noted in this comparison of butter versus shortening for pie, shortening produces a "crumbly" texture rather than a "flaky" one.
The Hybrid Approach: Finding the Middle Ground
If you are a beginner, you might consider a 50/50 split of butter and shortening. You get the stability of shortening with some of the flavor of butter. However, for the ultimate experience, I always advocate for the all-butter method. It requires more discipline regarding temperature, but the payoff in flavor and golden brown finish is unmatched.
Essential Tools for the Perfect Crust
Pastry Blender vs. Food Processor vs. Hands
There are three main ways to incorporate chilled fat into your all-purpose flour:
- The Pastry Blender: This is my preferred method. It’s a handheld tool with sturdy wires that cuts the butter into the flour without heating it up. It gives you the most control over the size of your butter chunks.
- The Food Processor Method: This is the fastest way. A few pulses and you're done. The risk here is overworking the dough. It is very easy to go from "perfect" to "too fine" in two seconds. If you use this, pulse sparingly!
- Your Hands: Using your fingertips to "snap" the butter into the flour is a classic French technique. While it provides great tactile feedback, the heat from your hands can quickly melt the butter. If you have "hot hands," avoid this.
The Importance of a Heavy Rolling Pin
A heavy rolling pin does the work for you. I prefer a tapered French rolling pin because it allows for better pivoting, but a heavy marble or classic American pin with handles works too. The weight ensures you aren't pressing down too hard, which can cause the dough to stick to the counter.
Why You Need a Bench Scraper
A bench scraper is the unsung hero of the homemade pie crust recipe. It helps you lift the dough, scrape up bits of flour, and even cut the dough into portions. Most importantly, it keeps your warm hands off the dough as much as possible.
Ingredients You’ll Need (and Why Quality Matters)
Choosing the Right Flour: All-Purpose vs. Pastry Flour
For a standard pie crust, all-purpose flour is king. It has enough protein (around 10-12%) to provide structure, but not so much that it becomes chewy like bread. Pastry flour has less protein, which makes for a very tender crust, but it can be fragile and difficult to roll out. I’ve found that a standard unbleached all-purpose flour provides the best balance of strength and tenderness.
The Importance of High-Fat European-Style Butter
If you can find it, use European-style butter (like Kerrygold or Plugra). These have a higher butterfat content and less water than standard American butter. This results in a more plastic, malleable dough that is easier to roll and tastes significantly richer.
Why Ice Water is Non-Negotiable
When we say ice water, we mean water that has been sitting with ice cubes in it. You want it as close to 32°F as possible. Warm water will melt the butter on contact, ruining the lamination before the dough even hits the oven. Some bakers add a teaspoon of apple cider vinegar or vodka to the water. The acid in vinegar can help tenderize the gluten development, while vodka (which is 40% alcohol) provides moisture for the dough to come together but evaporates quickly in the oven, leading to a flakier result.
Step-by-Step: How to Make Pie Crust from Scratch
The CookBuddyGuide All-Butter Crust
Yields: Two 9-inch crusts (top and bottom)
Ingredients:- 2 ½ cups (315g) all-purpose flour
- 1 tsp sea salt
- 1 tbsp granulated sugar (optional, for sweet pies)
- 1 cup (226g) unsalted butter, very cold and cubed
- 6 to 8 tbsp ice water
- Step 1: Prep. Cube your butter into 1/2-inch pieces and put them back in the fridge for 10 minutes. Mix your flour, salt, and sugar in a large bowl.
- Step 2: Cut in the fat. Add the cold butter to the flour. Using a pastry blender, cut the butter into the flour until the largest pieces are pea-sized lumps. You want a mix of sizes—some like breadcrumbs, some like peas.
- Step 3: Add water. Drizzle in 4 tablespoons of ice water. Use a fork or bench scraper to toss the flour. Continue adding water 1 tablespoon at a time until the dough starts to clump together.
- Step 4: The Squeeze Test. Take a handful of the shaggy dough and squeeze. If it holds together without crumbling, it’s ready. If it falls apart, add 1 more tablespoon of water.
- Step 5: Form and Rest. Turn the dough onto a floured surface. Divide in two. Gently press into disks, wrap tightly in plastic, and let resting the dough happen in the fridge for at least 2 hours.
The Secret to Success: Temperature and Handling
Why Cold Dough is Flaky Dough
The "flakiness" of a pie crust is actually a physical reaction. As the crust bakes, the solid chunks of butter melt, leaving behind a small cavern. At the same time, the water in the butter turns to steam and expands that cavern. If your butter is warm before it hits the oven, it simply soaks into the flour, creating a crumbly, shortbread-like texture rather than distinct flakes. To understand more about this, read about the science of flaky pie crust.
The Dangers of Overworking the Gluten
Gluten is a protein that develops when flour meets water and is agitated. While we need some gluten for the crust to hold together, too much makes it tough and elastic. This is why we use a "tossing" motion rather than a "kneading" motion. Overworking the dough is the number one cause of "shrinkage"—when your crust pulls away from the edges of the pan during baking.
The "Fridge-to-Counter" Workflow
In my 15 years of baking, I’ve learned that the dough should never be at room temperature for more than a few minutes. If you are rolling it out and it starts to feel sticky or soft, stop immediately. Slide the dough onto a baking sheet and put it back in the freezer for 5 minutes. This "reset" ensures the fat stays solid.
How to Roll and Shape Your Dough Like a Pro
Preparing Your Surface: Flour Management
You need enough flour so the dough doesn't stick, but not so much that you toughen the crust. I like to use a light dusting and constantly move the dough. After every two rolls, rotate the dough 90 degrees. This is the "clock" method. If it’s sticking, add a tiny bit more flour underneath.
Achieving the Perfect 1/8 Inch Thickness
You want your dough to be about 12 inches in diameter for a 9-inch pie plate. This gives you enough overhang for crimping edges. Aim for a thickness of about 1/8 inch—roughly the thickness of two quarters stacked together. If the dough is too thick, it won't cook through; too thin, and it will tear under the weight of the filling.
Transferring Dough Without Tearing
Don't try to pick up the dough with your hands. Instead, fold it gently into quarters or roll it loosely around your rolling pin, then "unroll" it over the pie plate. Let the dough slump into the corners; never pull or stretch it, as this will cause it to shrink back in the oven. This technique is perfect when making a homemade chicken pot pie, where a sturdy but flaky top crust is essential.
Troubleshooting: How to Patch and Repair Tears
The "Water and Scraps" Method
Even pros have their dough tear. If you see a crack, don't panic. Take a small scrap of dough from the overhang, dip your finger in water, and "glue" the scrap over the hole. Press gently to seal. You can find more detailed tips on how to fix a cracked pie crust to ensure your filling doesn't leak.
Dealing with a Crumbly Dough
If your dough is so crumbly that it won't even form a disk, you likely didn't add enough water. You can try to sprinkle a little more ice water over the crumbles and gently fold it in, but be careful not to overwork it. If it's truly a disaster, sometimes it's best to press it into the pan like a tart crust rather than trying to roll it.
Blind Baking 101: Preventing the Soggy Bottom
When Do You Need to Blind Bake?
Blind baking is the process of pre-baking the crust without the filling. You do this for custard pies (like pumpkin or silk pie) or for easy breakfast quiche recipes where the filling is very wet and would otherwise make the bottom crust soggy.
Using Pie Weights, Beans, or Rice
To blind bake, line your chilled crust with parchment paper and fill it to the brim with pie weights, dried beans, or even granulated sugar. The weight prevents the crust from puffing up or sliding down the sides. For a deep dive into this technique, check out this guide on how to blind bake crust.
Par-Baking vs. Full Blind Baking
- Par-Baking: Bake with weights for 15 minutes, remove weights, and bake for 5 more. The crust should be pale but set. Use this for pies that will be baked again with filling (like pumpkin).
- Full Blind Baking: Bake with weights for 15 minutes, remove weights, and bake for 10-15 more until the bottom is golden brown. Use this for no-bake fillings like chocolate cream or fresh fruit.
Storage and Make-Ahead Instructions
How to Freeze Pie Dough for Later Use
Pie dough is a make-ahead dream. You can keep the wrapped disks in the fridge for up to 3 days. For longer storage, wrap the disks in a double layer of plastic wrap and then a layer of aluminum foil to prevent freezer burn. It will stay fresh in the freezer for up to 3 months.
Thawing Tips for the Best Texture
Never thaw pie dough on the counter. The outside will get warm and greasy while the inside stays frozen. Always thaw it in the refrigerator overnight. When you're ready to roll, let it sit on the counter for just 5-10 minutes to take the "chill" off so it doesn't crack when you press the rolling pin into it.
Frequently Asked Questions
A: Shrinkage usually happens because the dough wasn't rested enough (allowing gluten to relax) or because the dough was stretched when placed in the pan. Always let it rest and "slump" it into the corners.
A: Yes, but use the pulse button! Stop as soon as the butter is in pea-sized pieces. If you process it into a ball, the crust will be tough.
A: It’s more than okay—it’s ideal! Those streaks of butter are what create the flaky layers. If the dough is perfectly uniform in color, you’ve over-mixed it.
Conclusion
Mastering how to make pie crust from scratch is a skill that will elevate your baking from "good" to "legendary." It requires a bit of patience and a commitment to keeping things cold, but the result—a shattering, buttery, golden brown masterpiece—is worth every second. Whether you’re making a savory pot pie or a sweet summer peach galette, this homemade pie crust recipe is the only foundation you’ll ever need. Now, grab your pastry blender and get to work—your best pie ever is just a few chilled cubes of butter away!