Quick Answer
How to Make Gravy from Scratch is built around practical home-kitchen ratios and simple texture checks. Follow the main method first, then use the variation and troubleshooting notes to adjust sweetness, salt, moisture, or cook time.
CookBuddy Kitchen Note
For How to Make Gravy from Scratch, this guide centers on White Roux, Blond Roux, Brown Roux. Those are the checkpoints we would use first in a normal home kitchen before making a bigger change.
Decision table
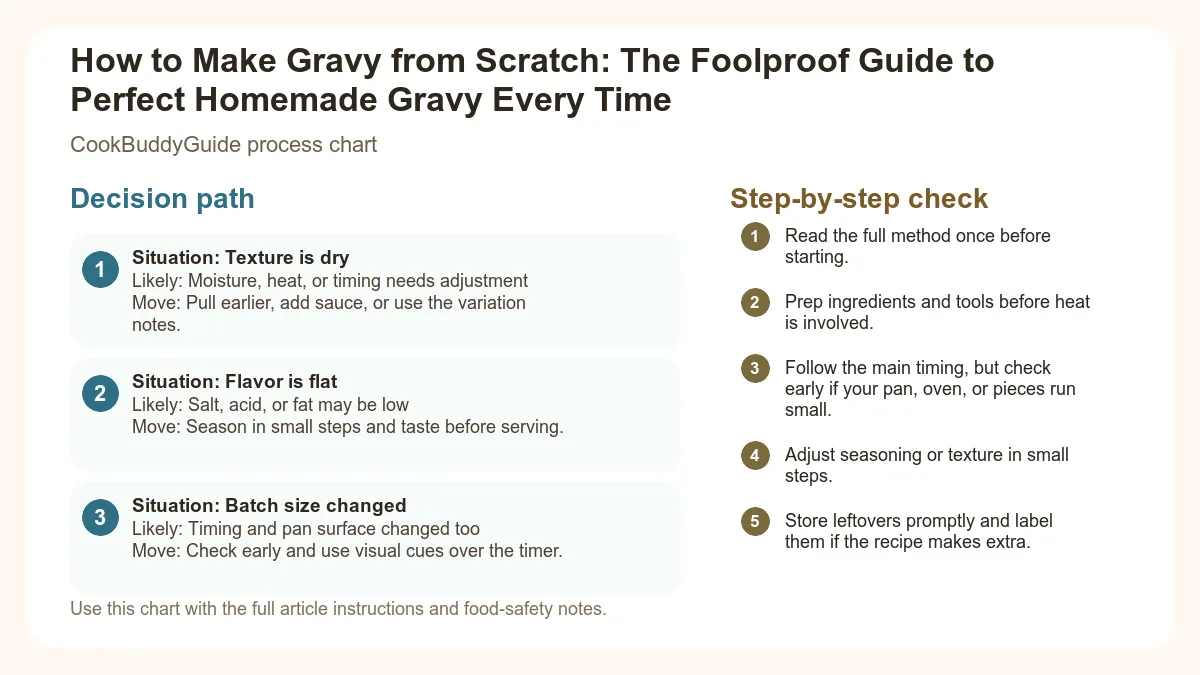
| Situation | Likely cause or meaning | Best move |
|---|---|---|
| Texture is dry | Moisture, heat, or timing needs adjustment | Pull earlier, add sauce, or use the variation notes. |
| Flavor is flat | Salt, acid, or fat may be low | Season in small steps and taste before serving. |
| Batch size changed | Timing and pan surface changed too | Check early and use visual cues over the timer. |
Step-by-step fix
- Read the full method once before starting.
- Prep ingredients and tools before heat is involved.
- Follow the main timing, but check early if your pan, oven, or pieces run small.
- Adjust seasoning or texture in small steps.
- Store leftovers promptly and label them if the recipe makes extra.
Common mistakes
- Changing the recipe before trying the base method once.
- Measuring casually when texture depends on ratios.
- Waiting until the end to fix seasoning.
- Ignoring carryover heat or resting time.
Useful next reads
Helpful tools for this guide
- instant-read thermometer
- digital kitchen scale
- cutting board
- airtight storage containers
Related topic hubs
How to Make Gravy from Scratch: The Foolproof Guide to Perfect Homemade Gravy Every Time
Nothing kills the mood of a perfectly roasted chicken or a mountain of fluffy mashed potatoes faster than a puddle of thin, salty liquid masquerading as gravy. We’ve all been there: the frantic whisking over a hot stove while the rest of the dinner gets cold, praying the lumps will magically disappear. In my 15 years of testing recipes for CookBuddyGuide.com, I’ve discovered that gravy is often the most intimidating part of a meal, yet it’s the one element that ties everything together. Learning how to make gravy from scratch isn't just a culinary skill; it's a kitchen superpower that transforms a simple weeknight meal into a feast.
In my early days as a home cook, I relied heavily on those little foil packets. They were fine, but they lacked the soul, the silkiness, and the deep, complex flavors that only come from real ingredients. After making hundreds of batches—some too thick, some too greasy, and yes, some that required a literal sieve to save—I’ve perfected the science of the sauce. Whether you are using the rich pan drippings from a Sunday roast or you're building a homemade gravy recipe from store-bought chicken broth on a Tuesday night, this guide will ensure your gravy boat is always filled with liquid gold.
Table of Contents
- The Science of the Perfect Gravy: Understanding the Roux
- Method 1: Gravy from Scratch with Pan Drippings
- Method 2: The Broth-Only Homemade Gravy Recipe
- The Master Technique: Adding Liquid Without Lumps
- Customizing Your Gravy: Beef, Chicken, and Turkey
- Troubleshooting: How to Fix Common Gravy Mistakes
- Advanced Flavor Boosters: The Secret Ingredients
- Storage, Freezing, and Reheating Tips
The Science of the Perfect Gravy: Understanding the Roux
To understand how to make gravy from scratch, you must first understand the Roux. At its simplest, a roux is a cooked mixture of equal parts flour and fat. This is your primary thickening agent. When flour is heated with fat, the starch granules are coated, preventing them from clumping together when they hit the liquid. This is the foundation of emulsification in sauce-making.
The Golden Ratio: Flour to Fat
In my kitchen testing, I’ve found that the ideal flour-to-fat ratio for a standard gravy is 2 tablespoons of fat to 2 tablespoons of all-purpose flour for every 1 cup of liquid. This creates a medium viscosity that coats the back of a spoon without feeling like paste. If you prefer a thinner brown gravy, drop it to 1.5 tablespoons of each.
Choosing Your Fat: Butter vs. Rendered Meat Fat
While unsalted butter is the most reliable choice for a consistent flavor, using rendered fat from your roasting pan is where the magic happens. When you roast a bird or a joint of beef, the fat that renders out carries the essence of the meat. However, if you are making a quick gravy for quick ground beef recipes, butter provides a creamy, neutral base that lets the beef flavor shine.
The Three Stages of Roux
The length of time you cook your roux determines the flavor profile of your homemade gravy recipe:
- White Roux: Cooked for 1-2 minutes. It has the most thickening power but a mild, milky flavor. Best for white country gravy.
- Blond Roux: Cooked for 3-5 minutes until it smells toasted or nutty. This is the sweet spot for chicken and turkey gravy.
- Brown Roux: Cooked for 6-10 minutes. It turns a deep tan color. While it has less thickening power, it develops the Maillard reaction notes necessary for a deep, rich brown gravy.
Method 1: How to Make Gravy from Scratch with Pan Drippings
This is the "Gold Standard" of gravy making. It utilizes the fond—those caramelized, browned bits stuck to the bottom of your roasting pan. According to culinary experts, the importance of pan drippings cannot be overstated; they contain concentrated flavor that no store-bought stock can replicate.
The Classic Pan Drippings Gravy
Ingredients:
- Pan drippings from roast chicken, turkey, or beef
- 2-4 tbsp All-purpose flour
- 2 cups chicken broth or beef stock (warm)
- 1/4 cup dry white wine or vermouth (for deglazing)
- Salt and black pepper to taste
Instructions:
- Separate the Fat: Pour all the juices from your roasting pan into a fat separator. Wait 2 minutes. The fat will rise to the top. Reserve 3 tablespoons of the fat and all the dark "meat juice" at the bottom.
- Deglaze: Place the roasting pan over two stove burners on medium heat. Pour in the wine. Use a sturdy spatula to scrape up all the fond. This is where the color comes from!
- Make the Roux: In a separate saucepan (or the roasting pan itself if it's stovetop safe), whisk the 3 tbsp of reserved fat with 3 tbsp of flour. Cook for 3 minutes until blond and fragrant.
- Combine: Slowly whisk in the deglazed liquid and the meat juices. Gradually add the chicken broth, whisking constantly.
- Simmer: Bring to a gentle boil, then reduce heat and simmer for 5 minutes until thickened.
Method 2: The Broth-Only Homemade Gravy Recipe
Let's be real: sometimes you're making 15-minute chicken breast recipes and you don't have a roasting pan full of fond. You can still make an incredible homemade gravy recipe using high-quality beef stock or broth. The secret here is building layers of flavor with aromatics.
In my 15+ years of experience, I've found that "Better Than Bouillon" or a high-quality bone broth provides a much better base than standard canned broth. To mimic the depth of a roast, I always start by sautéing a tablespoon of finely minced shallots or a smashed garlic clove in my unsalted butter before adding the flour. This adds a savory "backbone" to the sauce that prevents it from tasting one-dimensional.
When using the broth-only method, you have total control over the salt content. Since commercial broths can be salt-heavy, I always recommend using a low-sodium version and seasoning at the very end. I once made the mistake of using full-sodium broth and then reducing the gravy; the result was nearly inedible. Learn from my salt-induced heartbreak: always taste-test after the gravy has reached its final viscosity.
The Master Technique: How to Add Liquid Without Lumps
This is the part that scares most home cooks. You have your roux, you have your liquid, and suddenly—clumps. The science of thickening gravy tells us that temperature and speed are the two most critical factors in preventing lumps.
The Temperature Secret
There is an old culinary adage: "Hot roux, cold liquid; cold roux, hot liquid." In my testing, I prefer hot roux and room-temperature liquid. If you pour boiling stock into a boiling roux, the starches gelatinize instantly, trapping dry flour inside and creating lumps. By using room-temperature liquid, you give yourself a few extra seconds to incorporate the liquid into the fat-coated flour before the thickening reaction takes full effect.
The Slow-Drizzle Method
Do not dump all your liquid in at once. Start with just 1/4 cup. Whisk vigorously. At first, it will look like a thick, unappealing paste. This is normal! Continue adding liquid in small increments, whisking until the mixture is smooth before adding more. Once you have added about half the liquid and the mixture is the consistency of heavy cream, you can pour the rest in a steady stream while whisking.
The Power of the French Whisk
If you are still using a fork or a bulky balloon whisk, stop. A French whisk (which is narrower and stiffer) or a flat roux whisk is designed to reach the corners of your pan, ensuring no pockets of dry flour are left behind. This whisking technique is the difference between a "rustic" (lumpy) gravy and a professional-grade sauce.
Customizing Your Gravy: Variations for Every Meal
Once you master the base technique of how to make gravy from scratch, you can pivot to any cuisine or meat type. Here are my favorite ways to customize the profile:
- Rich Beef Gravy: Use beef stock and a brown roux. Add a teaspoon of Worcestershire sauce and a drop of Kitchen Bouquet for that deep, dark mahogany color. This is perfect for meatloaf or Salisbury steak.
- Savory Chicken Gravy: Use chicken broth and a blond roux. Stir in 1/2 teaspoon of dried thyme and a splash of heavy cream at the end for a "Country Style" finish.
- The Classic Thanksgiving Turkey Gravy: This often includes giblet gravy. Simmer the neck and giblets in your turkey stock for an hour before making the gravy. Strain the stock, then use it as your liquid base. Add chopped sage for that quintessential holiday aroma.
- Vegetarian Mushroom Gravy: Sauté 8oz of finely chopped cremini mushrooms in butter until they are deeply browned and have released all their moisture. Proceed with the roux and use a high-quality vegetable stock. The mushrooms provide the umami "meatiness" that a vegetarian gravy usually lacks.
Troubleshooting: How to Fix Common Gravy Mistakes
Even the pros have bad days. If your gravy isn't looking quite right, don't panic. Most issues can be fixed with a few simple tricks. If you find yourself in a real bind, the Food Network has an excellent guide on how to fix lumpy gravy using tools you already have in your kitchen.
The easiest fix is to pour the gravy through a fine-mesh sieve into a clean pot. If the lumps are small, you can also use an immersion blender (stick blender) to whiz them into submission. It will result in a slightly frothier texture, but it will be smooth!
Don't just add dry flour; it will clump. Instead, make a cornstarch slurry (1 tbsp cornstarch mixed with 1 tbsp cold water) and whisk it into the simmering gravy. Alternatively, use a "beurre manié"—knead equal parts softened butter and flour into a small ball and whisk it in piece by piece.
If it’s only slightly too salty, add a splash of heavy cream or a pinch of sugar to balance it. If it’s very salty, try the "potato trick": drop a few large chunks of raw potato into the gravy and simmer for 10 minutes. The potato will absorb some of the salt. Discard the potato before serving.
This means the emulsification has broken, usually because there was too much fat for the amount of flour used. You can skim the excess fat off the top with a spoon, or lay a paper towel lightly across the surface to soak up the oil.
Advanced Flavor Boosters: The Secret Ingredients
After 15 years of refining my homemade gravy recipe, I’ve learned that the difference between "good" and "restaurant-quality" often comes down to the finish. Here are my secret weapons:
1. Acidity: Gravy is essentially fat and starch. It can feel "heavy" on the palate. A teaspoon of apple cider vinegar, lemon juice, or even a splash of dry sherry at the very end "brightens" the sauce and cuts through the richness. It’s the missing link in 90% of home-cooked gravies.
2. Umami Bombs: If your gravy tastes flat, it needs umami. A teaspoon of soy sauce, a half-teaspoon of miso paste, or a tiny amount of anchovy paste will deepen the savory notes without making the gravy taste like fish or soy. It simply makes the meat flavor taste "more" like meat.
3. Fresh Herbs: While dried herbs are great for simmering, finishing with fresh parsley, chives, or tarragon adds a pop of color and a fresh aroma that makes the gravy boat look much more appetizing on the table.
Storage, Freezing, and Reheating Tips
Gravy is a high-protein, high-moisture food, which means it needs to be handled with care. According to the USDA's safe storage of leftovers guidelines, homemade gravy should be refrigerated within two hours of cooking.
How Long Does Homemade Gravy Last?
In the refrigerator, flour-based gravy will stay fresh for 3 to 4 days. If you’ve made a large batch for a holiday, I recommend storing it in an airtight glass container to prevent it from picking up other fridge odors.
Can You Freeze Gravy?
Yes! Flour-based brown gravy and chicken broth gravies freeze beautifully. I like to freeze mine in silicone ice cube trays; once frozen, I pop the "gravy cubes" into a freezer bag. This allows you to thaw exactly as much as you need for a single serving. It will stay good for up to 3 months. Note: Gravies made with a lot of milk or cream may separate slightly when thawed, but a vigorous whisking during reheating usually fixes it.
The Best Way to Reheat
Never microwave gravy if you can avoid it—it tends to explode and heat unevenly. Instead, reheat it in a small saucepan over low heat. As it heats, it will likely be thicker than when you first made it. Whisk in a tablespoon or two of water or broth to loosen it back to its original viscosity.
Conclusion: Your Journey to Gravy Mastery
Learning how to make gravy from scratch is a milestone for any home cook. It marks the transition from following instructions to understanding the "why" behind the cooking. By mastering the roux, respecting the fond, and using a patient whisking technique, you can turn a few humble ingredients into a sauce that defines the meal.
The next time you pull a roast out of the oven, don't reach for the packet. Look at those browned bits in the roasting pan and see them for what they are: the foundation of the best homemade gravy recipe your family has ever tasted. Keep your whisk ready, your broth warm, and remember that even if a few lumps appear, you now have the expertise to fix them. Happy cooking, and may your gravy boat always be full!