Quick Answer
The Ultimate Copycat Texas Roadhouse Rolls Recipe (Pillowy Soft & Fluffy) is built around practical home-kitchen ratios and simple texture checks. Follow the main method first, then use the variation and troubleshooting notes to adjust sweetness, salt, moisture, or cook time.
CookBuddy Kitchen Note
For The Ultimate Copycat Texas Roadhouse Rolls Recipe (Pillowy Soft & Fluffy), this guide centers on Warm milk temperature, Room temperature eggs, Honey. Those are the checkpoints we would use first in a normal home kitchen before making a bigger change.
Decision table
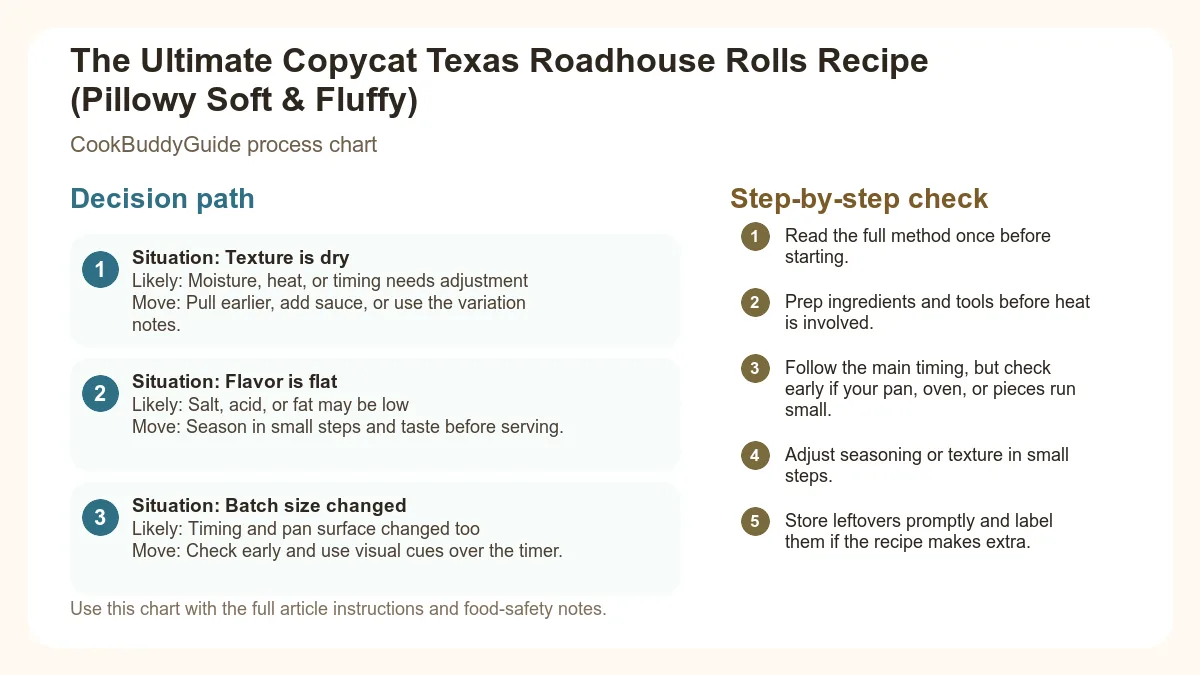
| Situation | Likely cause or meaning | Best move |
|---|---|---|
| Texture is dry | Moisture, heat, or timing needs adjustment | Pull earlier, add sauce, or use the variation notes. |
| Flavor is flat | Salt, acid, or fat may be low | Season in small steps and taste before serving. |
| Batch size changed | Timing and pan surface changed too | Check early and use visual cues over the timer. |
Step-by-step fix
- Read the full method once before starting.
- Prep ingredients and tools before heat is involved.
- Follow the main timing, but check early if your pan, oven, or pieces run small.
- Adjust seasoning or texture in small steps.
- Store leftovers promptly and label them if the recipe makes extra.
Common mistakes
- Changing the recipe before trying the base method once.
- Measuring casually when texture depends on ratios.
- Waiting until the end to fix seasoning.
- Ignoring carryover heat or resting time.
Useful next reads
Helpful tools for this guide
- instant-read thermometer
- digital kitchen scale
- cutting board
- airtight storage containers
Related topic hubs
We’ve all been there: sitting at a booth in Texas Roadhouse, ignoring the menu because we’re too focused on that basket of warm, square-shaped rolls. They arrive glistening with butter, steam rising as you pull one apart to reveal an interior so soft it feels like a cloud. For years, I tried to replicate this texas roadhouse rolls recipe in my own kitchen, and for years, I failed. My rolls were either too dense, too crusty, or lacked that signature honey-sweet finish.
After 15 years of professional recipe testing and making these rolls over 20 times in my own kitchen, I finally cracked the code. The secret isn’t just in the ingredients; it’s in the technique of the enriched dough and the patience of the proofing process. Whether you are a seasoned baker or just learning yeast bread basics, this guide will walk you through every nuance to ensure your kitchen smells like a legendary steakhouse. These are the perfect accompaniment to budget friendly dinner recipes or even your favorite easy crockpot freezer meals.
- Why This Copycat Texas Roadhouse Rolls Recipe Works
- Essential Ingredients for Success
- Step-by-Step: Mixing and Kneading the Dough
- The Art of the Rise: Proofing for Maximum Fluff
- Shaping the Rolls: The Signature Square Look
- Baking to Golden Perfection
- The Legendary Honey Cinnamon Butter Formula
- Make-Ahead and Storage Instructions
- Common Mistakes to Avoid
- The Official Recipe Card
Why This Copycat Texas Roadhouse Rolls Recipe Works
To understand why this copycat texas roadhouse rolls recipe is superior to others you might find online, we have to look at the science of the dough. Most dinner rolls rely on water and granulated sugar. Texas Roadhouse rolls, however, are a classic example of an enriched dough—a dough where fats and sugars are added to the flour and yeast to create a tender, cake-like crumb.
The Science of the Enriched Dough
In my testing, I discovered that the specific fats we use—whole milk, room temperature butter, and a whole egg—interfere with the gluten development just enough to prevent the bread from becoming "chewy" like a baguette. Instead, the fat coats the gluten strands, resulting in a short, tender crumb. Furthermore, we use honey instead of white sugar. Honey acts as a natural humectant, which means it attracts and holds onto moisture. This is why these rolls stay soft for days, whereas standard rolls turn into hockey pucks by the next morning.
Achieving the Iconic 'Pillow' Texture
The "pillow" texture comes from a high hydration level balanced with a long bench rest. I’ve found that many home cooks make the mistake of adding too much all-purpose flour during the kneading process. When you use kitchen scale measurements, you ensure that the ratio of liquid to flour is exact. In my kitchen, I’ve found that 600 grams of flour to 1 cup of milk is the "sweet spot" for a dough that is tacky to the touch but doesn't stick to your hands. This allows for maximum air expansion during the Maillard reaction in the oven, giving you that airy, light-as-air feel.
Essential Ingredients for Success
Before you even turn on your stand mixer speed dial, you need to ensure your ingredients are at the right specifications. Baking is chemistry, and the temperature of your components is the catalyst.
The Yeast: Active Dry vs. Instant
I prefer using active dry yeast for this recipe. While instant yeast is faster, active dry yeast requires blooming in warm liquid, which gives us an opportunity to verify the yeast is alive before we commit all our expensive butter and honey. If your yeast doesn't foam up after 10 minutes in the milk, stop right there and buy fresh yeast. It will save you hours of frustration.
Flour Choice: All-Purpose vs. Bread Flour
You might think bread flour would be better because of the higher protein content, but for this specific texas roadhouse rolls recipe, all-purpose flour is actually the winner. Bread flour creates too much structure, leading to a roll that is too "bready." We want these to melt in your mouth, and the lower protein in all-purpose flour facilitates that delicate texture.
The Fat: Why High-Quality Butter Matters
Because butter is a primary flavor profile here, don't reach for the cheap store brand if you can avoid it. High-quality, European-style butter has a lower water content and higher fat content, which leads to a richer flavor. Ensure your butter is at a true room temperature—it should be soft enough that your finger leaves an indentation without any resistance, but it shouldn't be oily or melting.
- Warm milk temperature: Aim for 105°F to 115°F. Anything higher than 120°F will kill your yeast.
- Room temperature eggs: An egg straight from the fridge will shock the yeast and slow down your rise time. Submerge your egg in a bowl of warm water for 5 minutes if you're in a rush.
- Honey: Use a mild clover honey. Stronger wildflower honeys can overpower the delicate flavor of the dough.
Step-by-Step: Mixing and Kneading the Dough
This is where the magic happens. While you can knead this by hand, I highly recommend using a stand mixer with a dough hook attachment. The dough is quite sticky initially, and the mixer allows you to develop gluten without the temptation to add excessive amounts of flour.
Stand Mixer Method vs. Hand Kneading
When using a mixer, start on the lowest speed to incorporate the flour, then move to a medium stand mixer speed (usually speed 2 or 3 on a KitchenAid). Knead for about 8 to 10 minutes. If you are kneading by hand, be prepared for a 15-minute workout. The goal is a dough that is smooth, elastic, and slightly shiny.
The Windowpane Test: How to Know When It's Ready
I cannot stress this enough: do not guess if your dough is done. Use the windowpane test. Take a small piece of dough (about the size of a golf ball) and gently stretch it out into a square. If you can stretch it thin enough to see light through it without it tearing, your gluten development is sufficient. If it snaps or tears immediately, keep kneading. This structure is what traps the carbon dioxide from the yeast, creating those tiny air pockets that make the soft dinner rolls so light.
Pro Tip: I once made the mistake of under-kneading because I was in a hurry. The rolls came out flat and dense. Now, I always set a timer for exactly 8 minutes on the mixer.
The Art of the Rise: Proofing for Maximum Fluff
Proofing is the most critical stage for flavor and texture. This is when the yeast consumes the sugars and releases gas.
The First Rise: Bulk Fermentation
Place your dough in a lightly greased bowl and cover it with a plastic wrap cover. This prevents a skin from forming on the dough, which would inhibit its growth. You want the dough to double in size. Depending on the temperature of your kitchen, this can take anywhere from 60 to 90 minutes. I recommend checking out this guide on properly proofed yeast dough to see visual cues of when it's ready.
Creating a Warm Environment (The Oven Trick)
If your kitchen is drafty or cold, your dough will struggle to rise. My favorite trick is to turn the oven on for exactly 60 seconds, then turn it off. Place the bowl of dough inside with the oven light on. The residual heat creates a perfect "proofing box" environment of about 80°F. Just make sure you don't accidentally bake it early! Also, remember that handling raw dough safely is important; never taste the raw dough as it contains uncooked flour and eggs.
Shaping the Rolls: The Signature Square Look
The iconic look of Texas Roadhouse rolls is their square shape. They aren't hand-rolled into balls; they are cut from a sheet of dough. This method is actually much faster and ensures more uniform baking.
Rolling Out the Dough
Once the first rise is complete, gently punch the dough down to release the large air bubbles. Turn it out onto a lightly floured surface. Roll the dough into a large rectangle, about 1/2 inch to 3/4 inch thick. Don't worry about making it perfect yet; the dough will need a 10-minute bench rest if it keeps springing back while you roll.
The Secret to Uniform Squares
I use a pizza cutter to trim the edges of the rectangle so I have clean lines. Then, cut the dough into 4x6 or 3x5 rows, depending on how large you want your rolls. I find that 3-inch squares are the perfect size. Place them on a parchment-lined baking sheet about an inch apart. As they undergo their second rise, they will expand and touch, creating those soft "pull-apart" edges that we all love.
Baking to Golden Perfection
Your oven should be fully preheated to 350°F. I always recommend using an oven thermometer, as many home ovens can be off by as much as 25 degrees.
Oven Calibration and Rack Placement
Bake the rolls on the center rack. If you bake them too high, the tops will burn before the centers are done. If you bake them too low, the bottoms will get too dark. We are looking for a beautiful golden brown exterior.
The 'Butter Wash' Technique
To get that professional finish, I brush the tops of the rolls with a little bit of melted butter *before* they go into the oven and *immediately* after they come out. The first brush helps with the Maillard reaction (browning), and the second brush provides that irresistible shine and flavor. Use a digital thermometer to check the internal temperature of bread; it should reach 190°F for a perfectly baked roll.
The Legendary Honey Cinnamon Butter Formula
You can't have a copycat texas roadhouse rolls experience without the butter. This is the component that takes these from "good rolls" to "legendary status."
The Perfect Ratio of Sweet to Spice
The mistake most people make is using too much cinnamon or not enough salt. You need the salt to balance the sweetness of the honey. I use 1 cup of salted butter, 1/3 cup of honey, and 1 teaspoon of cinnamon.
Whipping for Airiness
Don't just stir the ingredients together. Use a hand mixer or your stand mixer with the whisk attachment to whip the butter for at least 3 minutes. This incorporates air, making the butter light, fluffy, and easy to spread. I also add a tiny splash of vanilla extract—it’s the secret ingredient that makes people ask, "What is that amazing flavor?"
Make-Ahead and Storage Instructions
As a busy home cook, I know you don't always have three hours on a weeknight to bake from scratch. Luckily, this dough is very forgiving.
Overnight Refrigerator Method
You can do the first rise in the refrigerator. After kneading, place the dough in a greased bowl, cover tightly, and let it sit in the fridge for up to 24 hours. This is called cold fermentation. Not only does it make the schedule easier, but it actually develops a deeper, more complex flavor in the dough. Read more about refrigerating dough overnight to master this technique.
Freezing Raw Dough vs. Baked Rolls
- Freezing Raw: You can freeze the shaped squares on a tray, then transfer them to a freezer bag. To bake, let them thaw and rise at room temperature for 4-5 hours before baking.
- Freezing Baked: Let the rolls cool completely, then freeze in an airtight bag. They stay fresh for up to 3 months.
How to Reheat Without Drying Out
Never use the oven to reheat a single roll; it will dry it out. Instead, wrap a roll in a damp paper towel and microwave for 10-15 seconds. Or, place a small cup of water in the microwave alongside the rolls to create steam while reheating.
Common Mistakes to Avoid
This is usually caused by either killing the yeast with milk that was too hot, or not letting the rolls rise long enough during the second proof. Ensure the squares have visibly puffed up and look "marshmallowy" before they go into the oven.
Humidity can play a big role. If it’s a rainy day, you may need an extra 1/4 cup of flour. However, always use kitchen scale measurements first to ensure your baseline is accurate.
Yes! Simply add the ingredients according to your manufacturer's instructions on the "dough" setting. Once the cycle is complete, proceed with the shaping and baking instructions in this recipe.
The Ultimate Copycat Texas Roadhouse Rolls
Ingredients
For the Rolls:- 1 cup whole milk (warmed to 110°F)
- 1 packet (2 1/4 tsp) active dry yeast
- 1/4 cup honey
- 4 tbsp room temperature butter (unsalted)
- 1 large egg (room temperature)
- 1 tsp kosher salt
- 4 cups (approx. 500-600g) all-purpose flour
- 2 tbsp melted butter (for brushing)
- 1/2 cup salted butter (softened)
- 3 tbsp honey
- 1/2 tsp ground cinnamon
- 1/4 tsp vanilla extract
Instructions
- Bloom the Yeast: In the bowl of your stand mixer, combine warm milk, honey, and yeast. Let sit for 5-10 minutes until foamy.
- Mix the Dough: Add the softened butter, egg, salt, and 2 cups of flour. Use the dough hook attachment on low stand mixer speed until combined.
- Knead: Gradually add the remaining flour 1/2 cup at a time. Increase speed to medium and knead for 8 minutes until the dough passes the windowpane test. It should be tacky but not stick to your fingers.
- First Rise: Place dough in a greased bowl, cover with plastic wrap cover, and let rise in a warm place for 60-90 minutes (until doubled).
- Shape: Punch down dough. Roll into a 1/2 inch thick rectangle on a floured surface. Cut into 24 squares using a pizza cutter.
- Second Rise: Place squares on a lined baking sheet. Cover and let rise for 45-60 minutes until very puffy.
- Bake: Preheat oven to 350°F. Bake for 12-15 minutes until the golden brown exterior is achieved.
- Finish: Brush immediately with melted butter.
- Make Butter: Whip all butter ingredients together with a hand mixer until light and fluffy. Serve warm!
Final Thoughts
Making a texas roadhouse rolls recipe at home might seem daunting, but once you understand the rhythm of the dough, it becomes second nature. There is nothing quite like the satisfaction of pulling a tray of these soft dinner rolls out of the oven and seeing your family’s faces light up. Remember: don't rush the rise, use a scale for your flour, and never skimp on the honey cinnamon butter. Happy baking!