Quick Answer
The Ultimate Moist Pumpkin Bread Recipe is built around practical home-kitchen ratios and simple texture checks. Follow the main method first, then use the variation and troubleshooting notes to adjust sweetness, salt, moisture, or cook time.
CookBuddy Kitchen Note
For The Ultimate Moist Pumpkin Bread Recipe, the most useful home checks are temperature, measuring, resting time, and visible texture. Those details tell you more than guessing, especially before adding extra flour, liquid, heat, or leavening.
Decision table
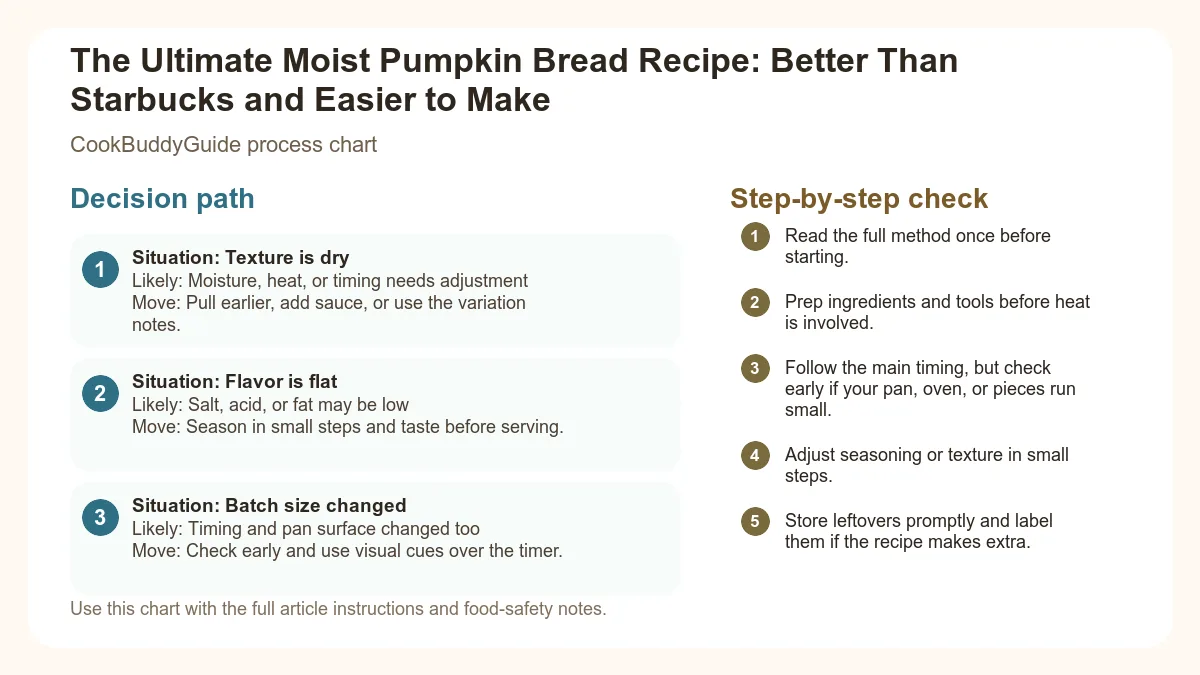
| Situation | Likely cause or meaning | Best move |
|---|---|---|
| Texture is dry | Moisture, heat, or timing needs adjustment | Pull earlier, add sauce, or use the variation notes. |
| Flavor is flat | Salt, acid, or fat may be low | Season in small steps and taste before serving. |
| Batch size changed | Timing and pan surface changed too | Check early and use visual cues over the timer. |
Step-by-step fix
- Read the full method once before starting.
- Prep ingredients and tools before heat is involved.
- Follow the main timing, but check early if your pan, oven, or pieces run small.
- Adjust seasoning or texture in small steps.
- Store leftovers promptly and label them if the recipe makes extra.
Common mistakes
- Changing the recipe before trying the base method once.
- Measuring casually when texture depends on ratios.
- Waiting until the end to fix seasoning.
- Ignoring carryover heat or resting time.
Useful next reads
Helpful tools for this guide
- digital kitchen scale
- instant-read thermometer
- rimmed sheet pan
- silicone spatula
Related topic hubs
Table of Contents
- Why This is the Only Pumpkin Bread Recipe You’ll Ever Need
- The Science of Moisture: Why We Use Oil Instead of Butter
- The Secret Spice Blend: Nailing the Flavor Profile
- Essential Ingredients and Substitutions
- Step-by-Step: How to Make Easy Moist Pumpkin Bread
- Mastering the Bake: Doneness and Timing
- Creative Mix-ins and Variations
- Storage and Freezing Tips for Busy Cooks
- Troubleshooting Common Pumpkin Bread Problems
Why This is the Only Pumpkin Bread Recipe You’ll Ever Need
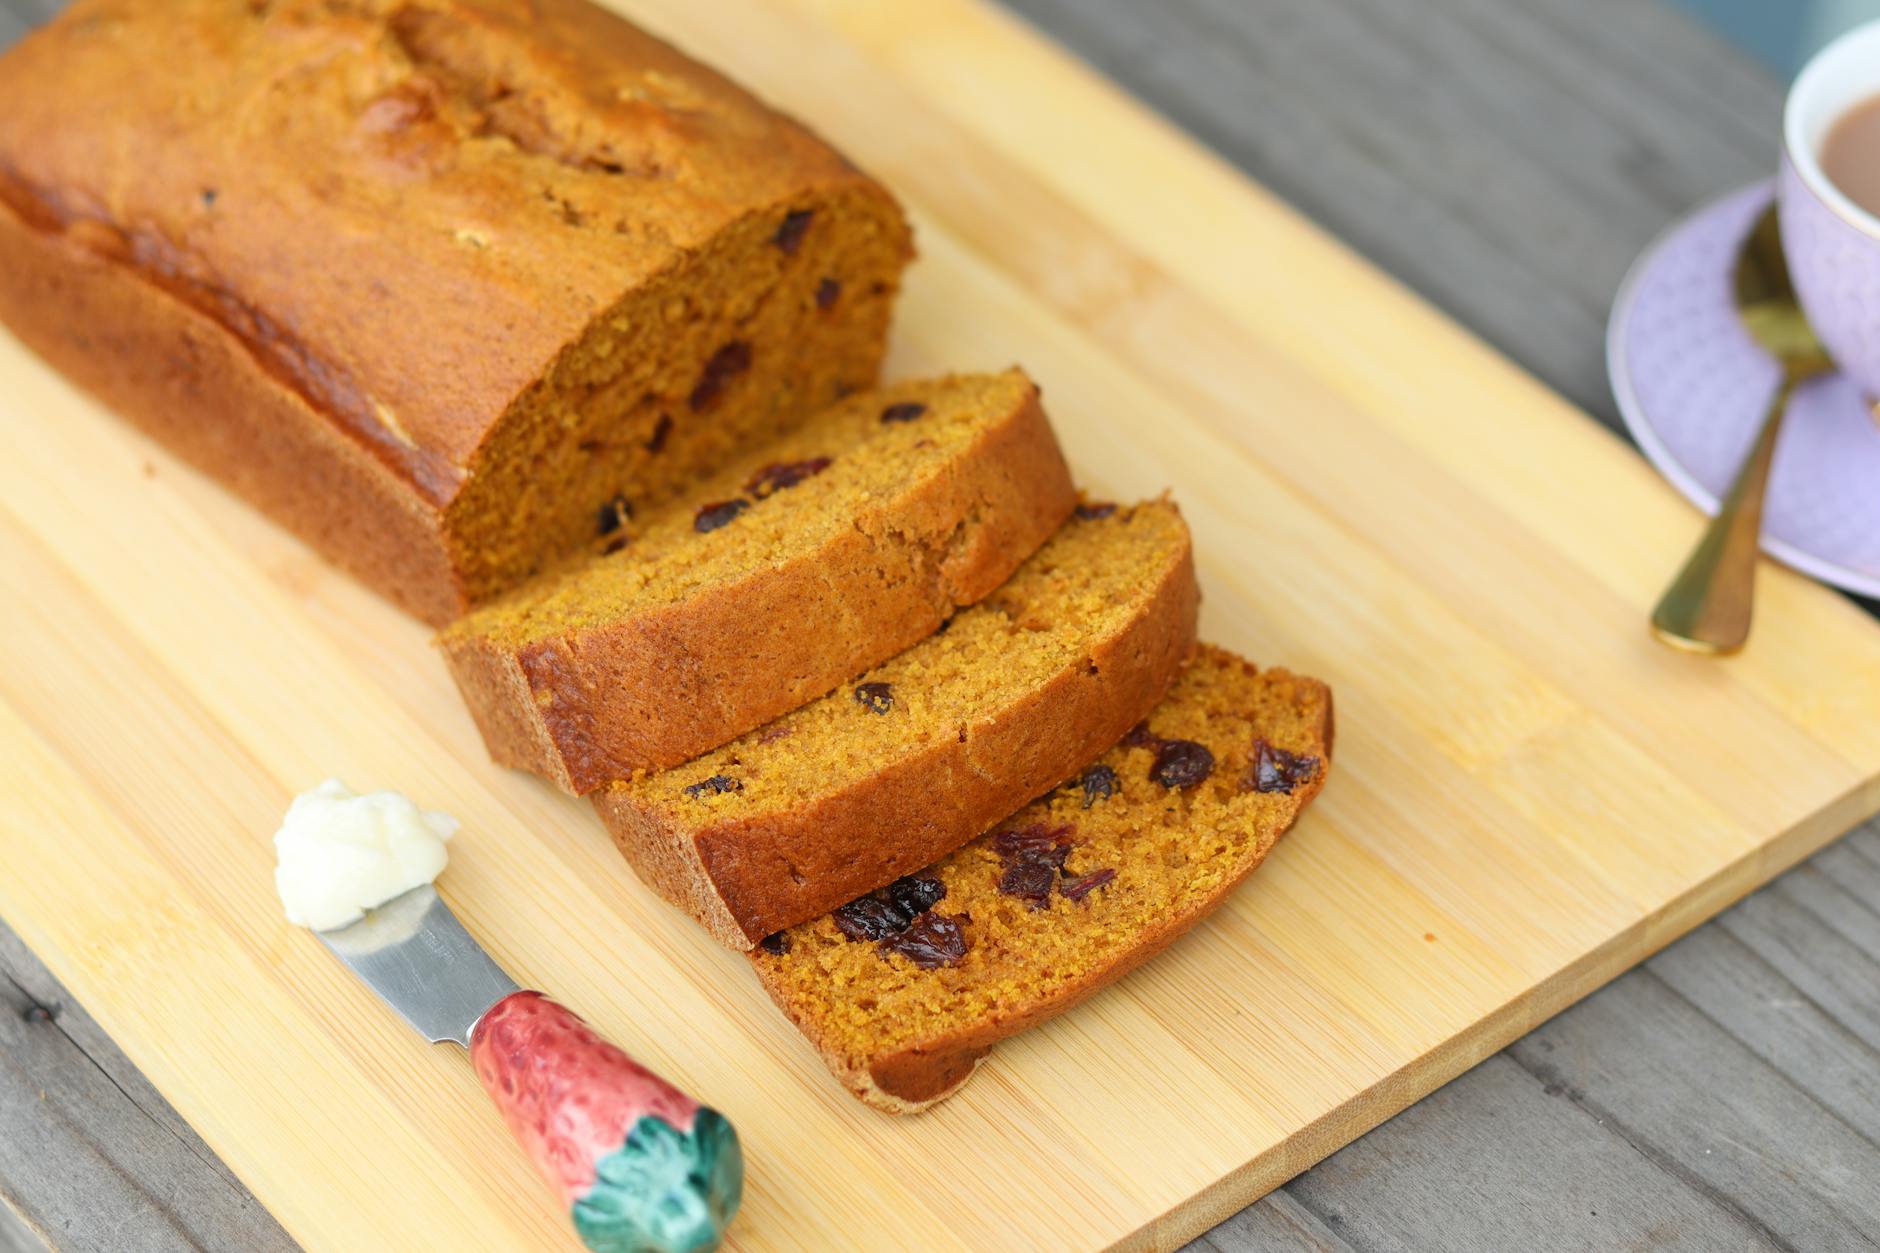
When I set out to develop this recipe, I had a very specific "North Star." I wanted a breakfast bread that was sturdy enough to be toasted and slathered with salted butter, but moist enough to be eaten out of a napkin while running to catch a train.The Starbucks Comparison: Why Homemade Wins
The Starbucks pumpkin loaf is the industry standard for a reason. It is consistent, highly spiced, and undeniably moist. However, it’s also packed with preservatives to keep it shelf-stable for days. In my testing, I found that by using high-quality neutral oil and a higher ratio of pumpkin to flour, we could achieve that same "squish" factor without the chemical aftertaste. Furthermore, baking at home is a massive win for your wallet. If you’re looking for cheap meals under $5, baking a full loaf of pumpkin bread for the cost of two slices at a cafe is a great place to start. You control the sugar, you control the spice, and you get the incredible aroma of fall baking wafting through your house for free.The Anatomy of a Perfect Quick Bread
A quick bread is defined by its leavening agent. Unlike sourdough or brioche, which rely on yeast, pumpkin bread uses baking soda (and sometimes powder) to achieve lift. This means we don't have to wait hours for a rise. But it also means the structure of the bread is fragile. The perfect loaf needs three things:- Structural Integrity: It shouldn't fall apart when you slice it.
- Moisture: It should feel "heavy" for its size, indicating a high water and fat content.
- Flavor Depth: It shouldn't just taste like "sweet." It needs the earthy notes of the pumpkin and the sharp bite of pumpkin spice.
The Science of Moisture: Why We Use Oil Instead of Butter
One of the most frequent questions I get from readers is: "Can I use butter instead of oil?" While I love the flavor of brown butter as much as the next chef, for this specific pumpkin bread recipe, oil is the superior choice.Fat Content and Crumb Texture
Butter is approximately 80-82% fat and 16-18% water. When butter is baked into a cake or bread, the water evaporates and the milk solids brown. While this creates amazing flavor, butter is solid at room temperature. This means that as the bread cools, the butter firms up, leading to a tighter, slightly drier crumb. Oil, on the other hand, is 100% fat and remains liquid at room temperature. This is the primary reason why using oil instead of butter results in a noticeably moister and more tender crumb. In my 12th test batch, I tried a 50/50 split of butter and oil. The flavor was good, but the bread lacked that signature "spring" that makes a holiday recipe truly memorable. Stick with oil for the best results.Shelf Life: Why Oil-Based Breads Stay Fresh Longer
Because oil stays liquid, it effectively coats the flour proteins more efficiently than butter. This inhibits gluten development. Less gluten means a more tender bread that resists going stale. An oil-based pumpkin bread stored in an airtight container will actually taste better on day two or three, as the moisture redistributes throughout the loaf. I recommend using a neutral oil like vegetable, canola, or grapeseed oil. If you want to be a bit healthier, avocado oil works beautifully and has a high smoke point, though it is a bit pricier.The Secret Spice Blend: Nailing the Flavor Profile
If the pumpkin provides the texture, the spices provide the soul. Many recipes simply call for two teaspoons of "pumpkin pie spice." I find this lazy. Pre-mixed spices often sit on grocery store shelves for months, losing their volatile oils and aromatic punch.The Big Four: Cinnamon, Cloves, Nutmeg, and Ginger
To get that professional bakery taste, I use a specific ratio of the "Big Four" spices.- Cinnamon: The base. It provides the warmth and sweetness.
- Ginger: Provides a subtle "zing" and back-of-the-throat heat.
- Nutmeg: Adds an earthy, nutty complexity. Always grate it fresh if you can!
- Cloves: The "secret" ingredient. Cloves are incredibly powerful. In my testing, I found that just 1/4 teaspoon of ground cloves is what gives the bread that deep, dark, "expensive" aroma.
Why Fresh Spices Make a Difference
Spices are essentially dried oils. Over time, those oils evaporate. I discovered that if my spices were more than six months old, the bread tasted flat. Before you start your fall baking, do a sniff test. If your cinnamon doesn't make you immediately think of a bakery, it’s time to replace it.Essential Ingredients and Substitutions
Success in the kitchen often comes down to the quality of your raw materials. For this easy moist pumpkin bread, there are a few non-negotiables.Canned Pumpkin Purée vs. Pumpkin Pie Filling
This is the most common mistake home cooks make. Pumpkin purée is 100% steamed and mashed pumpkin (usually Dickinson squash, actually). Pumpkin pie filling, however, is pre-sweetened and loaded with thickeners and spices. If you use pie filling, your bread will be a gummy, over-sweetened mess. Interestingly, the role of canned pumpkin is vital because it has a consistent water content. While you *can* roast your own sugar pumpkin and purée it, the moisture levels vary wildly. For a predictable, moist texture, the canned stuff is actually superior. Plus, it’s packed with nutrients! According to the USDA nutritional database, pumpkin is an incredible source of Vitamin A and fiber, making this a slightly more virtuous treat.The Role of Sugars: Brown vs. White
I use a combination of granulated white sugar and light brown sugar. The white sugar helps with the Maillard reaction, giving us that beautiful golden brown crust. The brown sugar contains molasses, which adds a deep caramel note and—more importantly—hygroscopic moisture, meaning it literally pulls water into the bread.Room Temperature Ingredients: Why They Matter
I cannot stress this enough: your eggs and pumpkin must be at room temperature. When you add cold eggs to oil and sugar, they don't emulsify properly. This can lead to a "broken" batter, which results in a heavy, oily bottom in your finished loaf. I usually set my ingredients out on the counter 60 minutes before I plan to bake.The Ultimate Moist Pumpkin Bread Recipe
Ingredients
- 1 ¾ cups (220g) All-purpose flour
- 1 tsp Baking soda
- ½ tsp Baking powder
- ½ tsp Salt
- 2 tsp Ground cinnamon
- ½ tsp Ground ginger
- ¼ tsp Ground nutmeg
- ¼ tsp Ground cloves
- ½ cup (120ml) Neutral oil (Vegetable or Grapeseed)
- 1 cup (200g) Granulated sugar
- ½ cup (100g) Light brown sugar, packed
- 2 Large eggs, room temperature
- 1 cup (245g) 100% Pumpkin purée
- 1/3 cup (80ml) Water or Orange juice
- 1 tsp Vanilla extract
Instructions
- Preheat your oven to 350°F (175°C). Grease a 9x5 inch loaf pan and line with parchment paper.
- In a medium bowl, whisk together flour, baking soda, baking powder, salt, and all spices.
- In a large bowl, beat the oil and both sugars until combined. Add eggs one at a time, beating well after each addition.
- Stir in the pumpkin purée, water (or juice), and vanilla extract until smooth.
- Gently fold the dry ingredients into the wet ingredients. Stop as soon as no flour streaks remain.
- Pour batter into the prepared pan and smooth the top.
- Bake for 60-65 minutes, or until a toothpick inserted into the center comes out with just a few moist crumbs.
- Cool in the pan for 10 minutes, then transfer to a wire rack to cool completely.
Step-by-Step: How to Make Easy Moist Pumpkin Bread
The process of making this bread is simple, but the technique is where the magic happens.Prepping Your Loaf Pan for a Non-Stick Release
There is nothing more heartbreaking than a beautiful loaf that leaves its bottom half stuck to the pan. I always use a "parchment sling." Grease the pan with cooking spray, then cut a strip of parchment paper the width of the bottom of the pan, leaving enough overhang on the sides to act as handles. This allows you to lift the bread straight out once it’s cooled slightly.The Two-Bowl Method: Wet vs. Dry
We use two bowls for a reason. By mixing the dry ingredients separately, we ensure the baking soda and spices are evenly distributed before they hit the wet ingredients. This prevents "hot spots" of baking soda, which can leave a bitter, metallic taste in your mouth.The Golden Rule: Avoiding Overmixing
This is the single most important tip in this entire guide. When liquid hits flour, gluten begins to form. Some gluten is necessary for structure, but too much will turn your bread into a rubbery brick. As noted in this excellent guide on avoiding overmixing the batter, the goal is to "fold" the ingredients. Use a spatula, not a whisk, for the final step. Stop the second you don't see any more white flour. A few small lumps are perfectly fine!Mastering the Bake: Doneness and Timing
Oven calibration is notoriously unreliable. My oven might run 10 degrees hot, while yours might run cold. This is why "60 minutes" is a suggestion, not a law.The Toothpick Test: Beyond the Basics
Most people wait until the toothpick comes out bone-dry. In my experience, if the toothpick is dry, the bread is already overbaked. Because of the high moisture content in pumpkin purée, you want to see a few "moist crumbs" clinging to the toothpick. This indicates the center is set but still hydrating. For a deeper dive into these cues, check out the Food Network's guide on testing doneness.Internal Temperature Benchmarks
If you want to be truly scientific (and I recommend you do), use an instant-read thermometer. I discovered that the perfect internal temperature for a pumpkin bread recipe is between 200°F and 205°F (93-96°C). At this temperature, the starches have gelatinized and the structure is stable, but the moisture hasn't yet evaporated.Oven Hot Spots and Rack Positioning
Always bake your bread on the middle rack. If it's too high, the top will burn before the middle is cooked. If it's too low, the bottom will scorch. If you know your oven has hot spots, rotate the pan 180 degrees halfway through the baking time.Creative Mix-ins and Variations
While the base recipe is a masterpiece on its own, sometimes you want a little extra "flair."Chocolate Chip Pumpkin Bread
Add 1 cup of semi-sweet chocolate chips. Pro Tip: Toss the chocolate chips in a tablespoon of flour before adding them to the batter. This prevents them from sinking to the bottom of the loaf pan.The Toasted Walnut Crunch
For a texture contrast, add ¾ cup of chopped, toasted walnuts or pecans. Toasting the nuts for 5 minutes in a dry pan before adding them to the batter unlocks their oils and makes the bread taste much more professional.The Decadent Cream Cheese Swirl
To make a "Starbucks-style" cream cheese loaf, beat 8oz of softened cream cheese with ¼ cup sugar and 1 egg. Pour half your pumpkin batter into the pan, dollop the cream cheese mixture on top, then cover with the remaining pumpkin batter. Use a knife to gently swirl the layers together.Storage and Freezing Tips for Busy Cooks
As a busy home cook, I rarely bake something that can't be stored for later. This bread is a breakfast meal prep dream.How to Store for Maximum Freshness
Once the bread is completely cool—and I mean 100% cool—wrap it tightly in plastic wrap and place it in an airtight container. If you wrap it while it’s even slightly warm, the residual steam will turn the crust soggy. It will stay fresh on the counter for up to 4 days. If you’re looking for more breakfast meal prep ideas, this bread is a staple in my house. I often make two loaves at once.Freezing Whole Loaves vs. Individual Slices
This bread freezes beautifully. You can freeze the whole loaf, but I prefer to freeze individual slices. I wrap each slice in parchment paper and then place them all in a gallon-sized freezer bag. This way, you can grab a single slice on a Tuesday morning, pop it in the toaster, and have a "fresh" holiday recipe experience in minutes.Troubleshooting Common Pumpkin Bread Problems
Even with the best pumpkin bread recipe, things can go wrong. Here is how I fix common issues.This usually happens for two reasons: either the baking soda was expired, or the oven door was opened too early, causing a sudden drop in temperature before the structure was set. It can also happen if you overmix the batter, creating too many air bubbles that collapse.
You likely over-measured the flour. Use the "scoop and level" method: spoon the flour into the measuring cup and level it off with a knife. Never pack the flour down. Also, ensure you didn't accidentally leave it in the oven for an extra 10 minutes!
This is often caused by using cold ingredients. If the eggs and pumpkin are cold, the oil doesn't emulsify, and it sinks to the bottom of the pan during baking, creating a dense, oily layer.